Kiosk Settings
The Nurses or Front Office Staff can configure the Kiosk Settings by tapping the 'Settings' icon on the left-hand sidebar.
Nurse-Intervention Workflow Settings
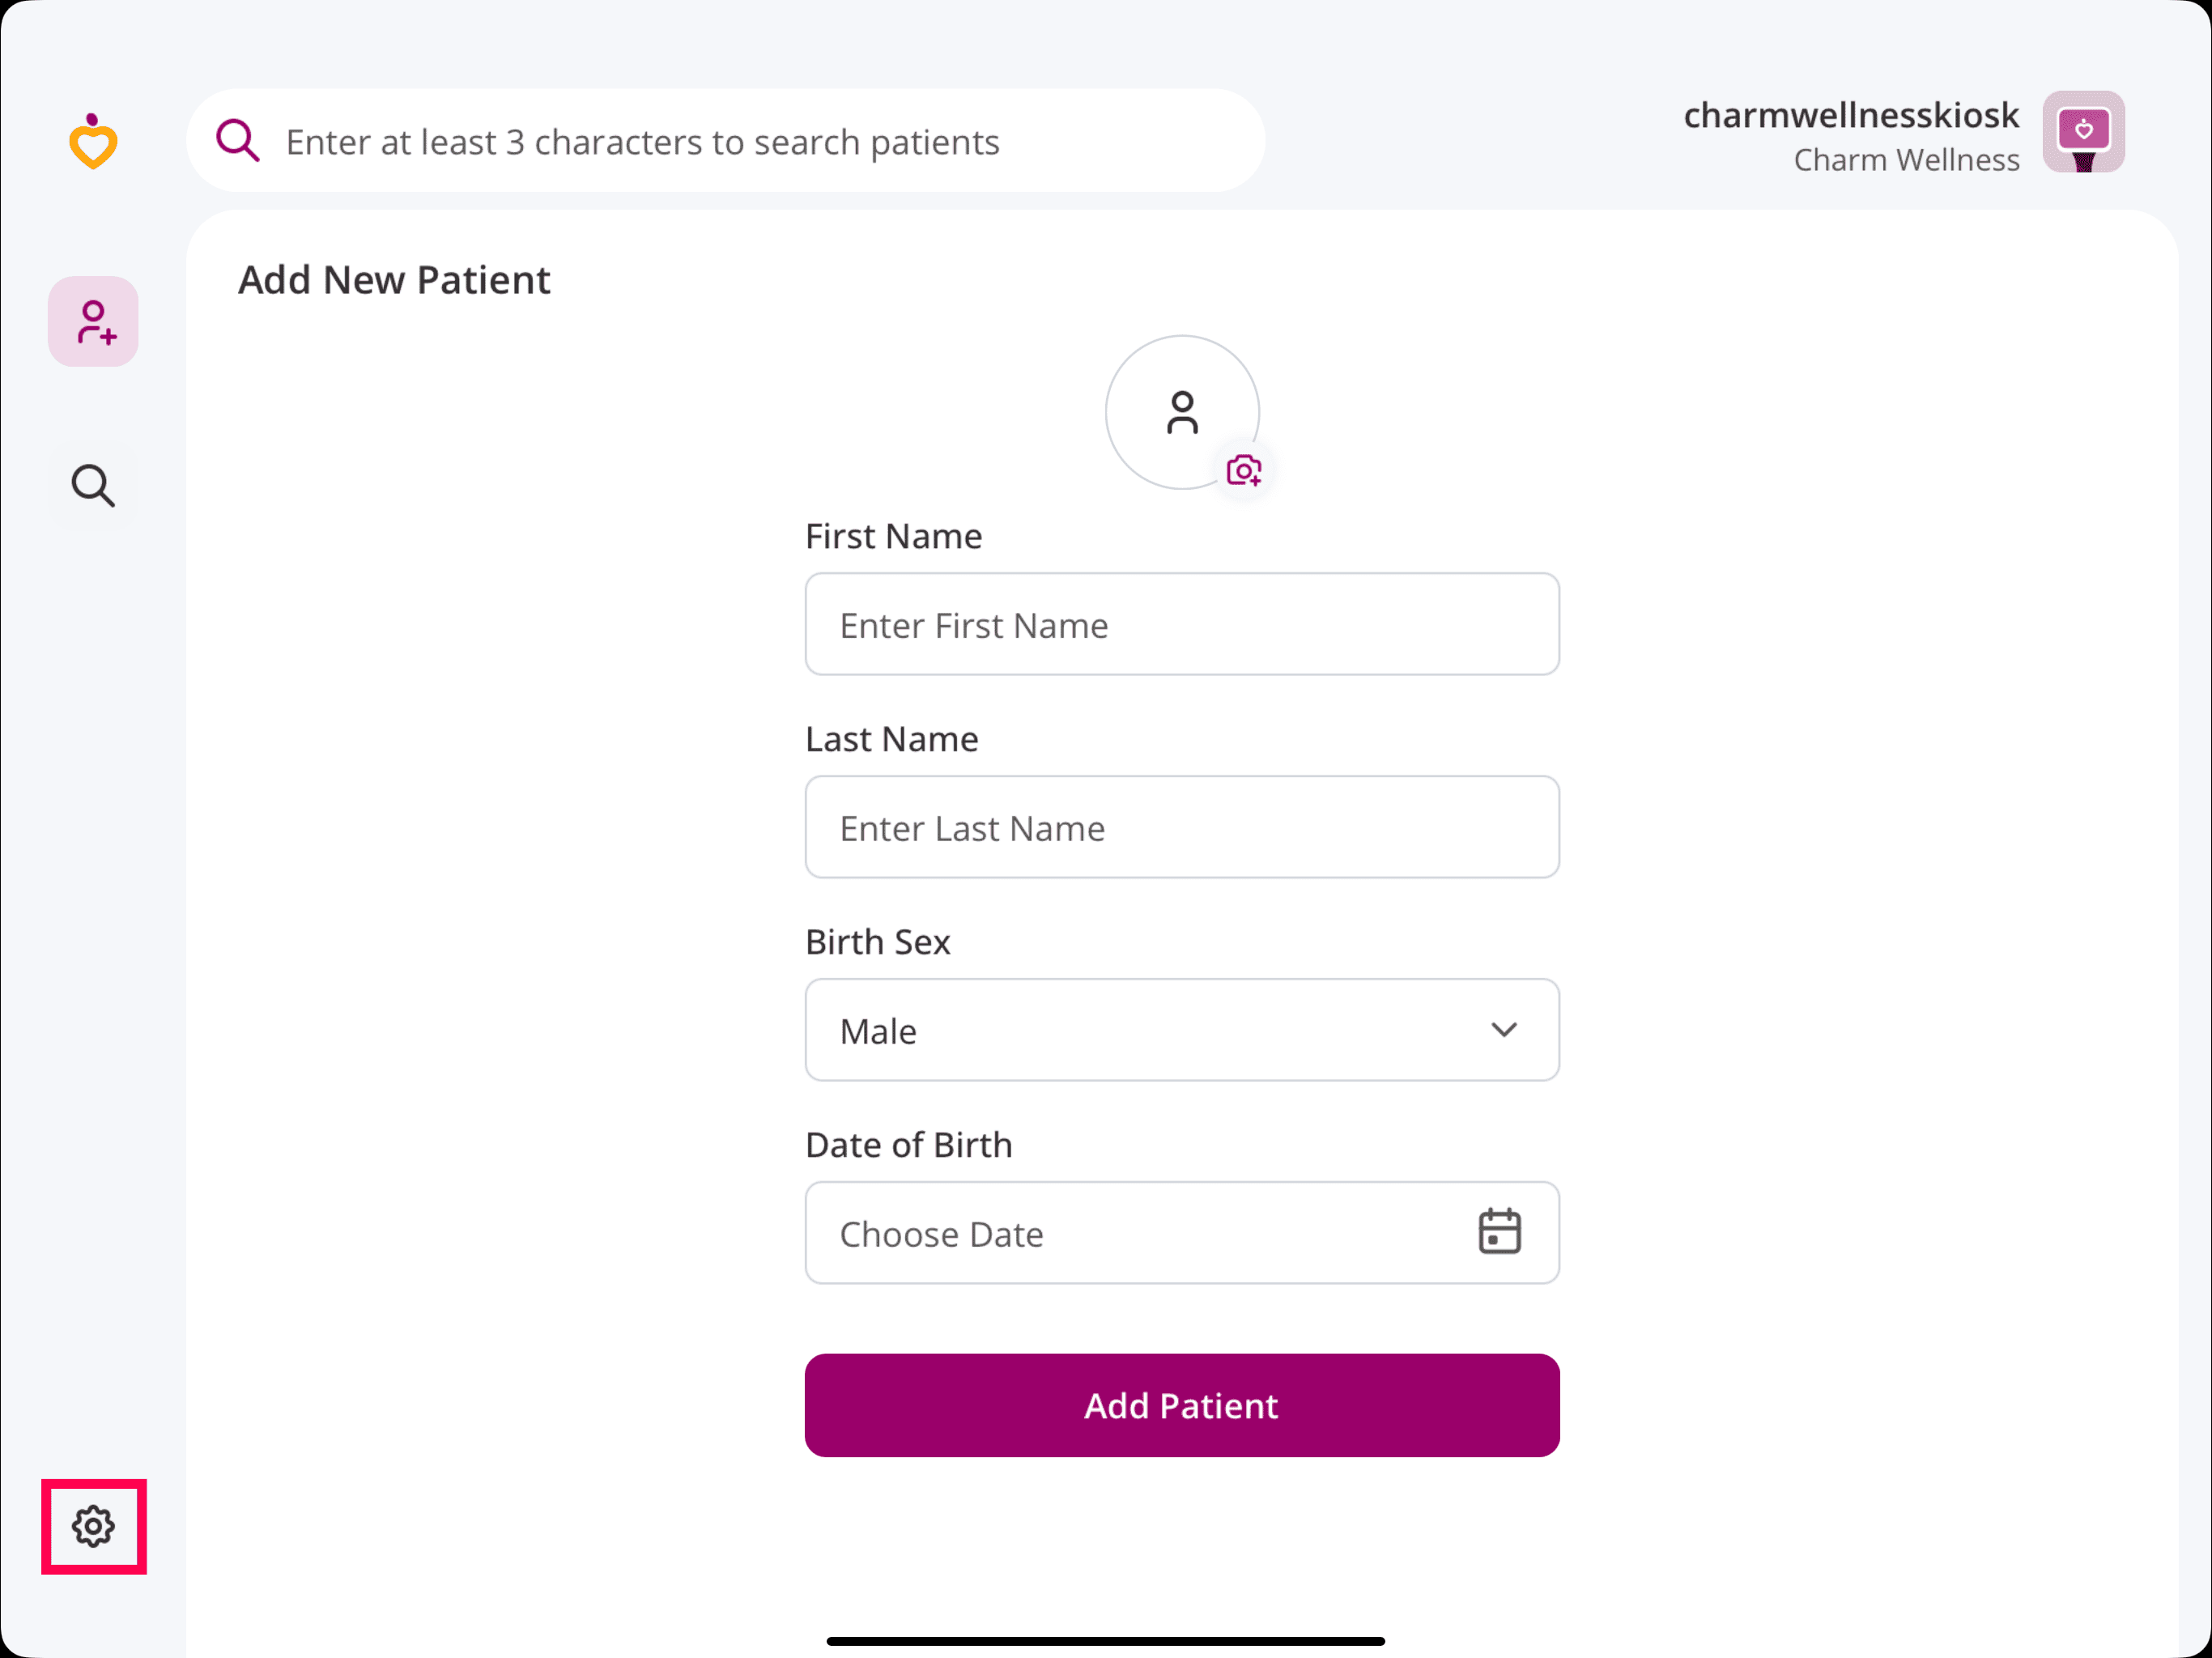
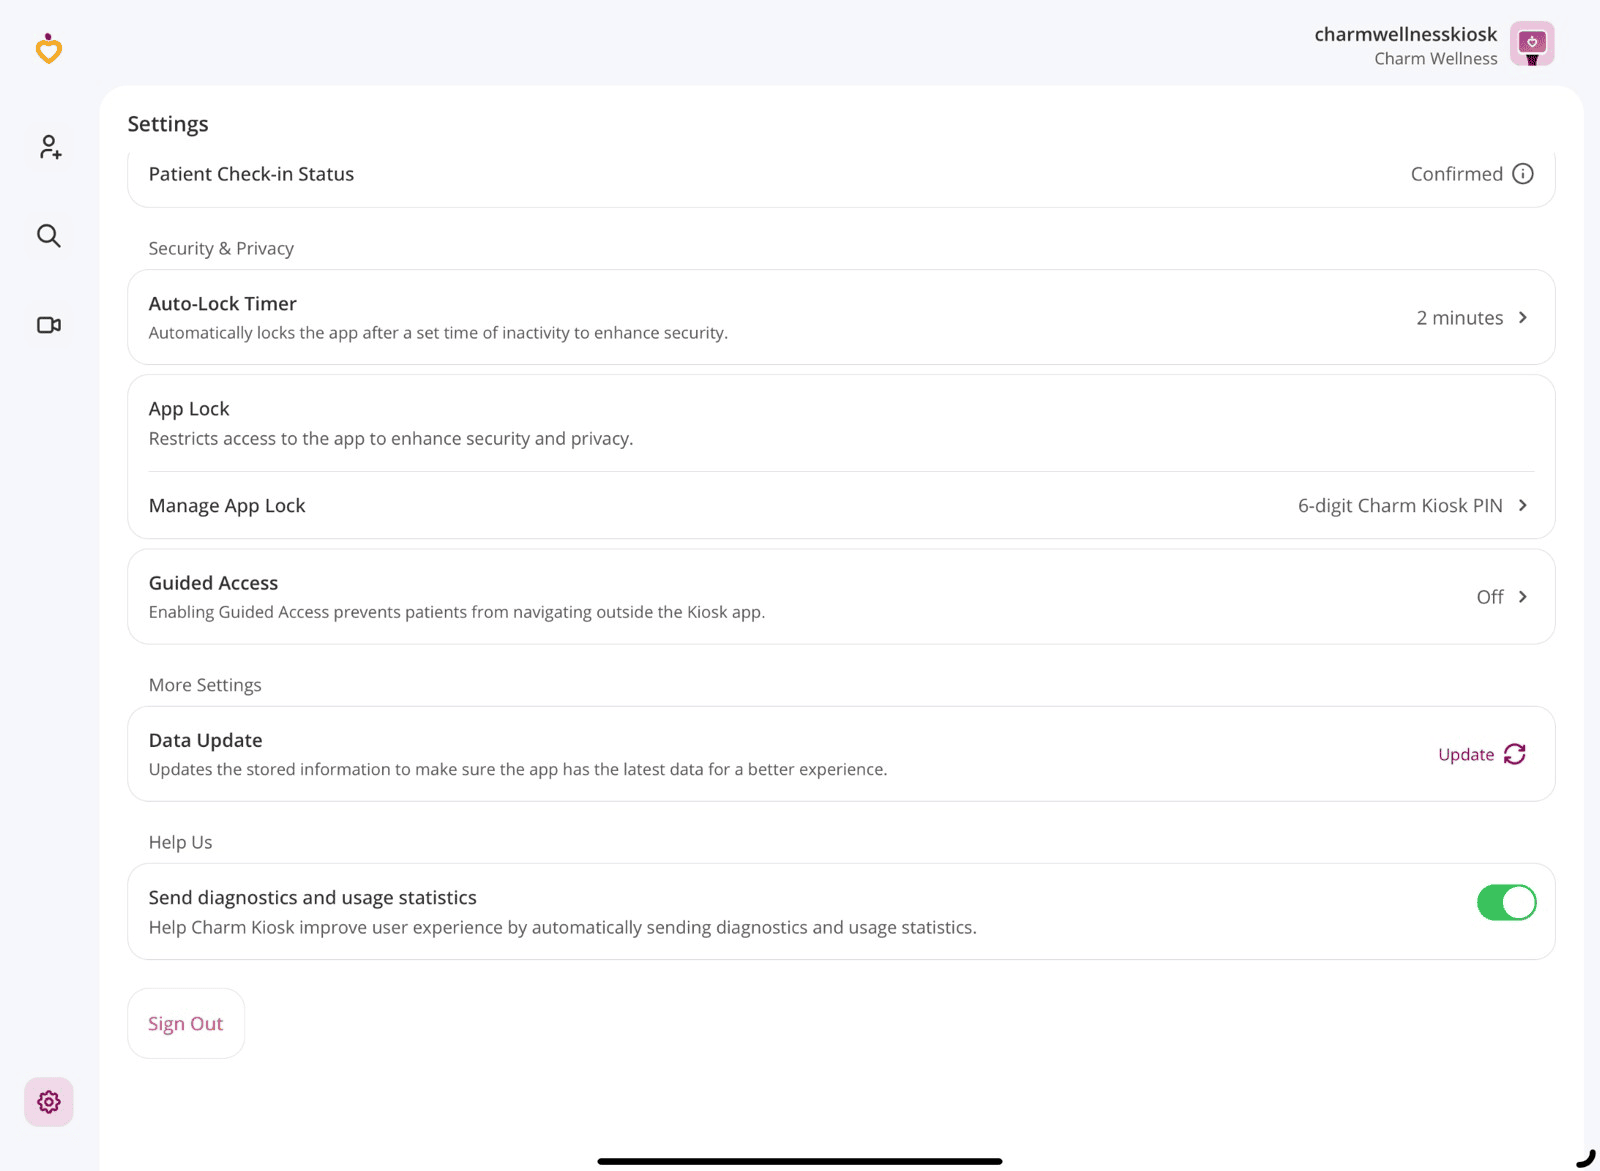
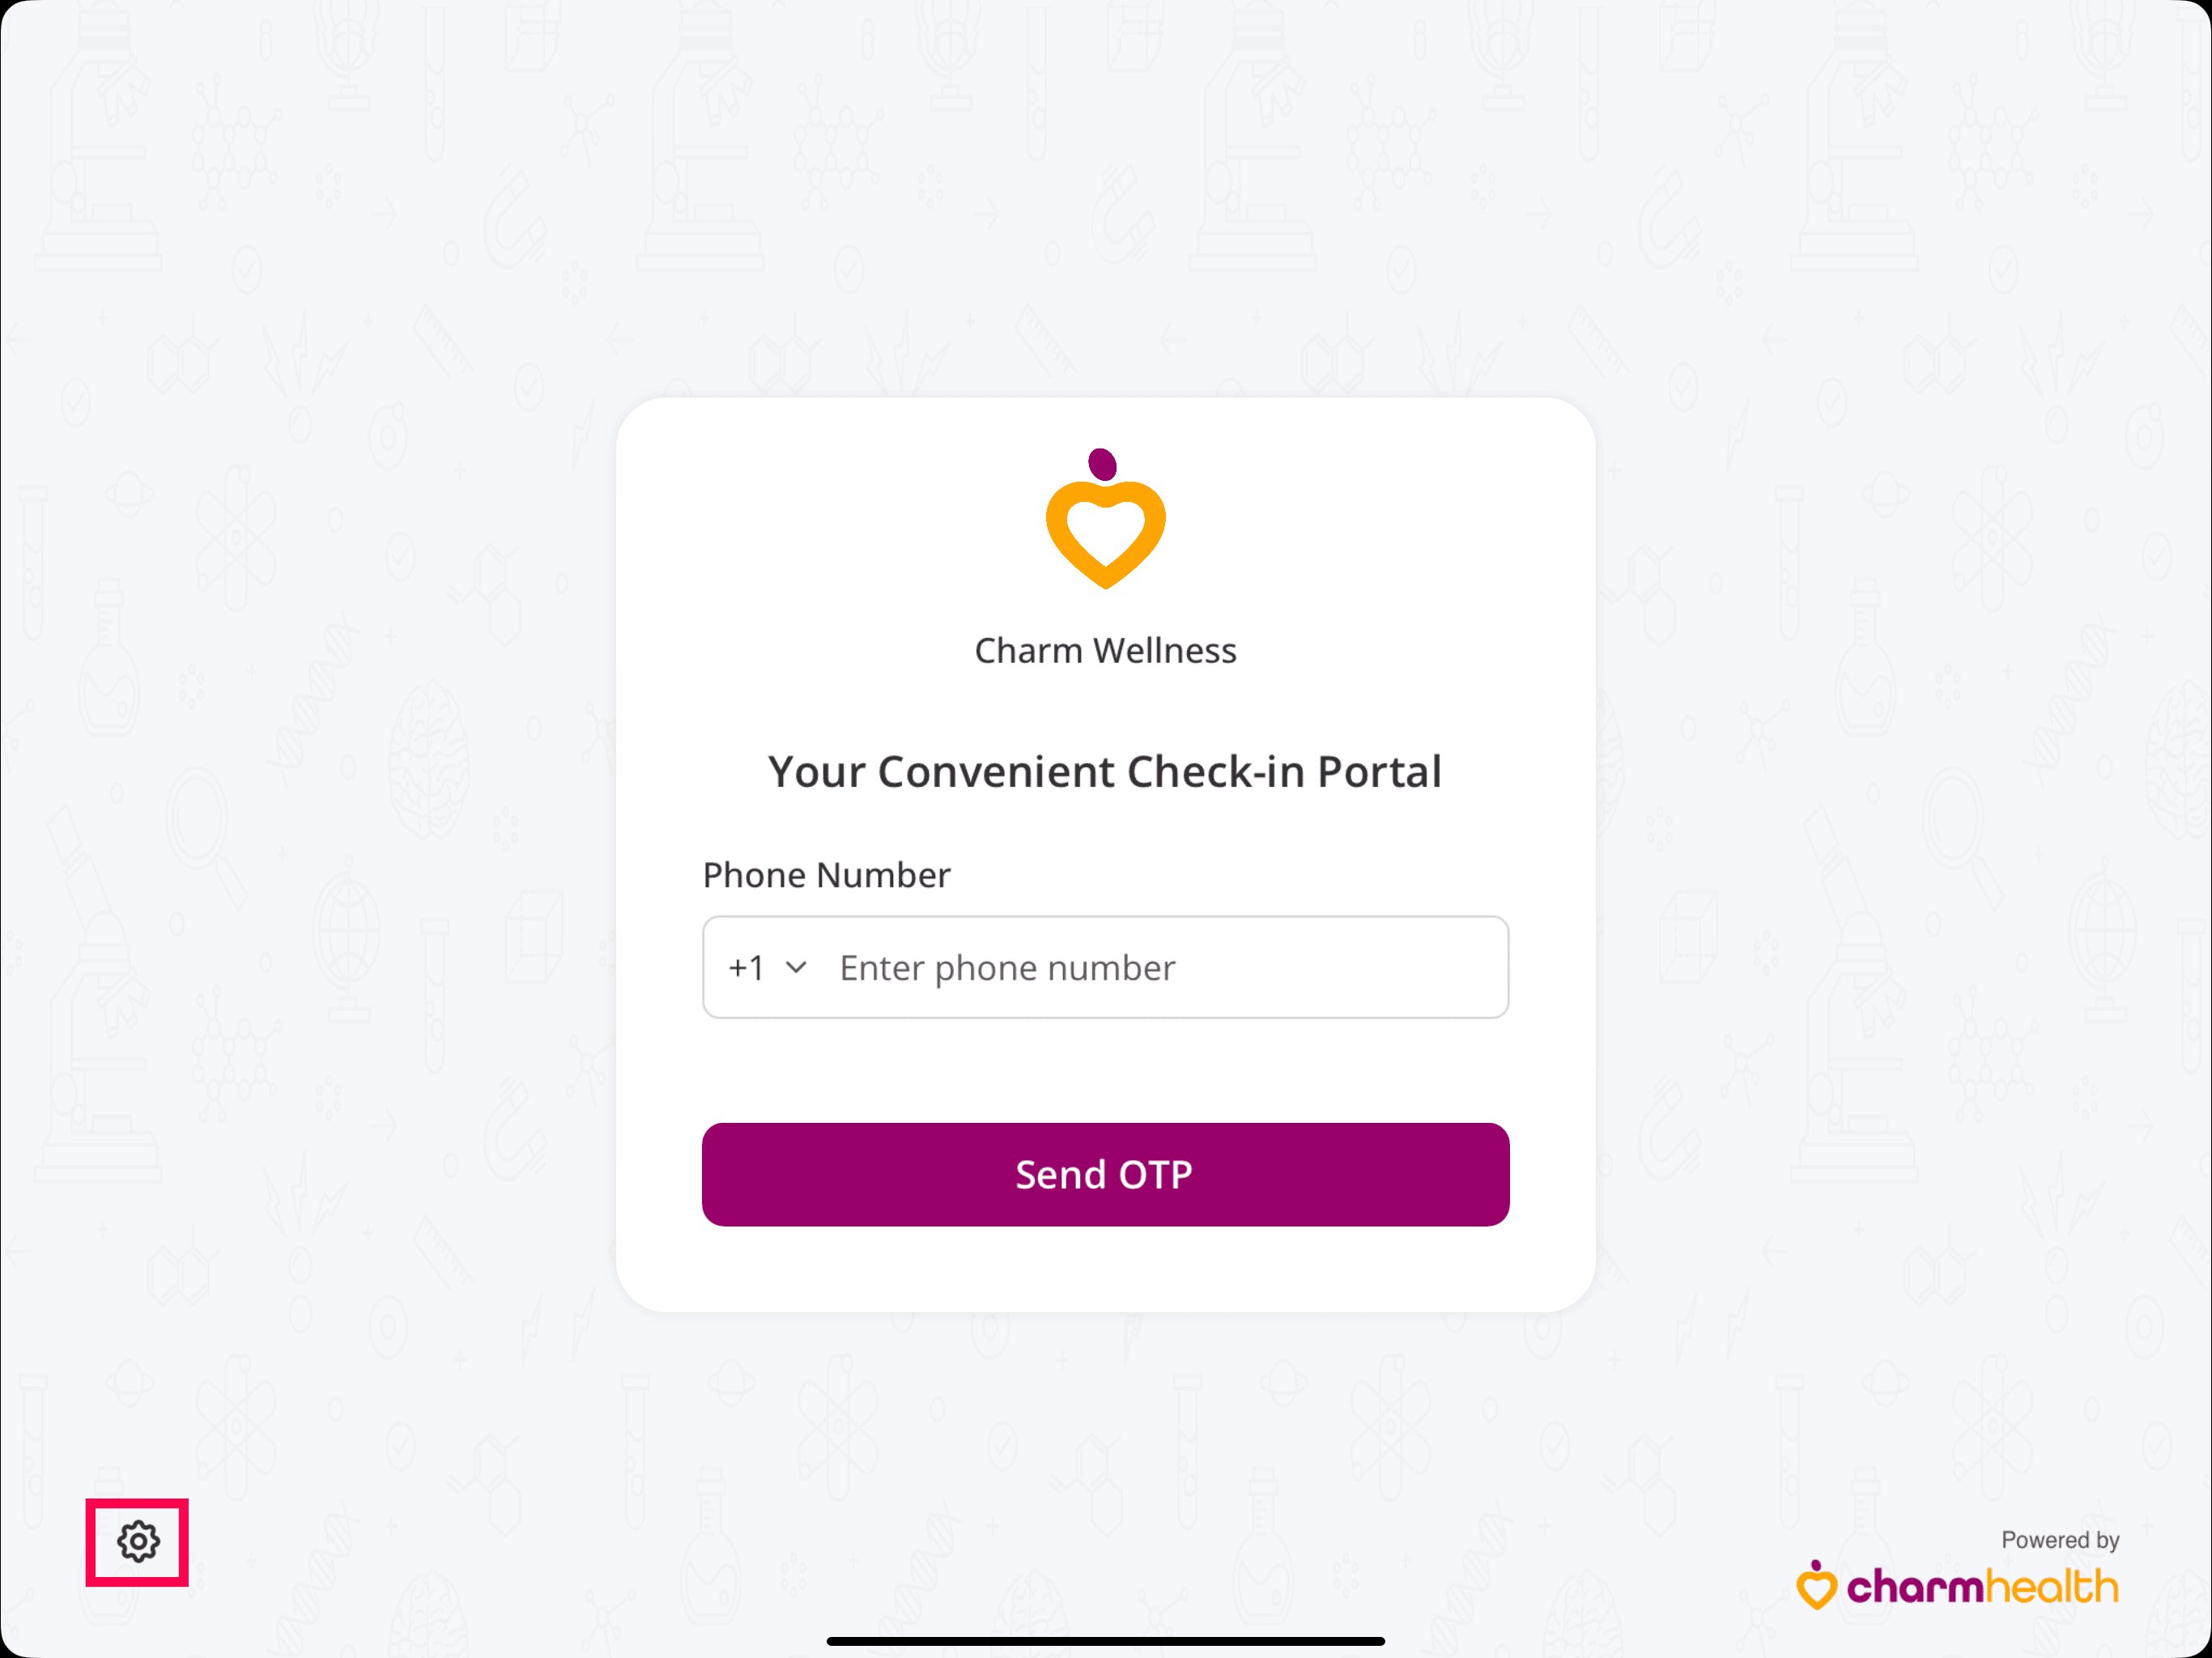
In the Self check-in Workflow, the Nurses or Front Desk Staff must re-authenticate to view or edit the Settings.
Self Check-In Workflow Settings
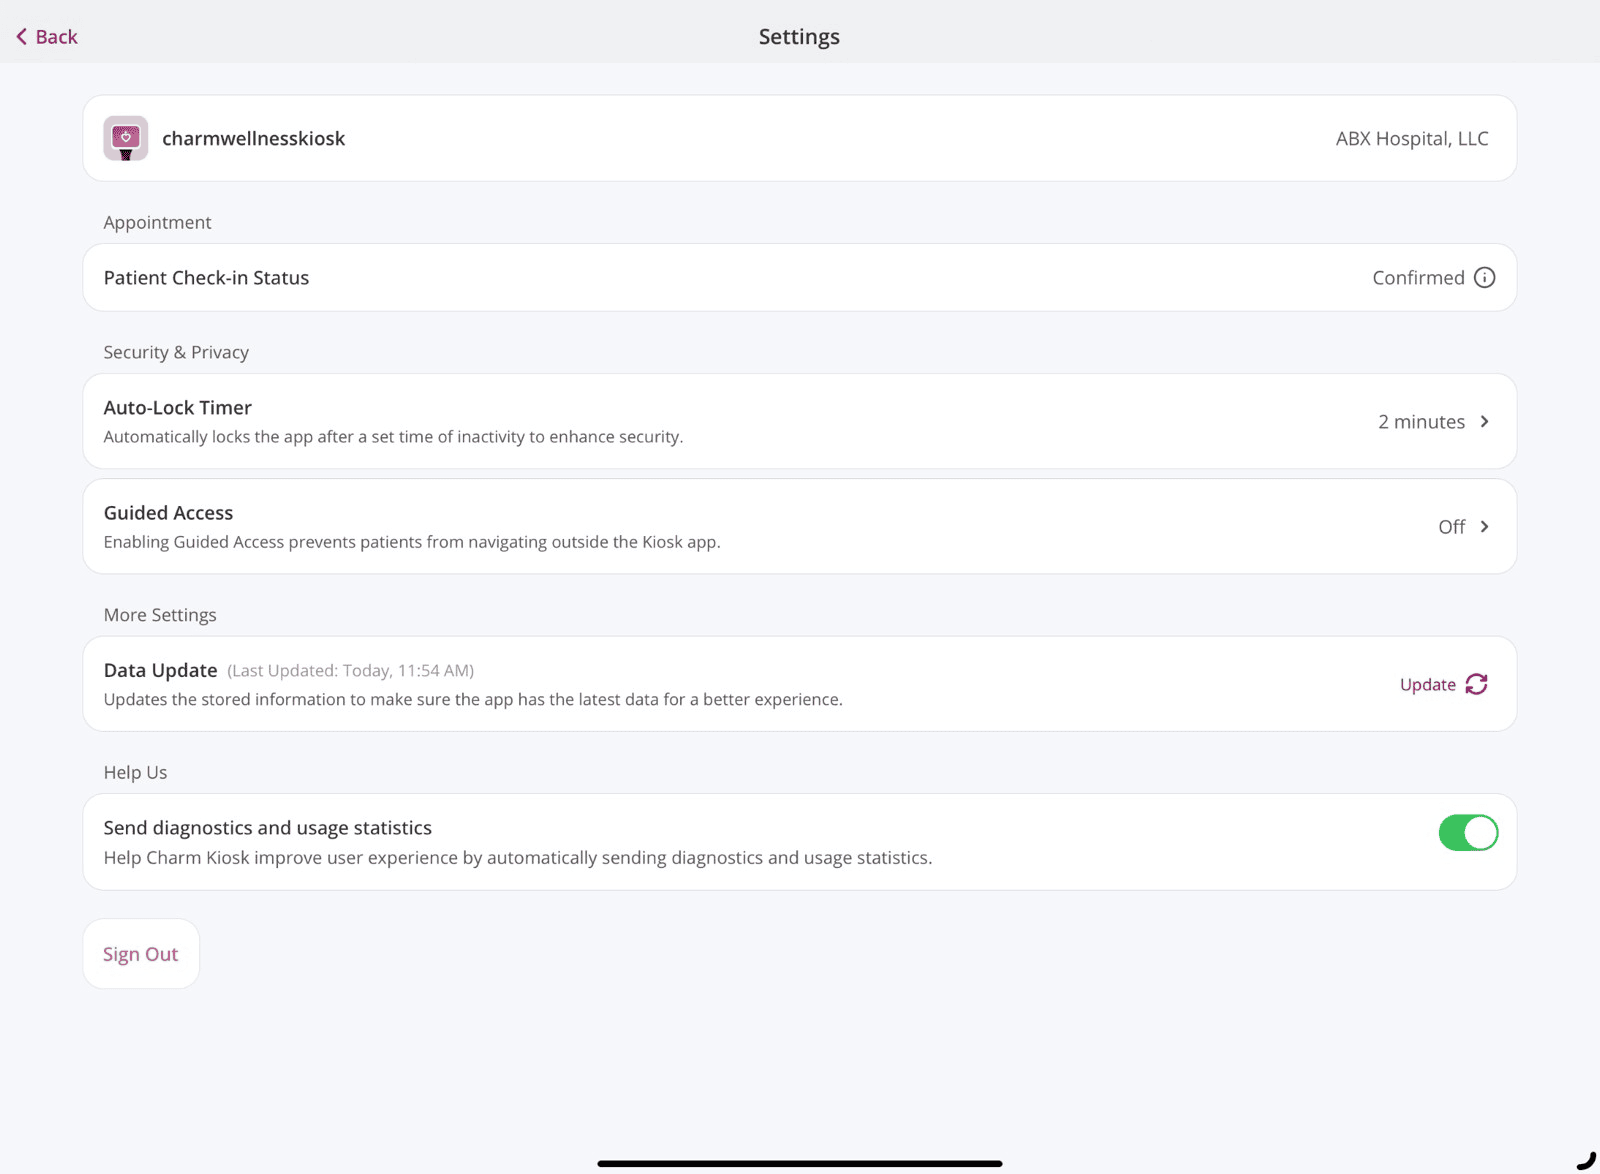
- Facility - If the Kiosk account is associated with multiple facilities, switch between them as needed. This is only accessible for the Nurse-intervention workflow.
- Default Gender - Set a default gender to be preselected when adding a new patient.
- Patient Check-in Status - This setting can be configured in the 'Settings > Facility > Kiosk setup' section of CharmHealth EHR. When a Patient checks-in, the configured Check-in status will be automatically applied to their appointment scheduled for that day. Practice members can view the updated check-in status in the EHR Calendar.
- Auto-lock Timer - Set a timer to automatically lock the app after a period of inactivity to enhance security.
- App Lock Method (Only for Nurse-intervention Workflow): You can secure your Kiosk account by configuring any one of the following App Lock methods:
- Charm Kiosk PIN:
Set up a unique 6-digit PIN to unlock the Kiosk application. You can change the PIN at any time under Kiosk Settings. - Device Passcode or Face ID:
Select this option to use your device’s Passcode or Face ID to unlock the Kiosk account for secured access. - Charm Kiosk Account Password:
Choose this option to unlock the Kiosk application using your Charm Kiosk account password.
Note: You will be prompted to set up your preferred App Lock method at your first login. To change the App Lock method, click the 'Manage App Lock' option and choose the required App Lock type.
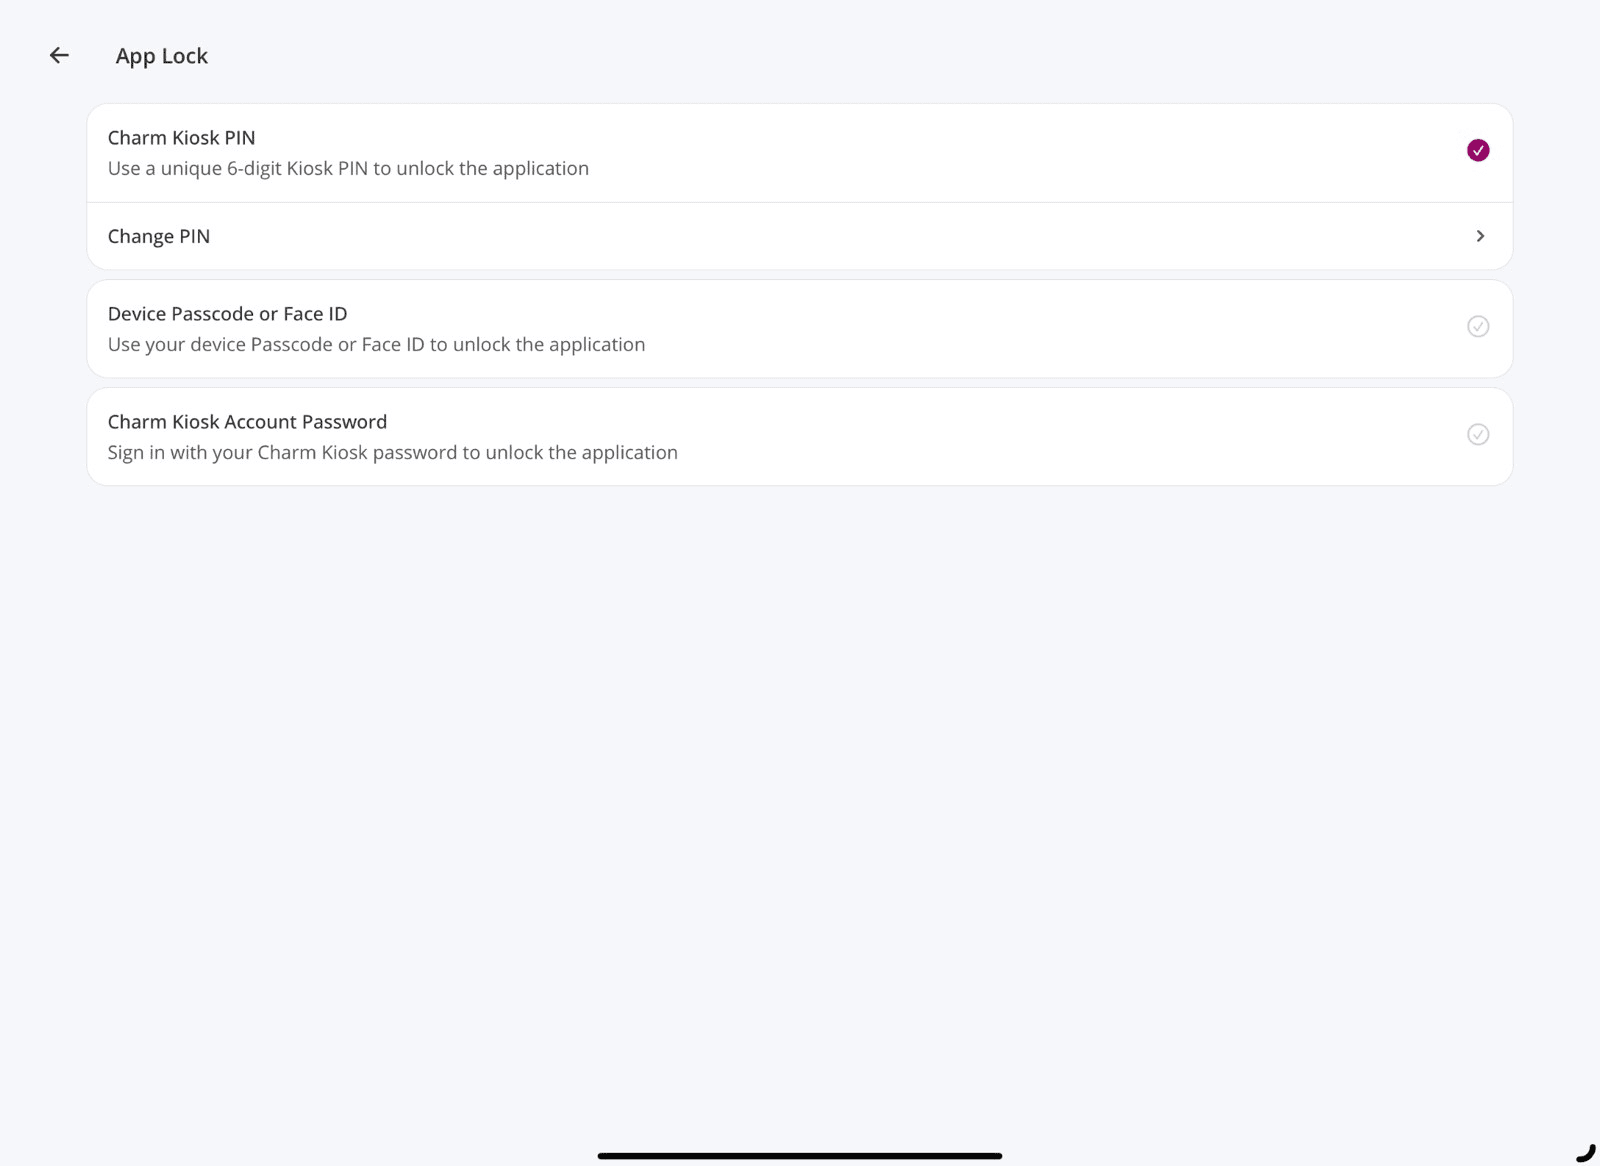
- Charm Kiosk PIN:
- Guided Access - Enable Guided Access to restrict patients from navigating outside the Kiosk app. Tap the button to view Guided Access settings. The detailed instructions on Guided Access are available here.
- Data Update - The system syncs the latest data from Charm EHR whenever the app is reopened. To update manually, tap the 'Update' option.
- Send Diagnostic and Usage Statistics - Help improve Charm Kiosk by automatically sending diagnostics and usage statistics.
- Sign Out - To log out, tap the 'Sign Out' button.
Enable Guided Access
Enabling Guided Access prevents the Patient from browsing outside the Kiosk app, altering the device settings, or locking the device.
It ensures privacy compliance, enhances data security, and minimizes the risk of unintended actions that could compromise sensitive health information.
When logging in to the Charm Kiosk account, the Nurse or Front Office staff will be prompted to enable guided access to the Charm Kiosk app. This prompt will appear during every login.
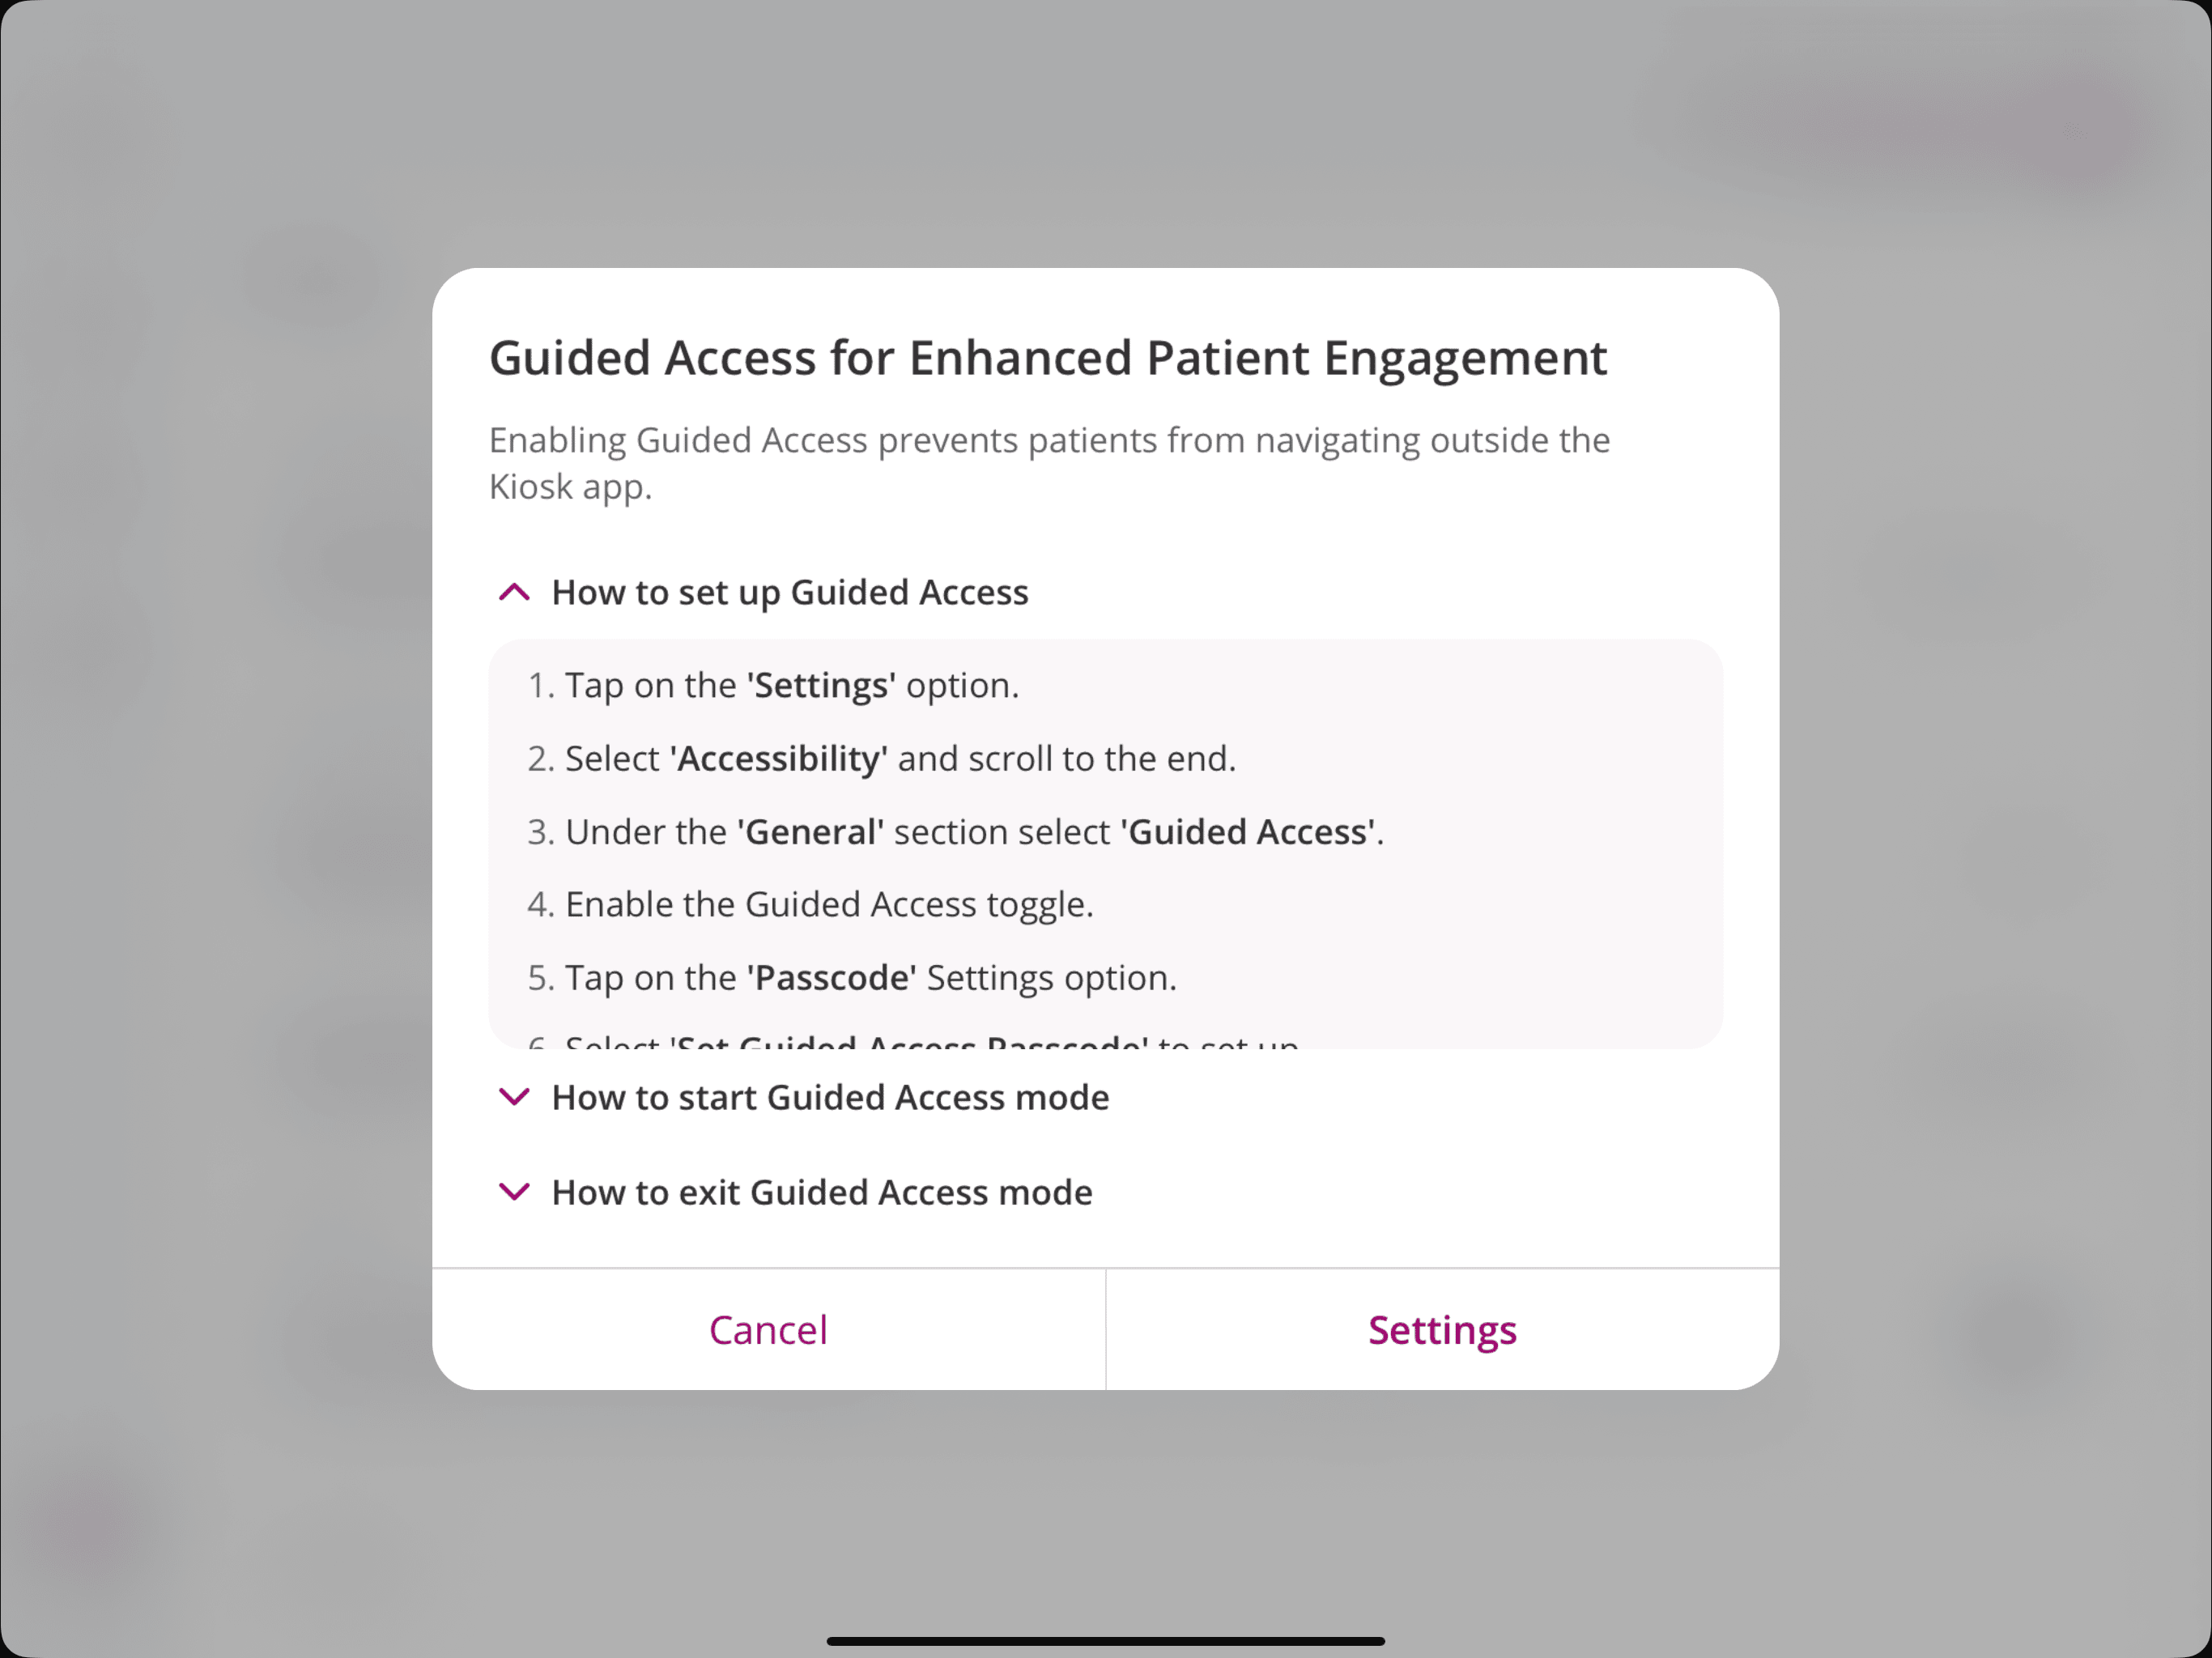
You can enable Guided Access to the Charm Kiosk app using the following steps:
- How to set up Guided Access?
- Tap the 'Settings' option. This will take you to the device settings.
- Select 'Accessibility' and scroll to the end.
- Under the 'General' section, select 'Guided Access'.
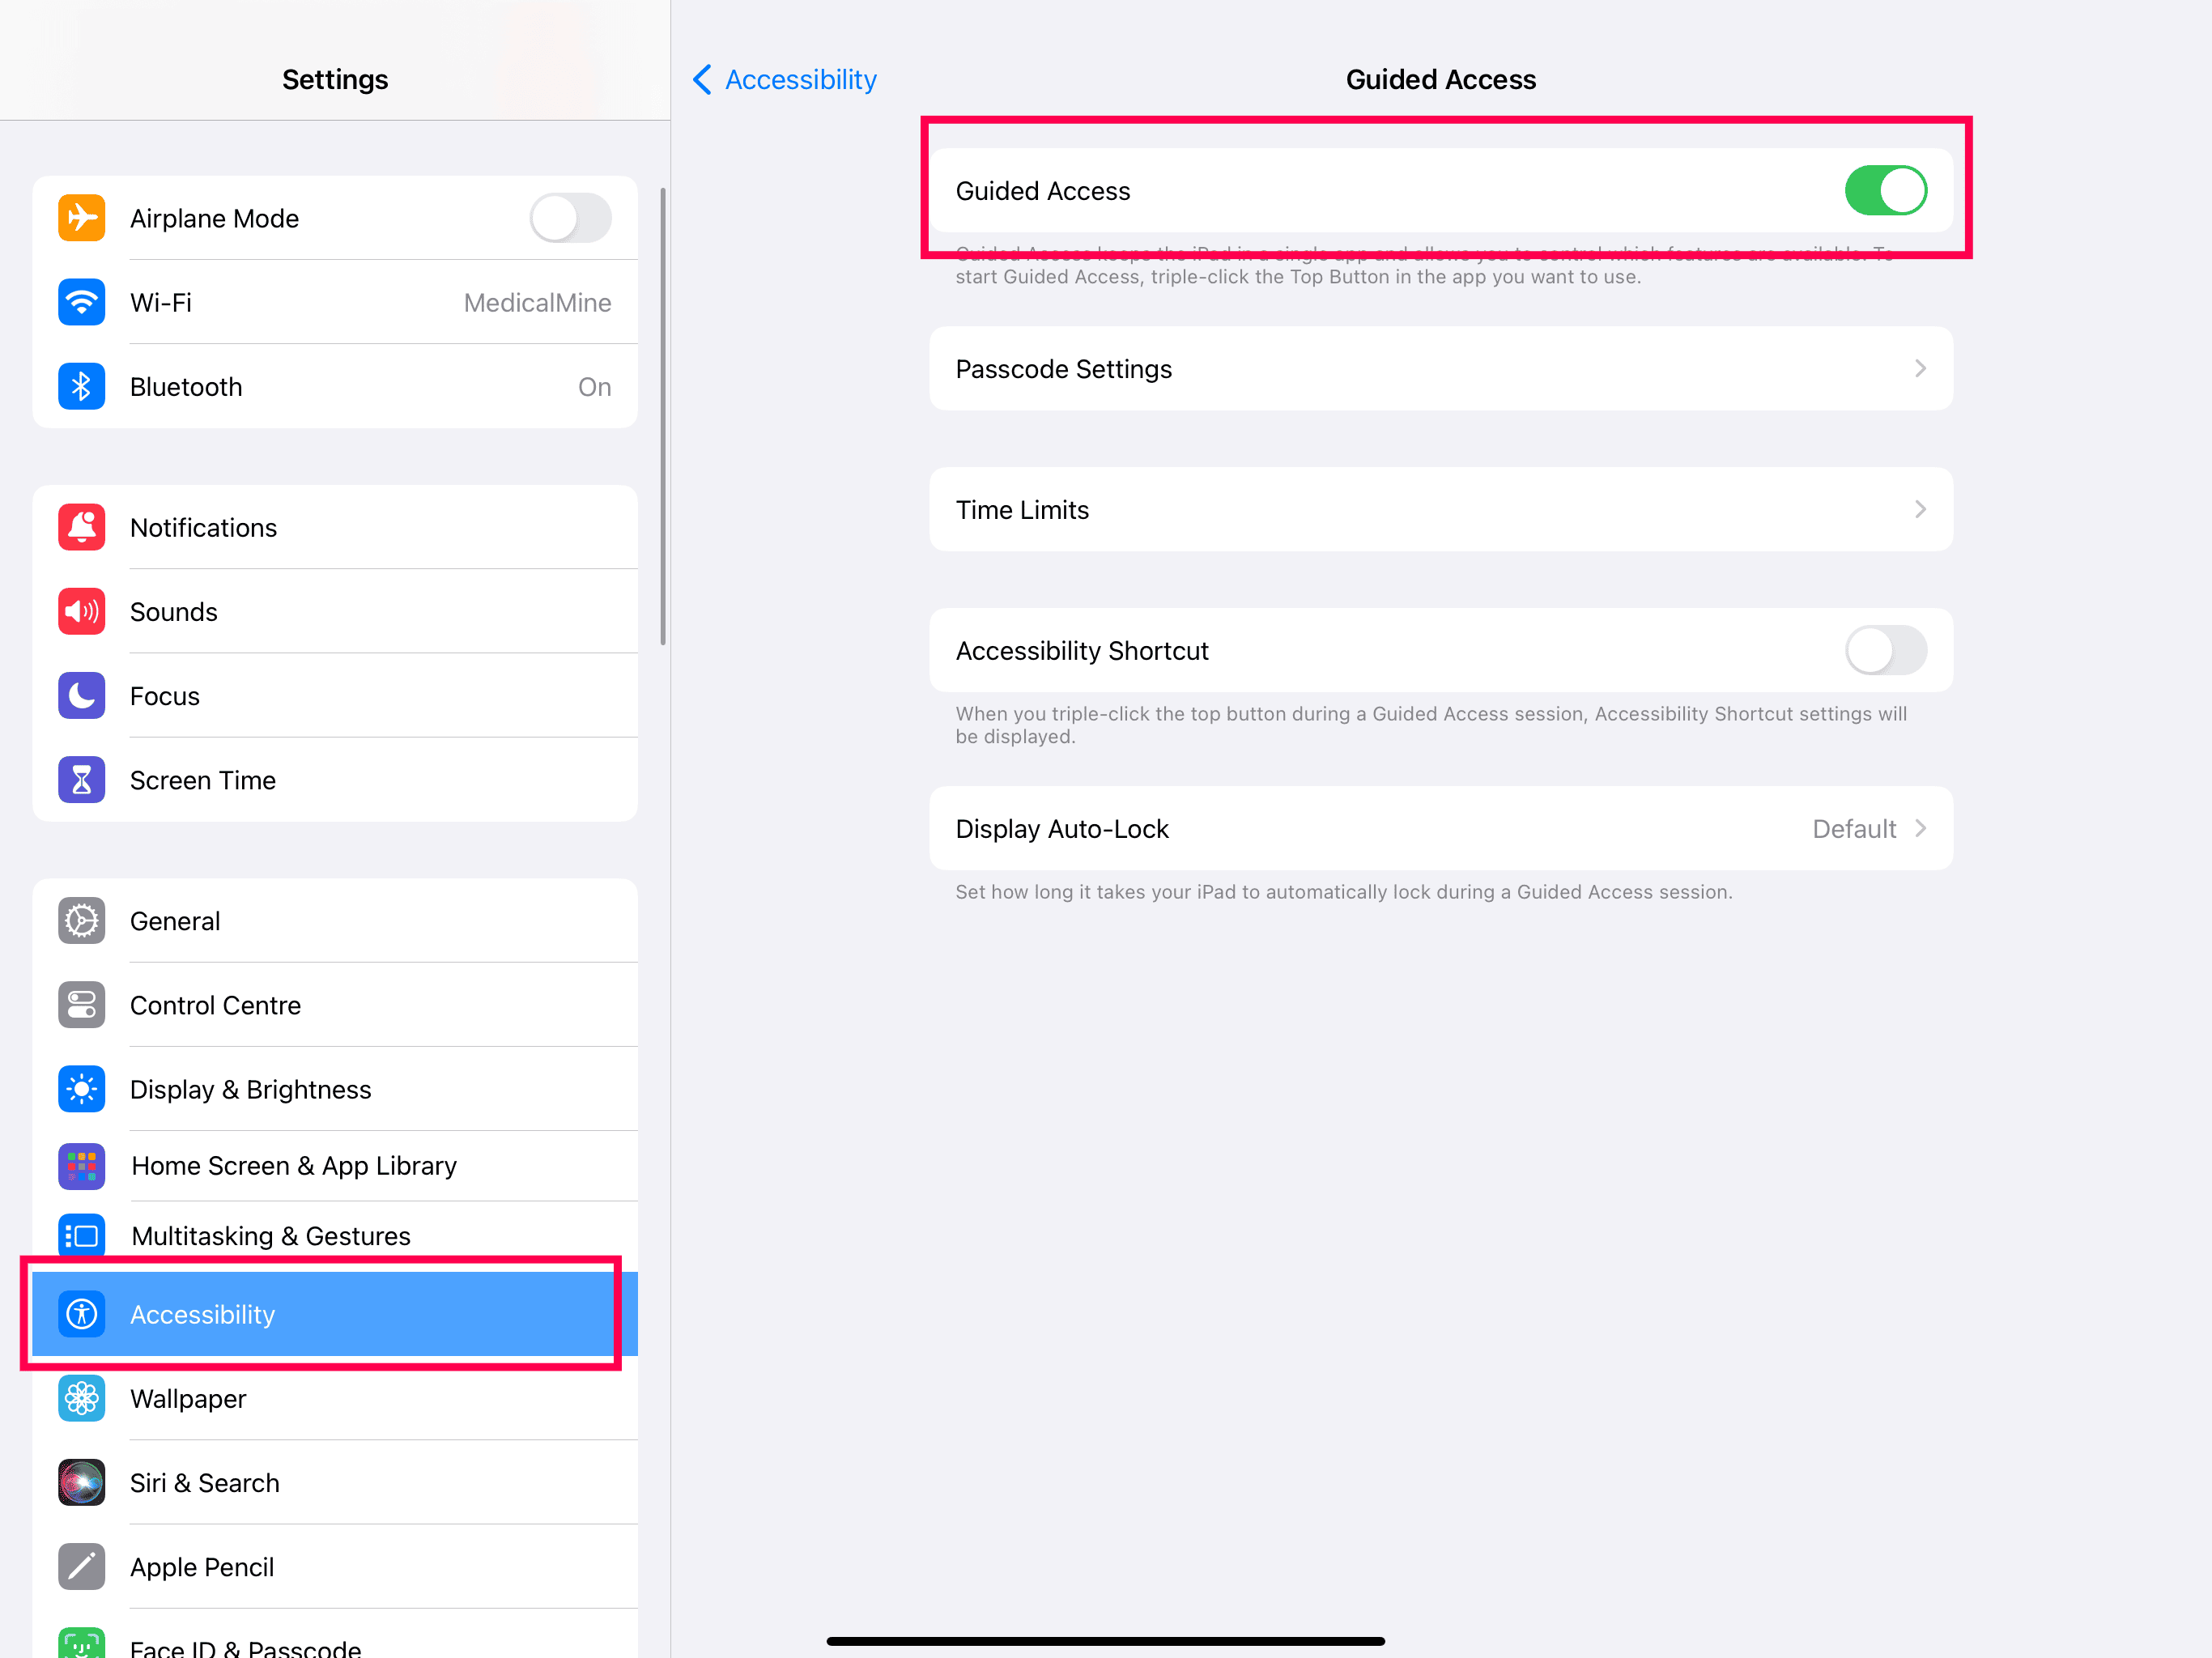
- Enable the Guided Access toggle.
- You can set up any of the following to end the Guided Access session.
- Tap the 'Passcode Settings' option, select 'Set Guided Access Passcode', and enter a passcode
- Turn on the Face ID or Touch ID.
- How to start Guided Access mode?
- Open the Charm Kiosk App.
- Triple-tap the Home button (on an iPad with a Home button) or the top button (on other iPad models).
- Circle the area of the screen you want to disable.
- Tap the 'Start' button.
Note: If you are facing difficulties, try turning off and on the Accessibility shortcut under the 'Settings > Accessibility > Guided Access' section. If not, try restarting your iPad.
- How to exit Guided Access mode?
- Triple-tap the Home button (on an iPad with a Home button) or the top button (on other iPad models).
- Enter the Guided Access passcode and tap the 'End' button.
- If you have enabled the Face ID or Touch ID option in the Guided Access Settings, unlock your iPad with Face ID or Touch ID.