Nurse Intervention Workflow
The Nurse Intervention Workflow allows the Nurse or Front Office staff to register and set up the initial Patient profile and share questionnaires or consent forms with the Patients. The Kiosk app does not allow Patients to view other Patient profiles or details.
You can use this workflow if you have chosen the 'Web Browser, Tablet (iPad, GTab, etc.)' option in the CharmHealth EHR settings page.
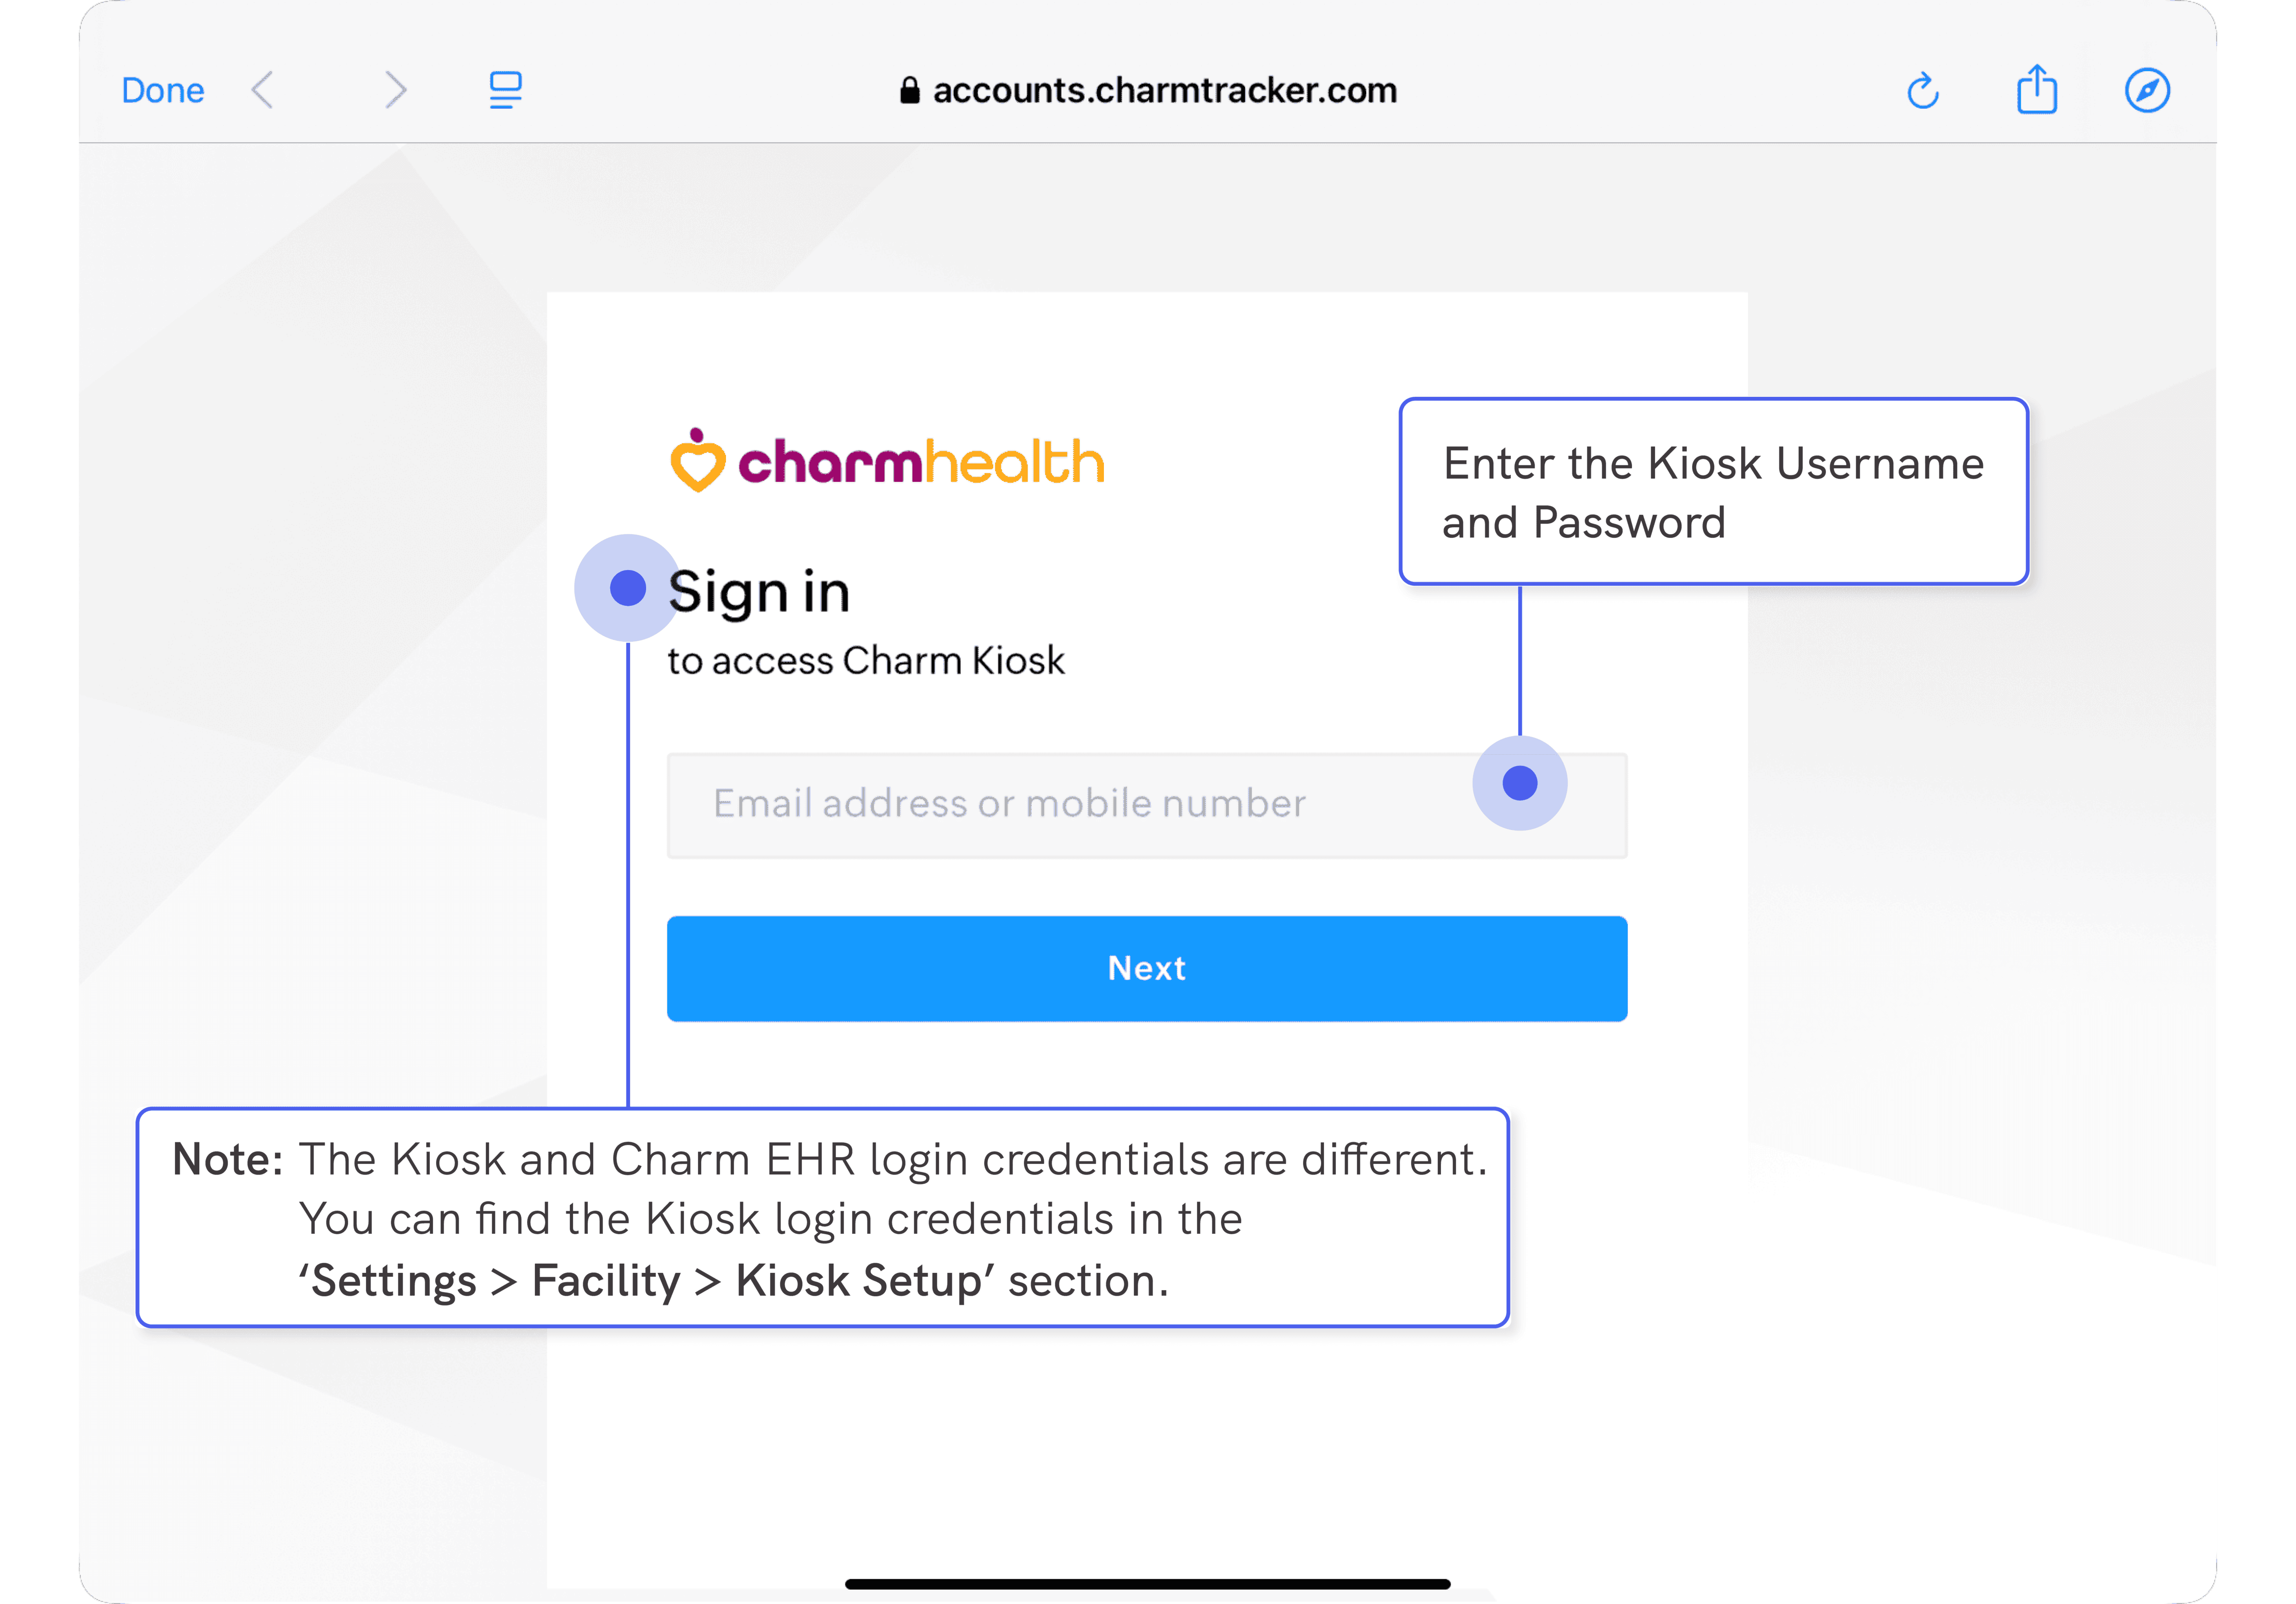
- Download the Kiosk app and log in using the Username and Password of your Charm Kiosk account that was already created in your CharmHealth EHR.
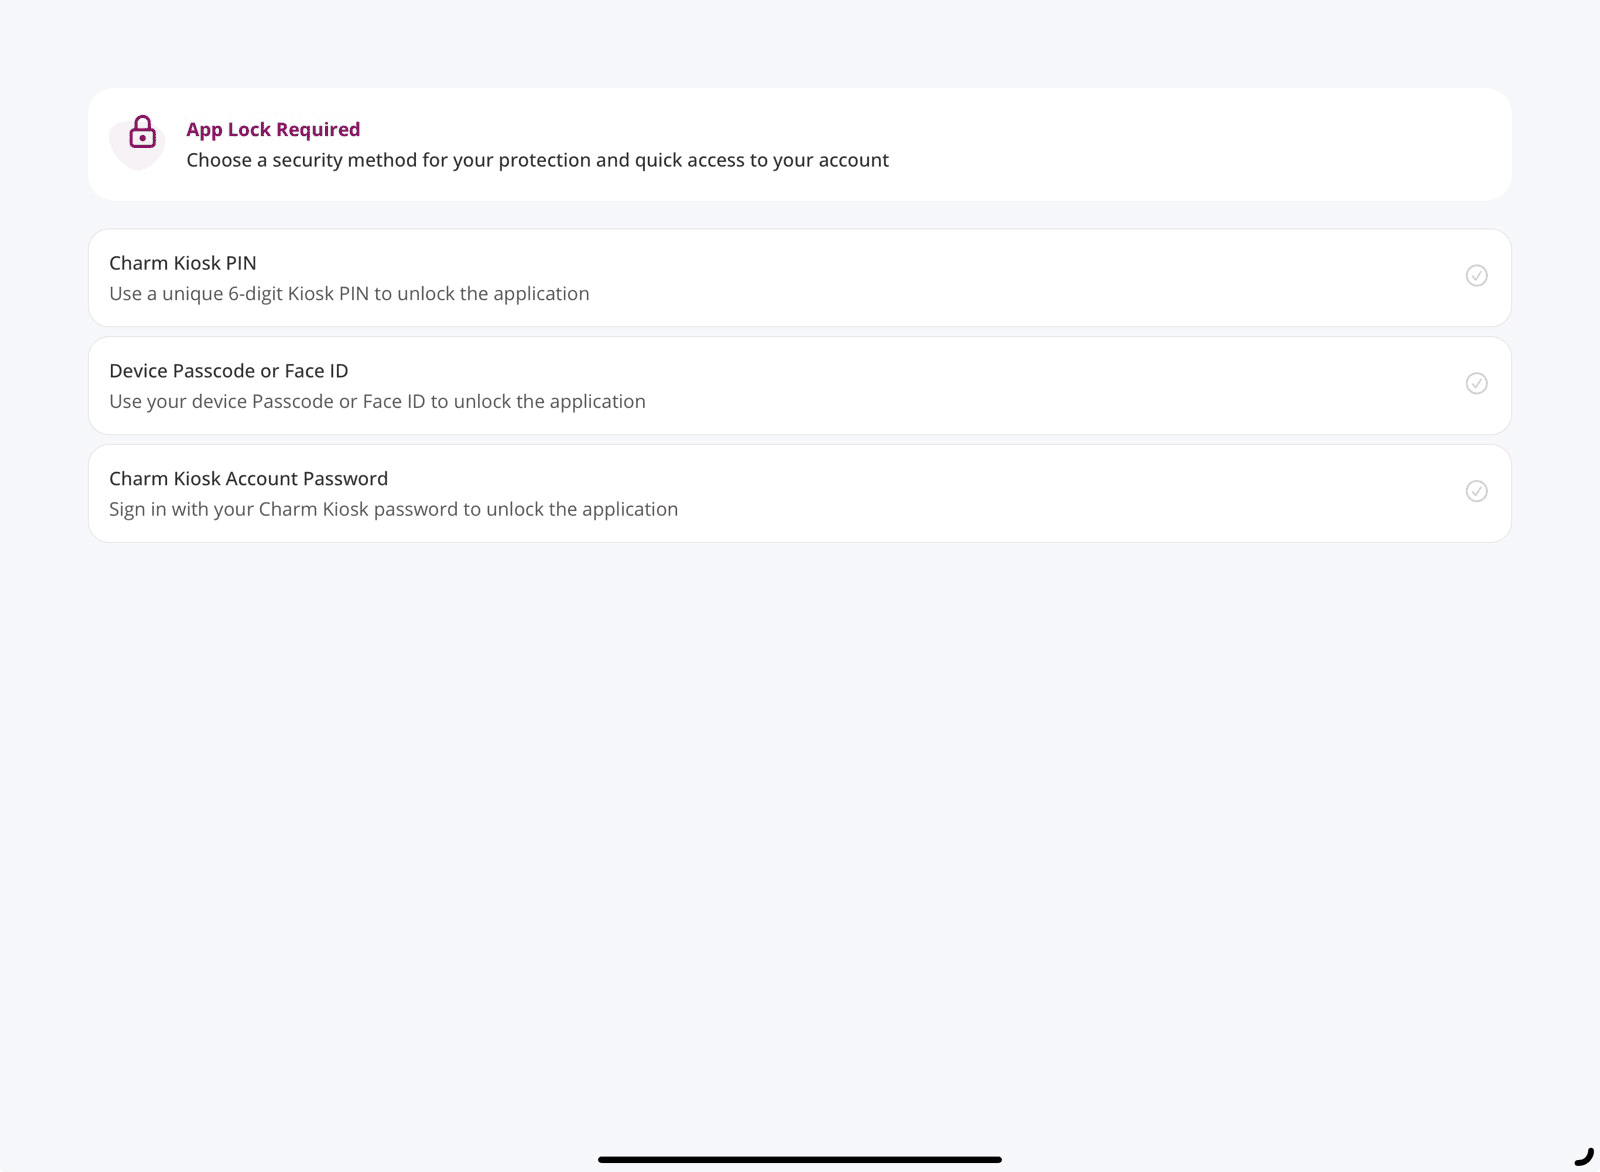
- Configure an App Lock Method for quicker and secure access to your Charm Kiosk account. You will be required to unlock the application using the selected App Lock method each time you access it.
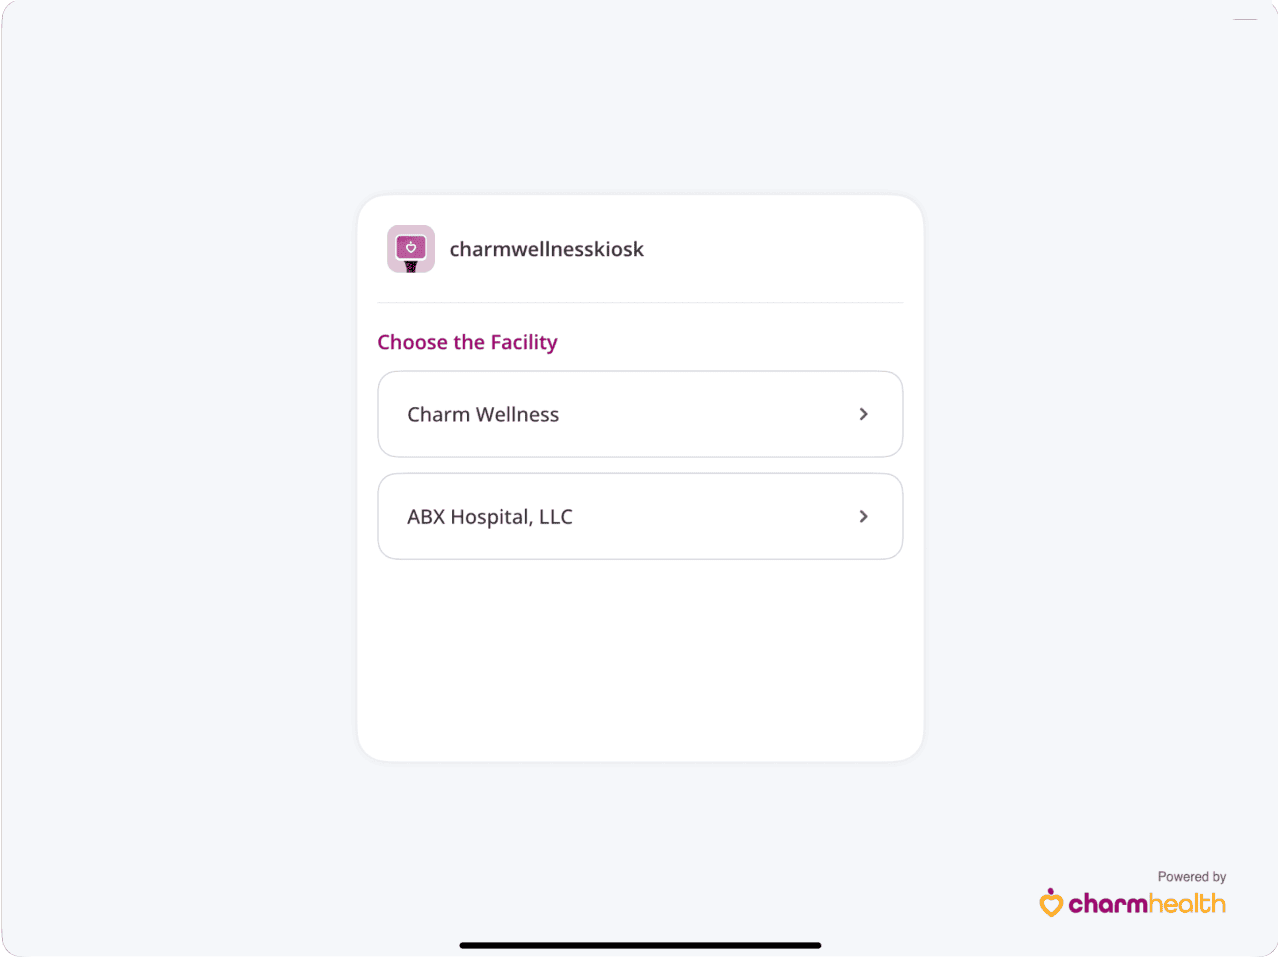
- All Facilities associated with the Kiosk account will be listed. Choose a Facility as required.
- You will be prompted to enable Guided Access, which prevents Patients from navigating outside the Kiosk app. Follow the on-screen instructions or Click Here to set up Guided Access.
- The Charm Kiosk Homepage displays the following options.
a. Add Patient
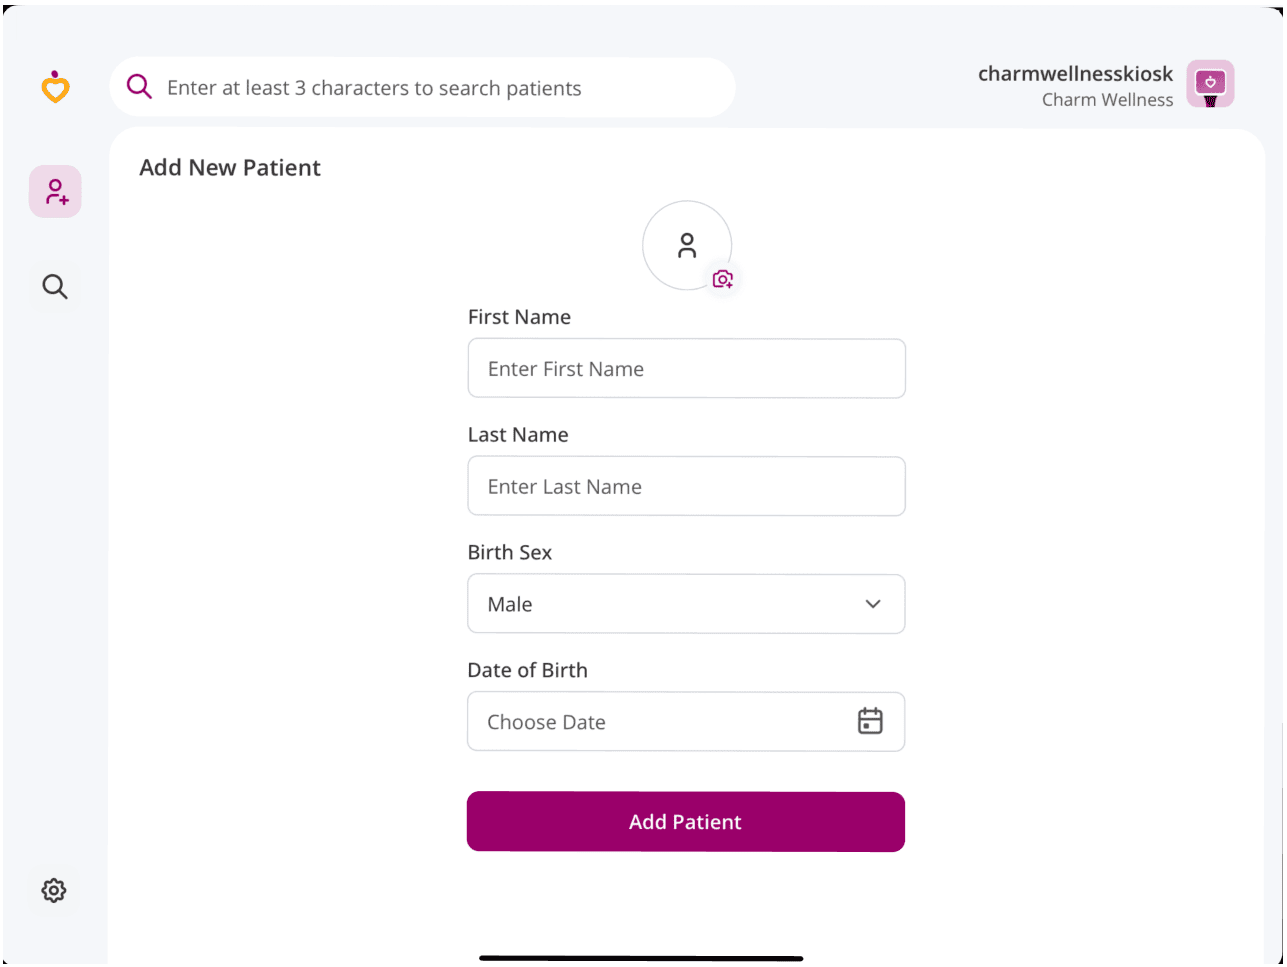
The Nurse or Front Office Staff can add new Patients to the selected Facility by following the steps below.
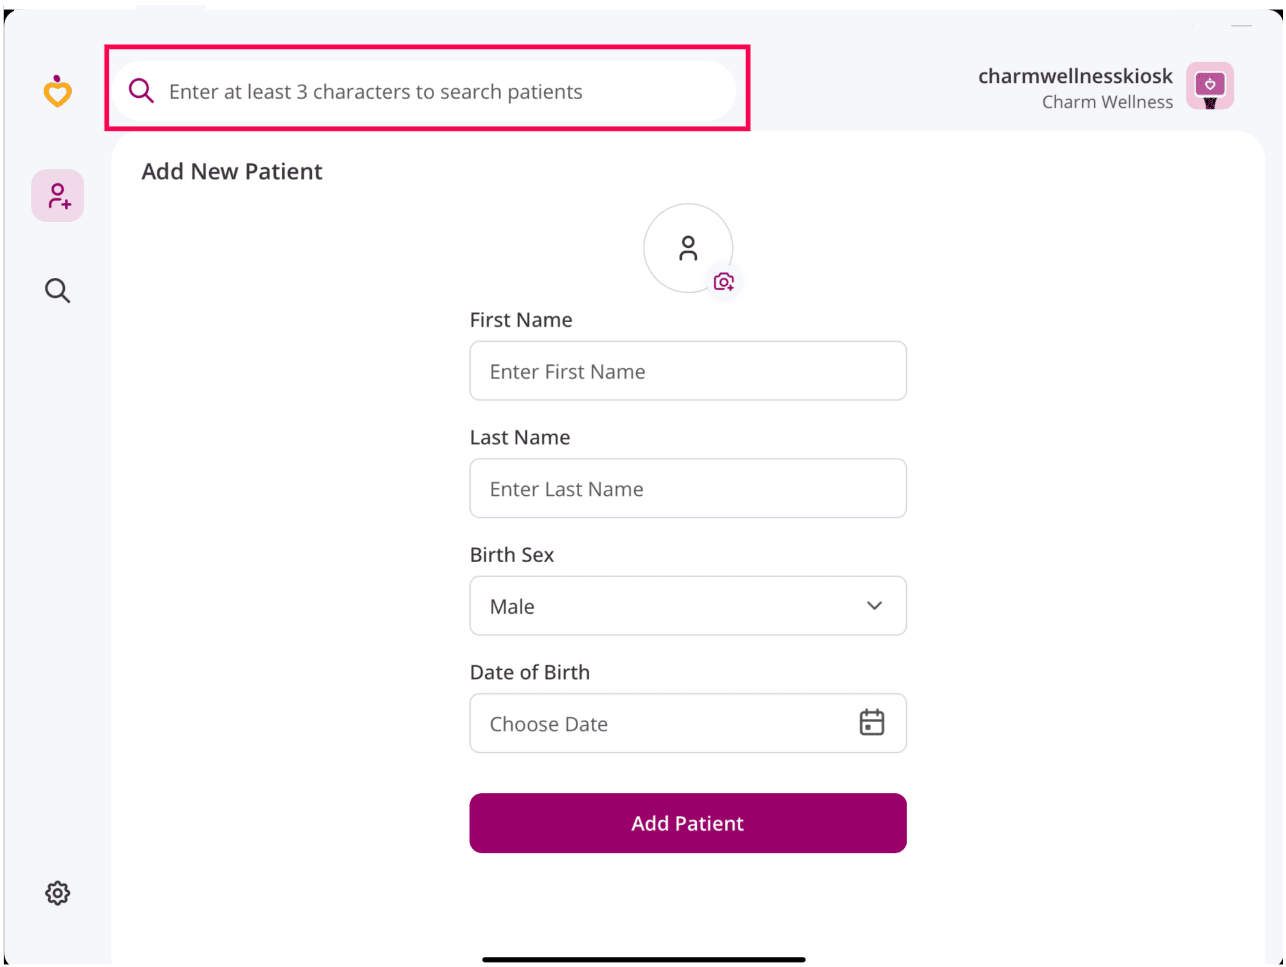
- To add a new Patient, tap the 'Add Patient' icon on the left-hand sidebar.
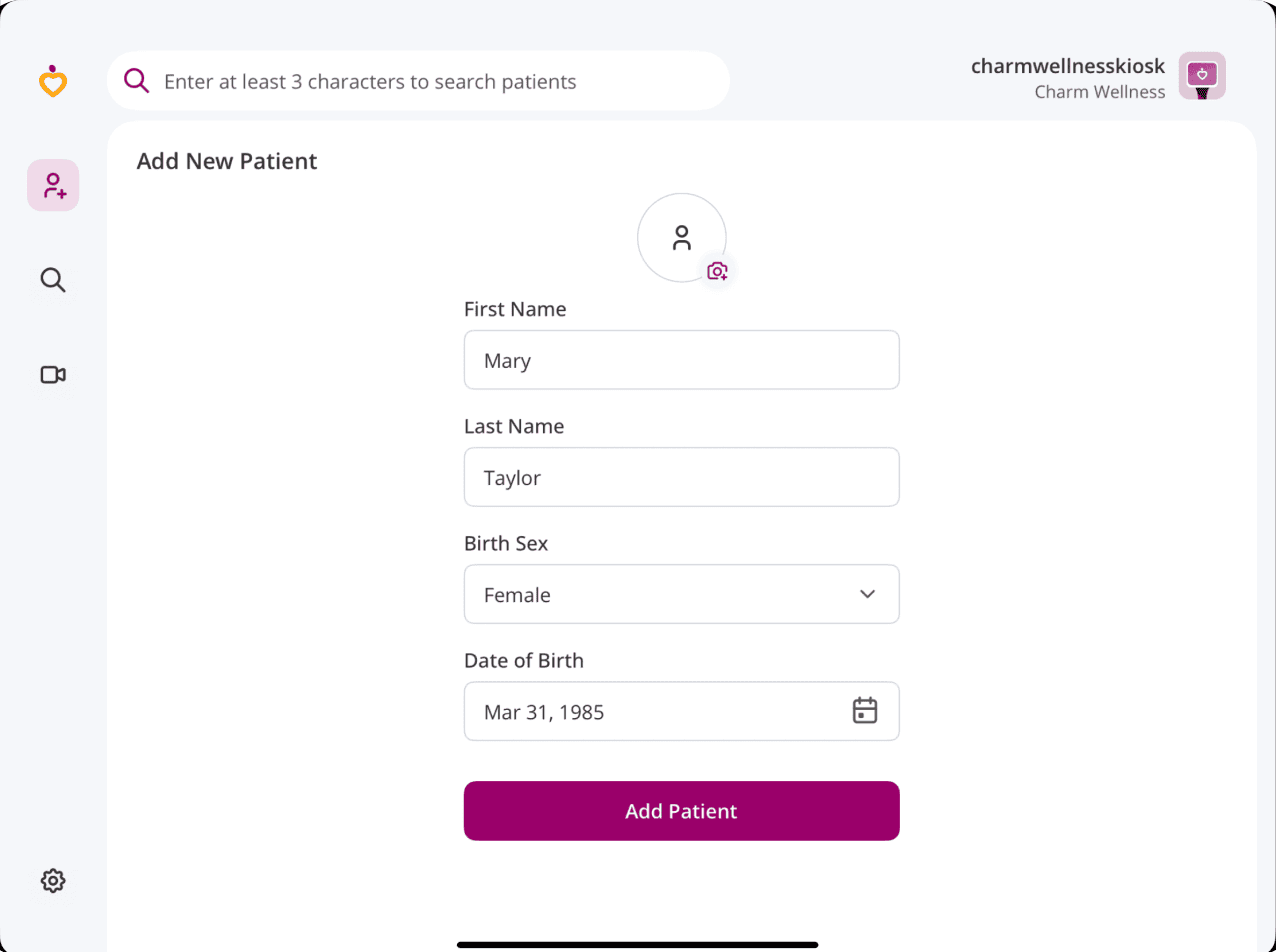
- Enter the 'Patient Details' and tap the Profile Picture icon to capture the Patient's picture.
- Tap the 'Add Patient' button to add the Patient to the selected Facility.
- After adding a new Patient, tap the '+' icon to add questionnaires or consent forms.
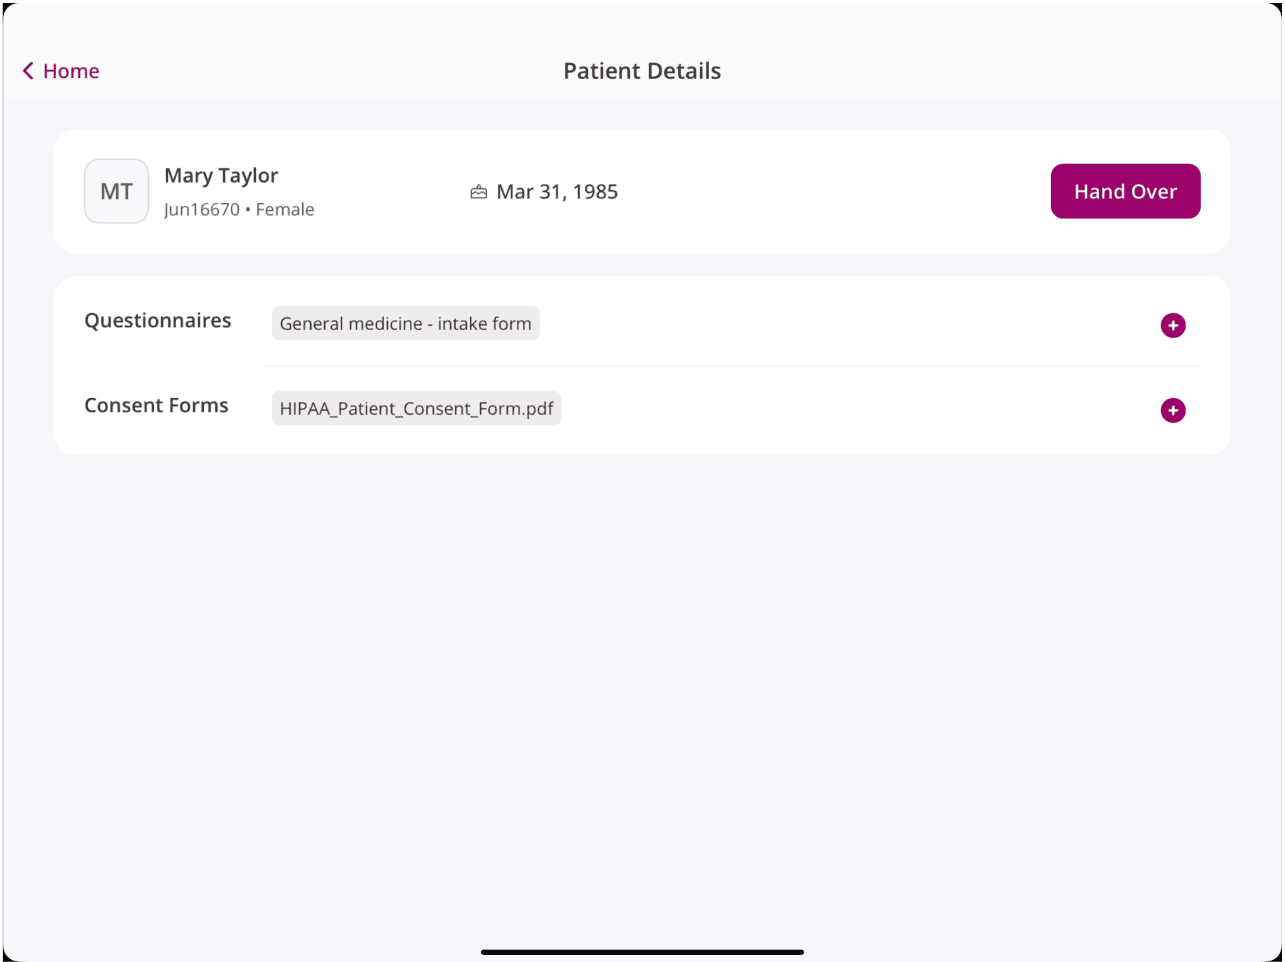
- Then, tap the 'Handover' button.
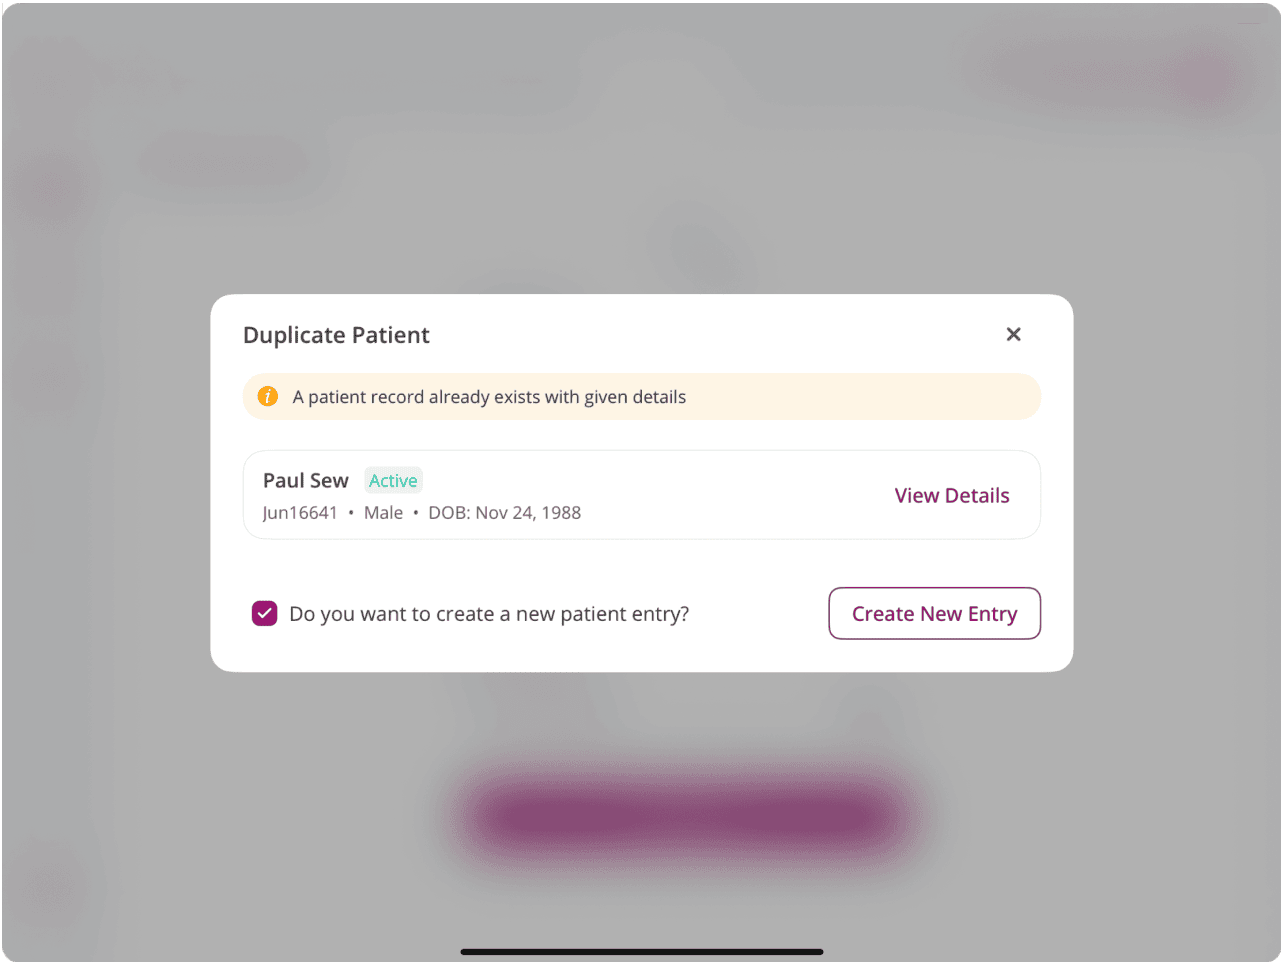
If the Patient is already registered with the Facility, you can view the existing Patient details. To create a new entry, select the 'Do you want to create a new patient entry' checkbox and tap the 'Create New Entry' button.
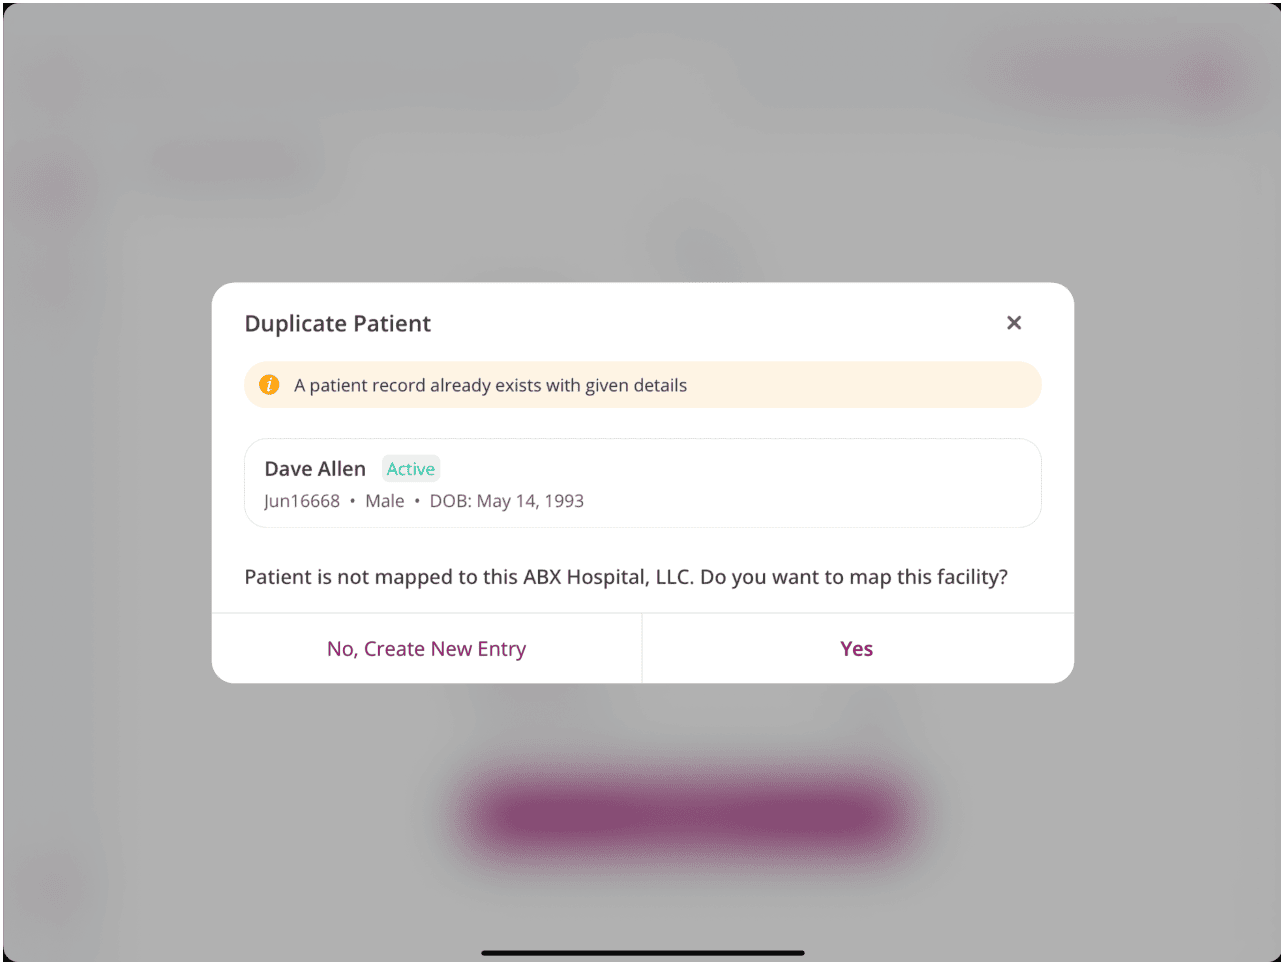
If the Patient is registered with another Facility associated with the Charm Kiosk account, you can either map the Patient to the selected Facility or create a new Patient entry.
b. Search Patient
To search the Patients within the selected Facility, follow the steps below.
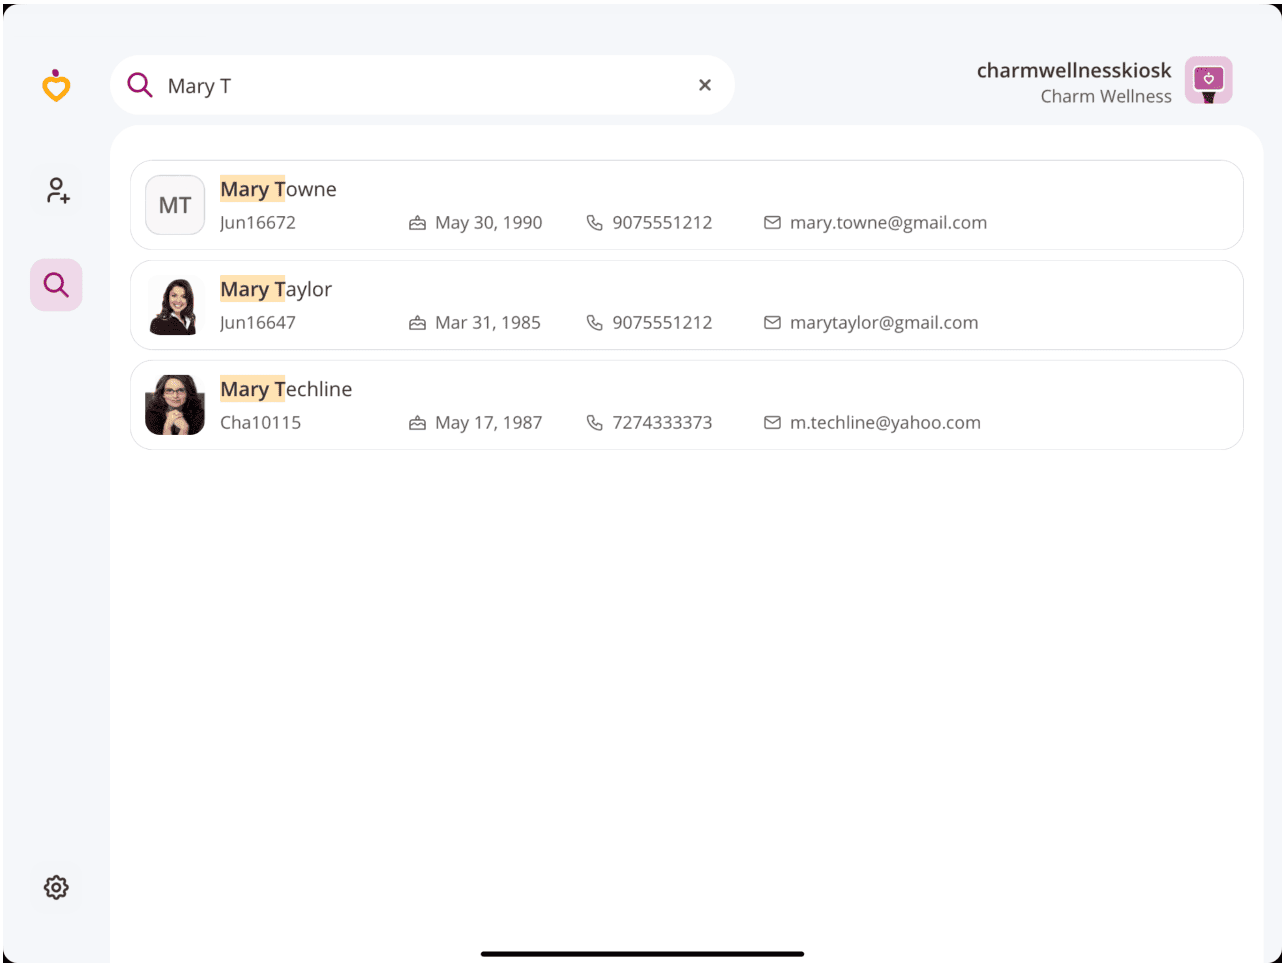
- Enter the 'Patient Name' in the search bar.
- Choose a 'Patient Profile' from the list of matching profiles.
- Tap the '+' icon to add questionnaires or consent forms.
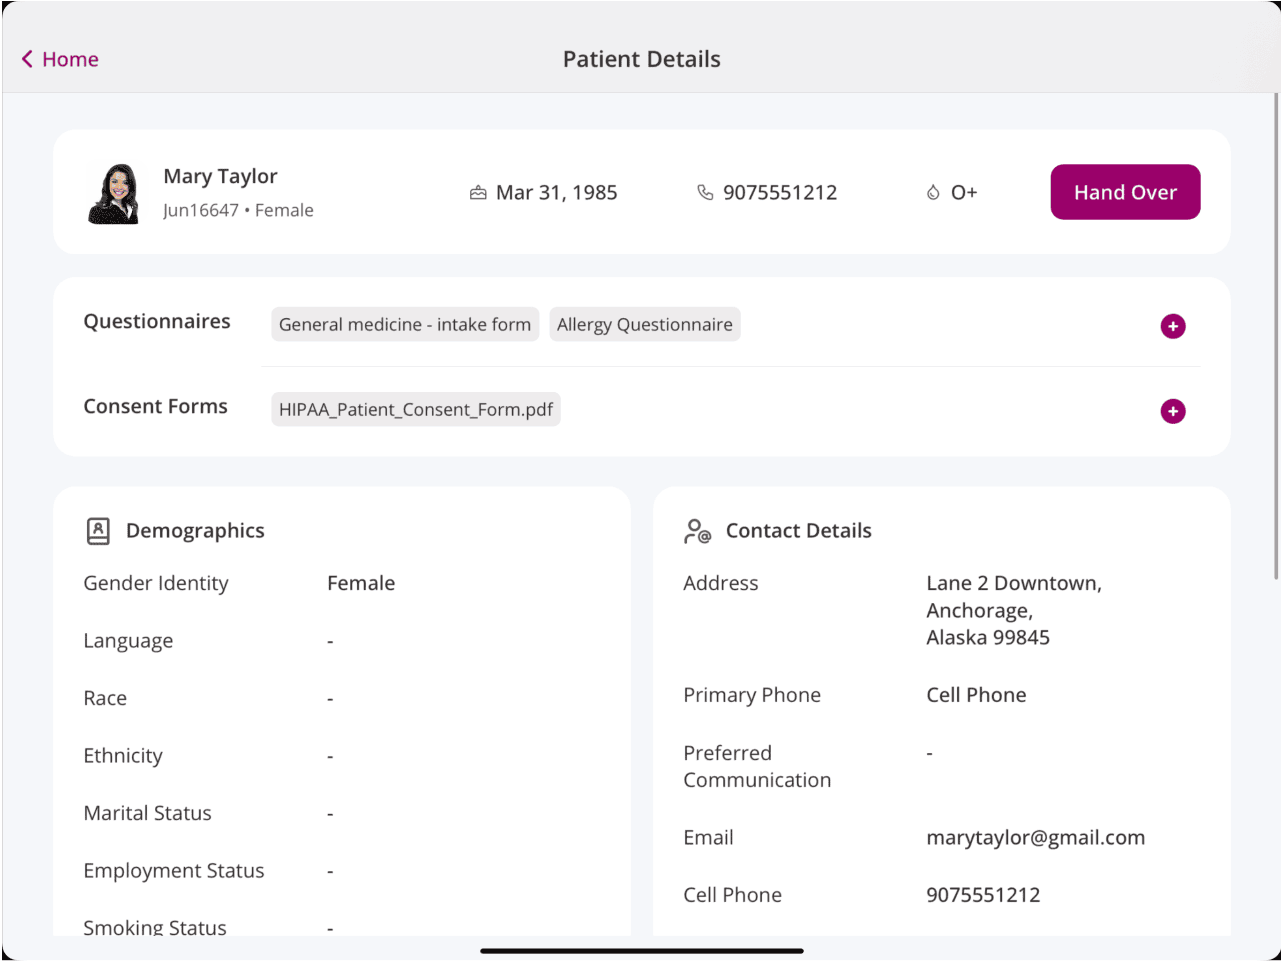
- Tap the 'Handover' button and give the Patient the iPad to enter their details.
c. Patient View
After the Nurse or Front Office Staff hands over the Kiosk, Patients can update their demographic information and complete questionnaires or consent forms by following these steps:
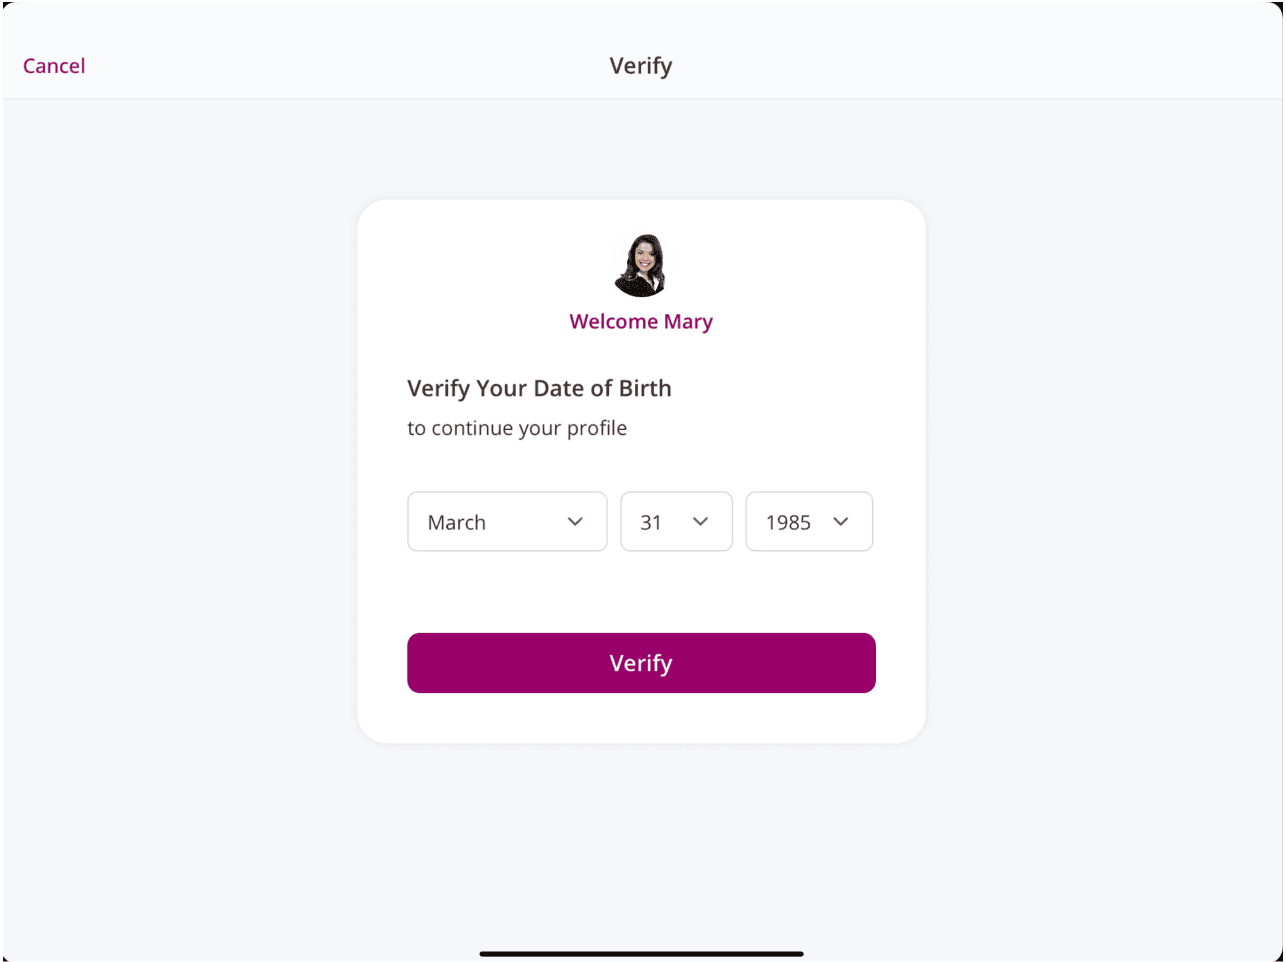
- Verify their 'Date of Birth' (DOB registered in the CharmHealth EHR records).
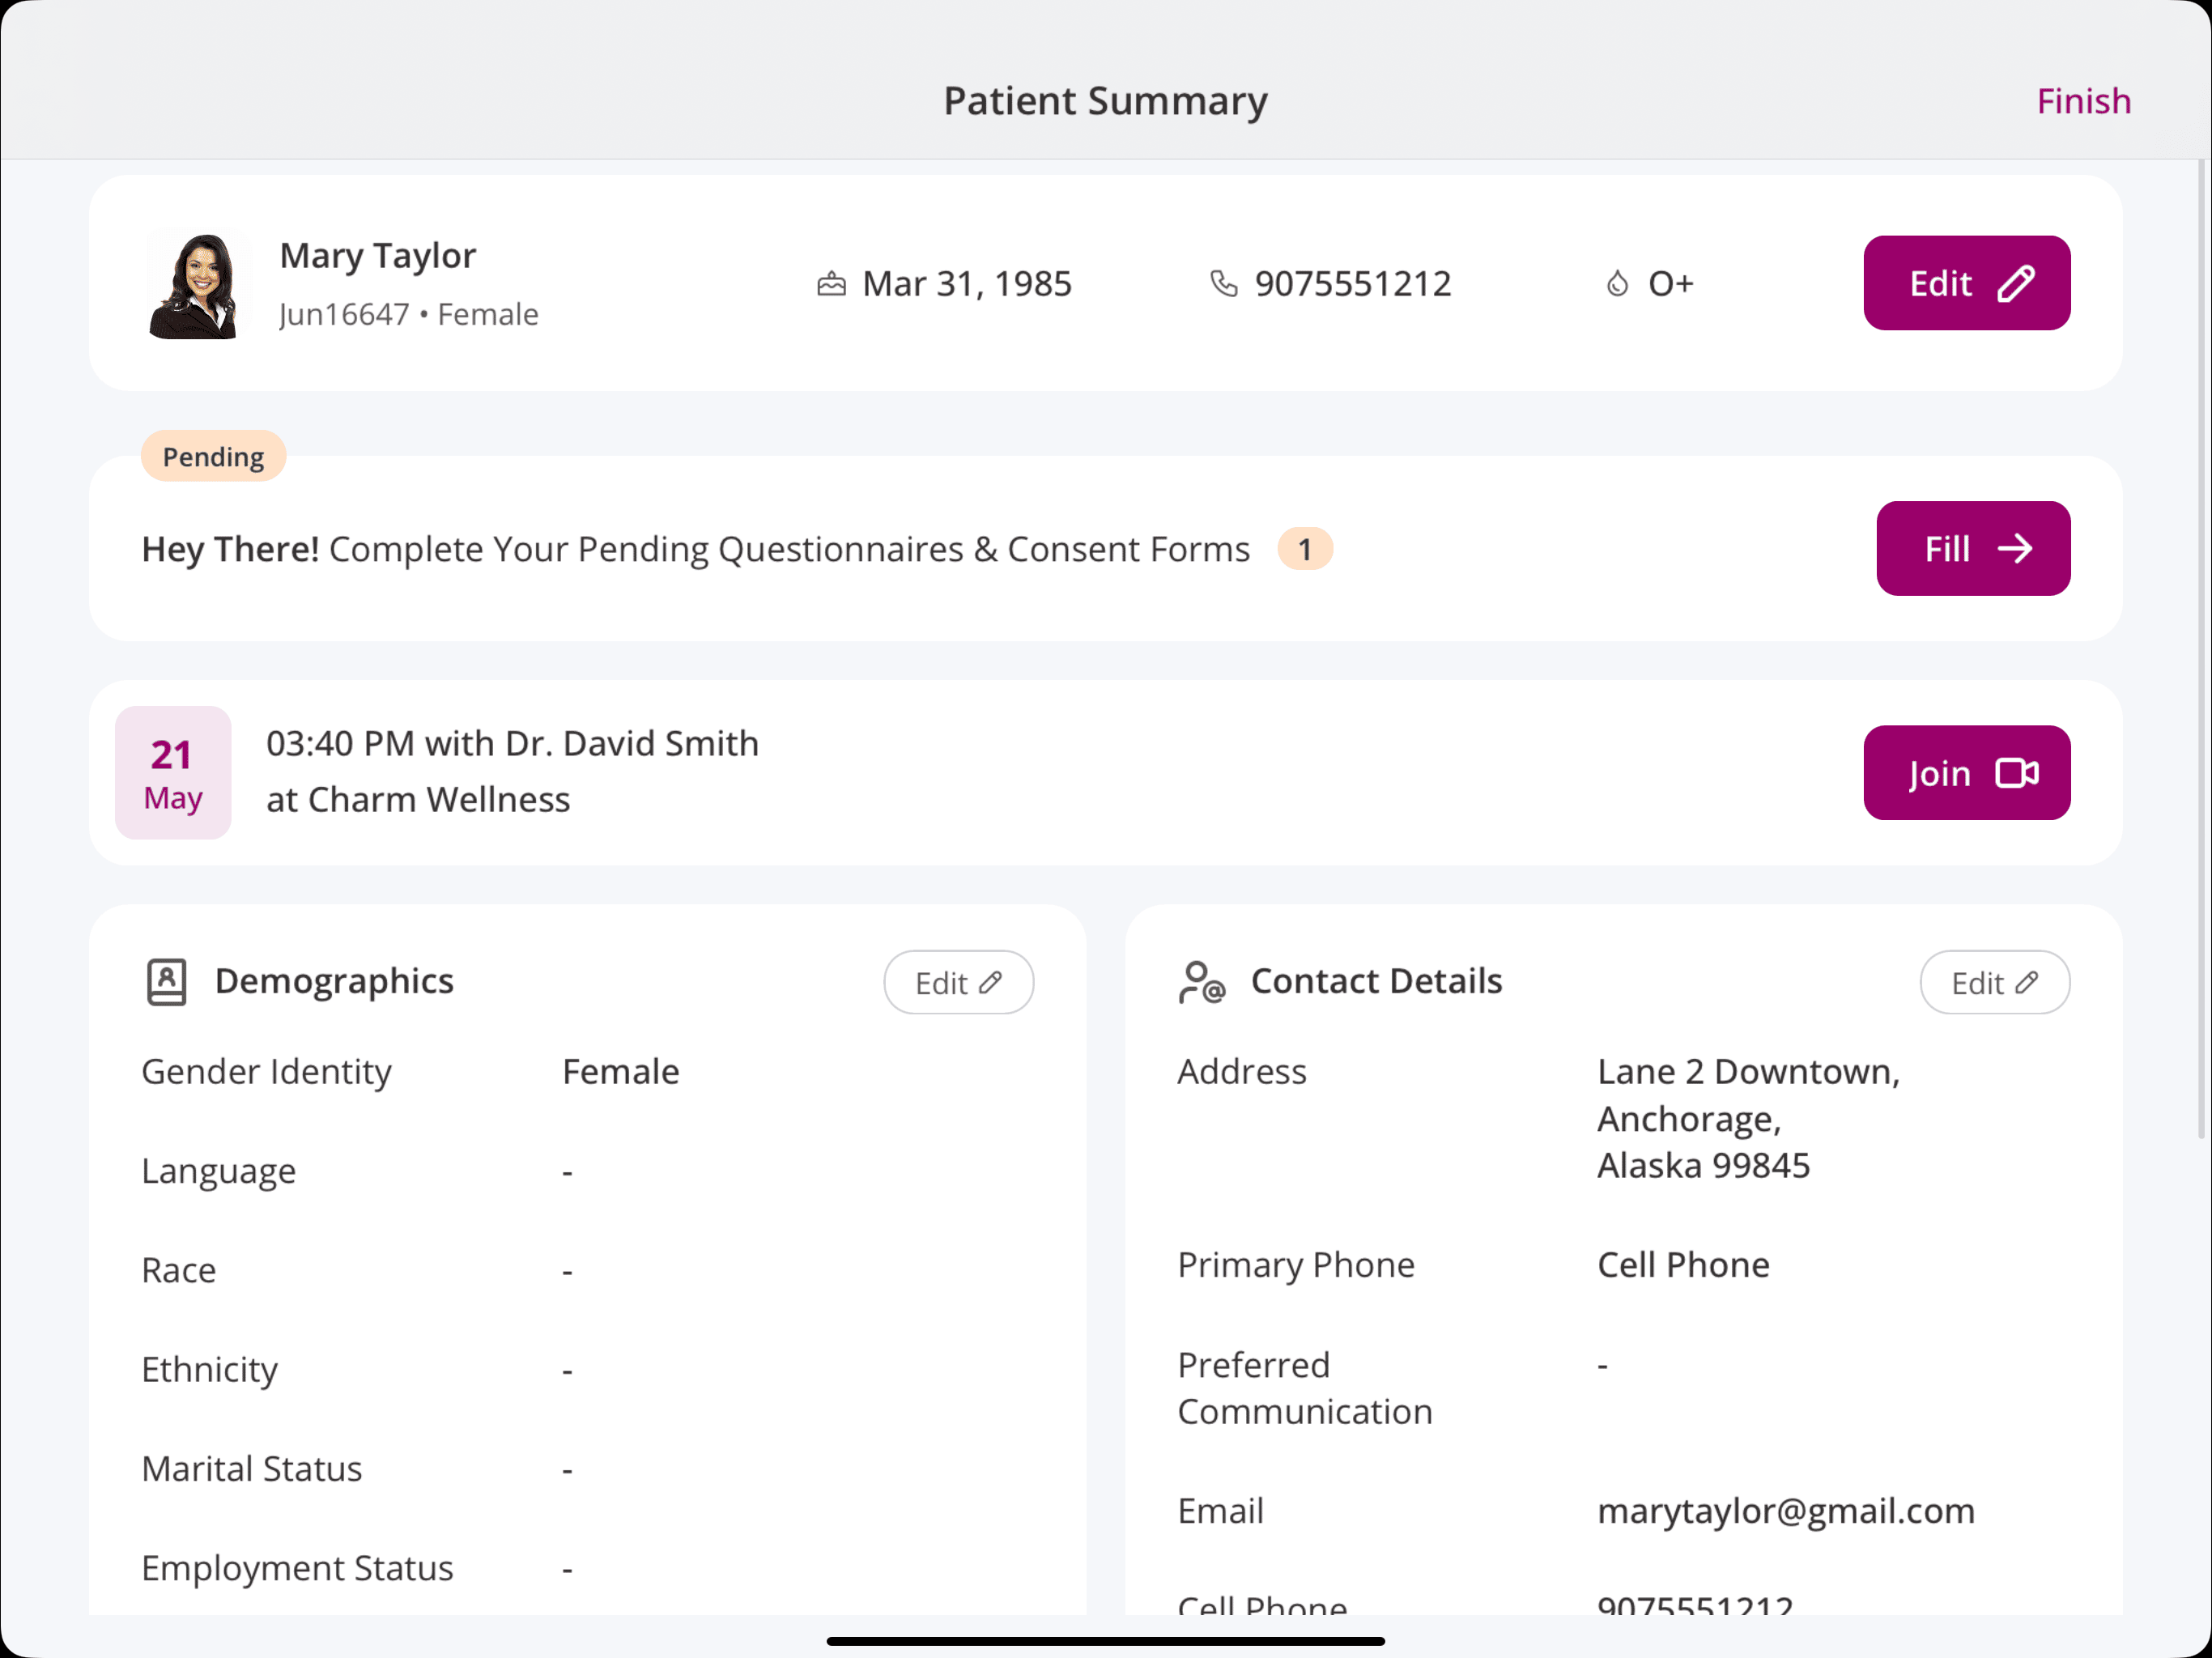
- If Patients have appointments scheduled, the appointment status will be updated based on the configured Kiosk Settings.
- Patients can add or update the following details as required.
- Profile
- Personal Information
- Patient Address
- Contact Information
- Emergency Contact
- Caregiver
- Insurance
- Primary Insurance
- Secondary Insurance
- Capture the images of the Insurance Card
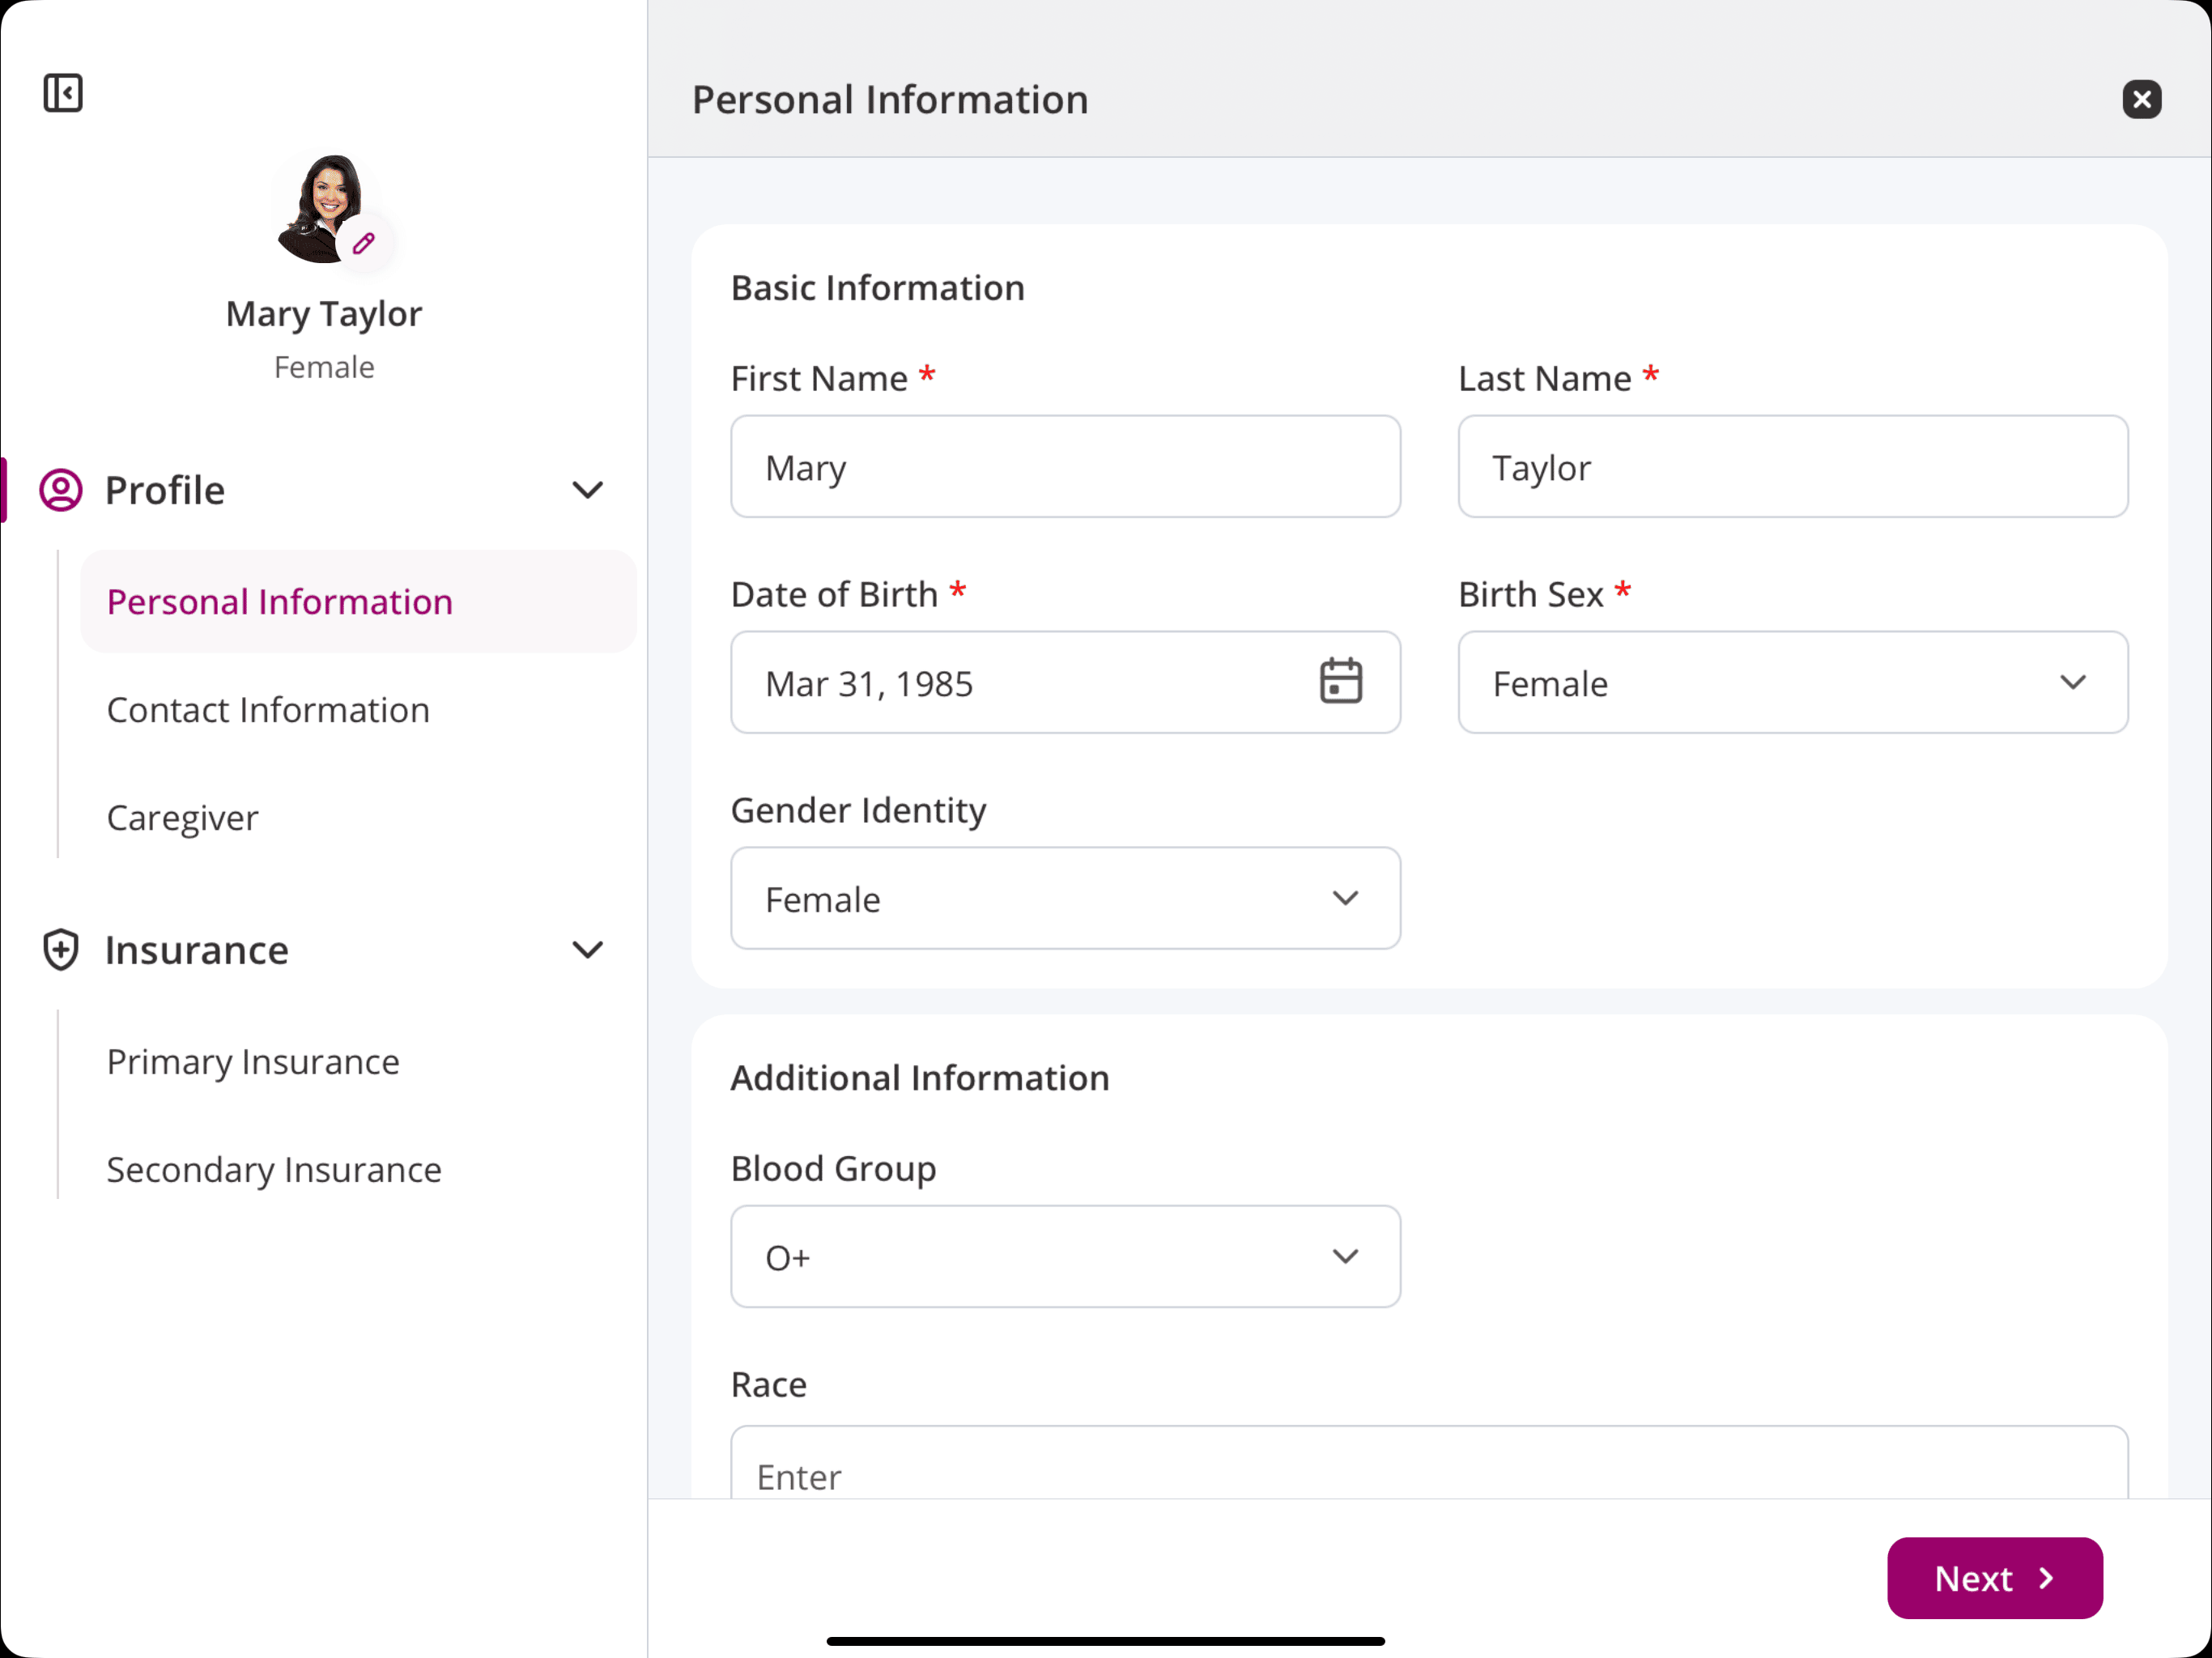
Note: The Patient can skip filling the Primary and Secondary Insurance sections.
- Profile
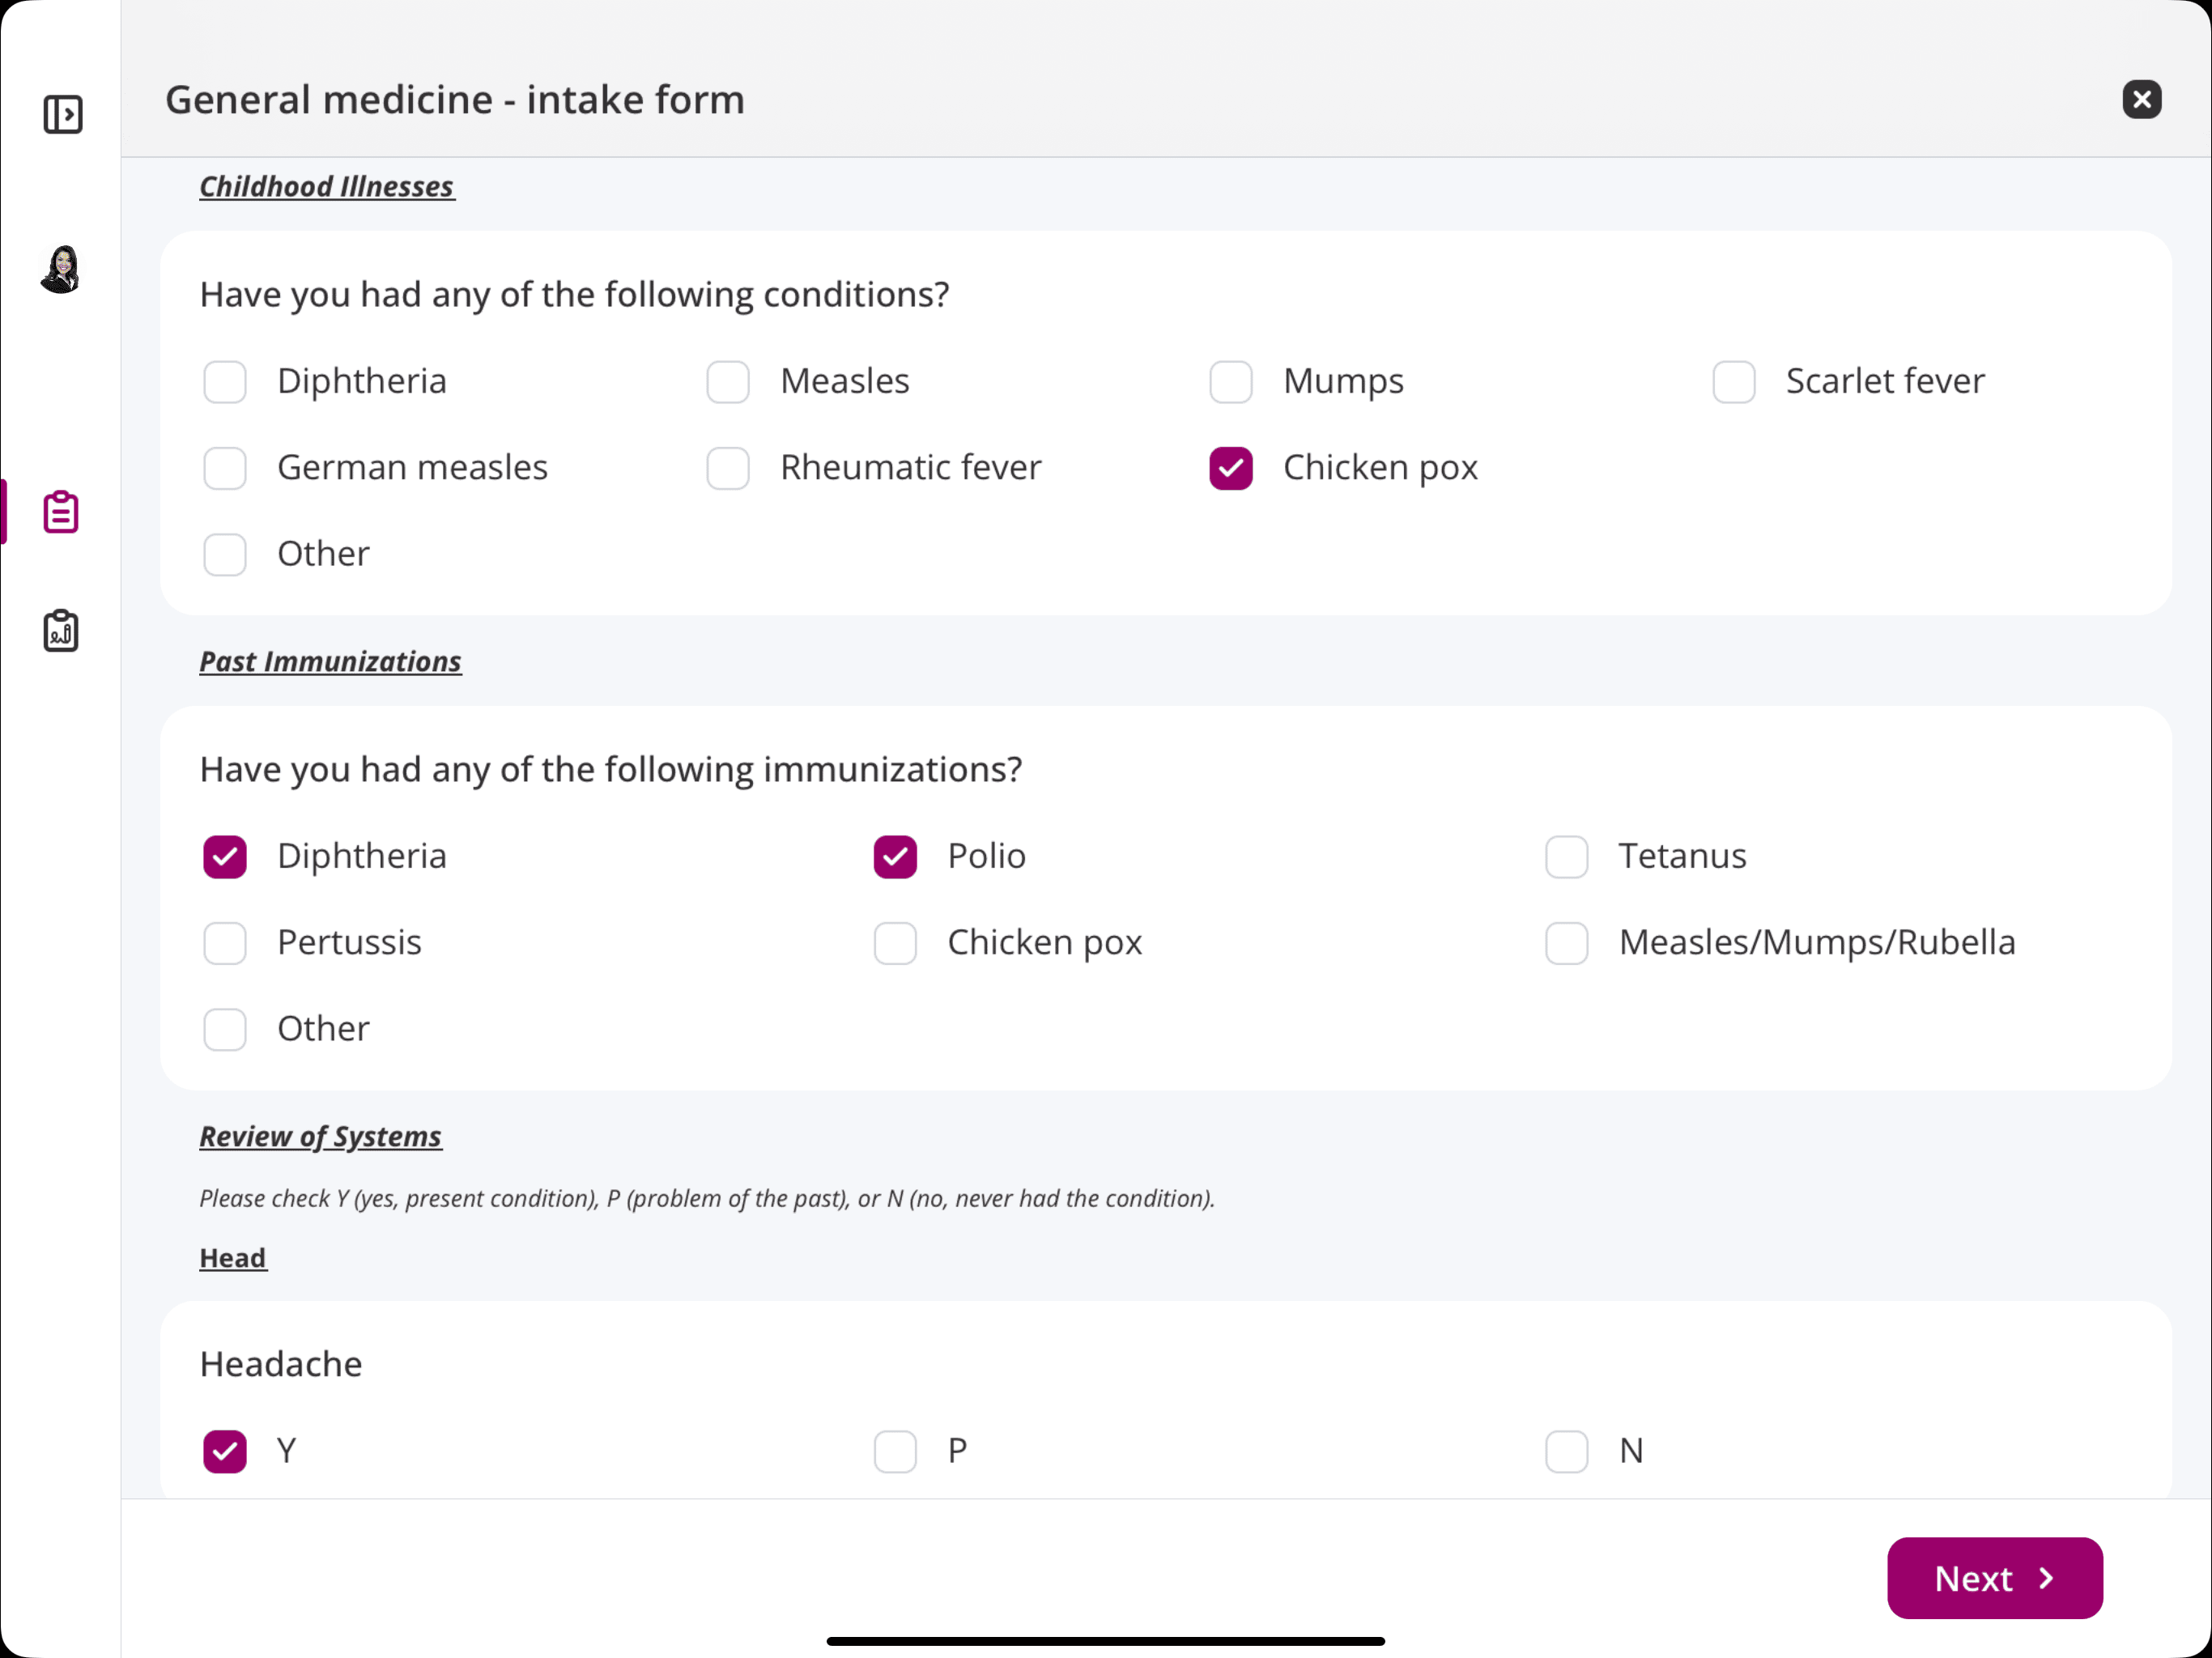
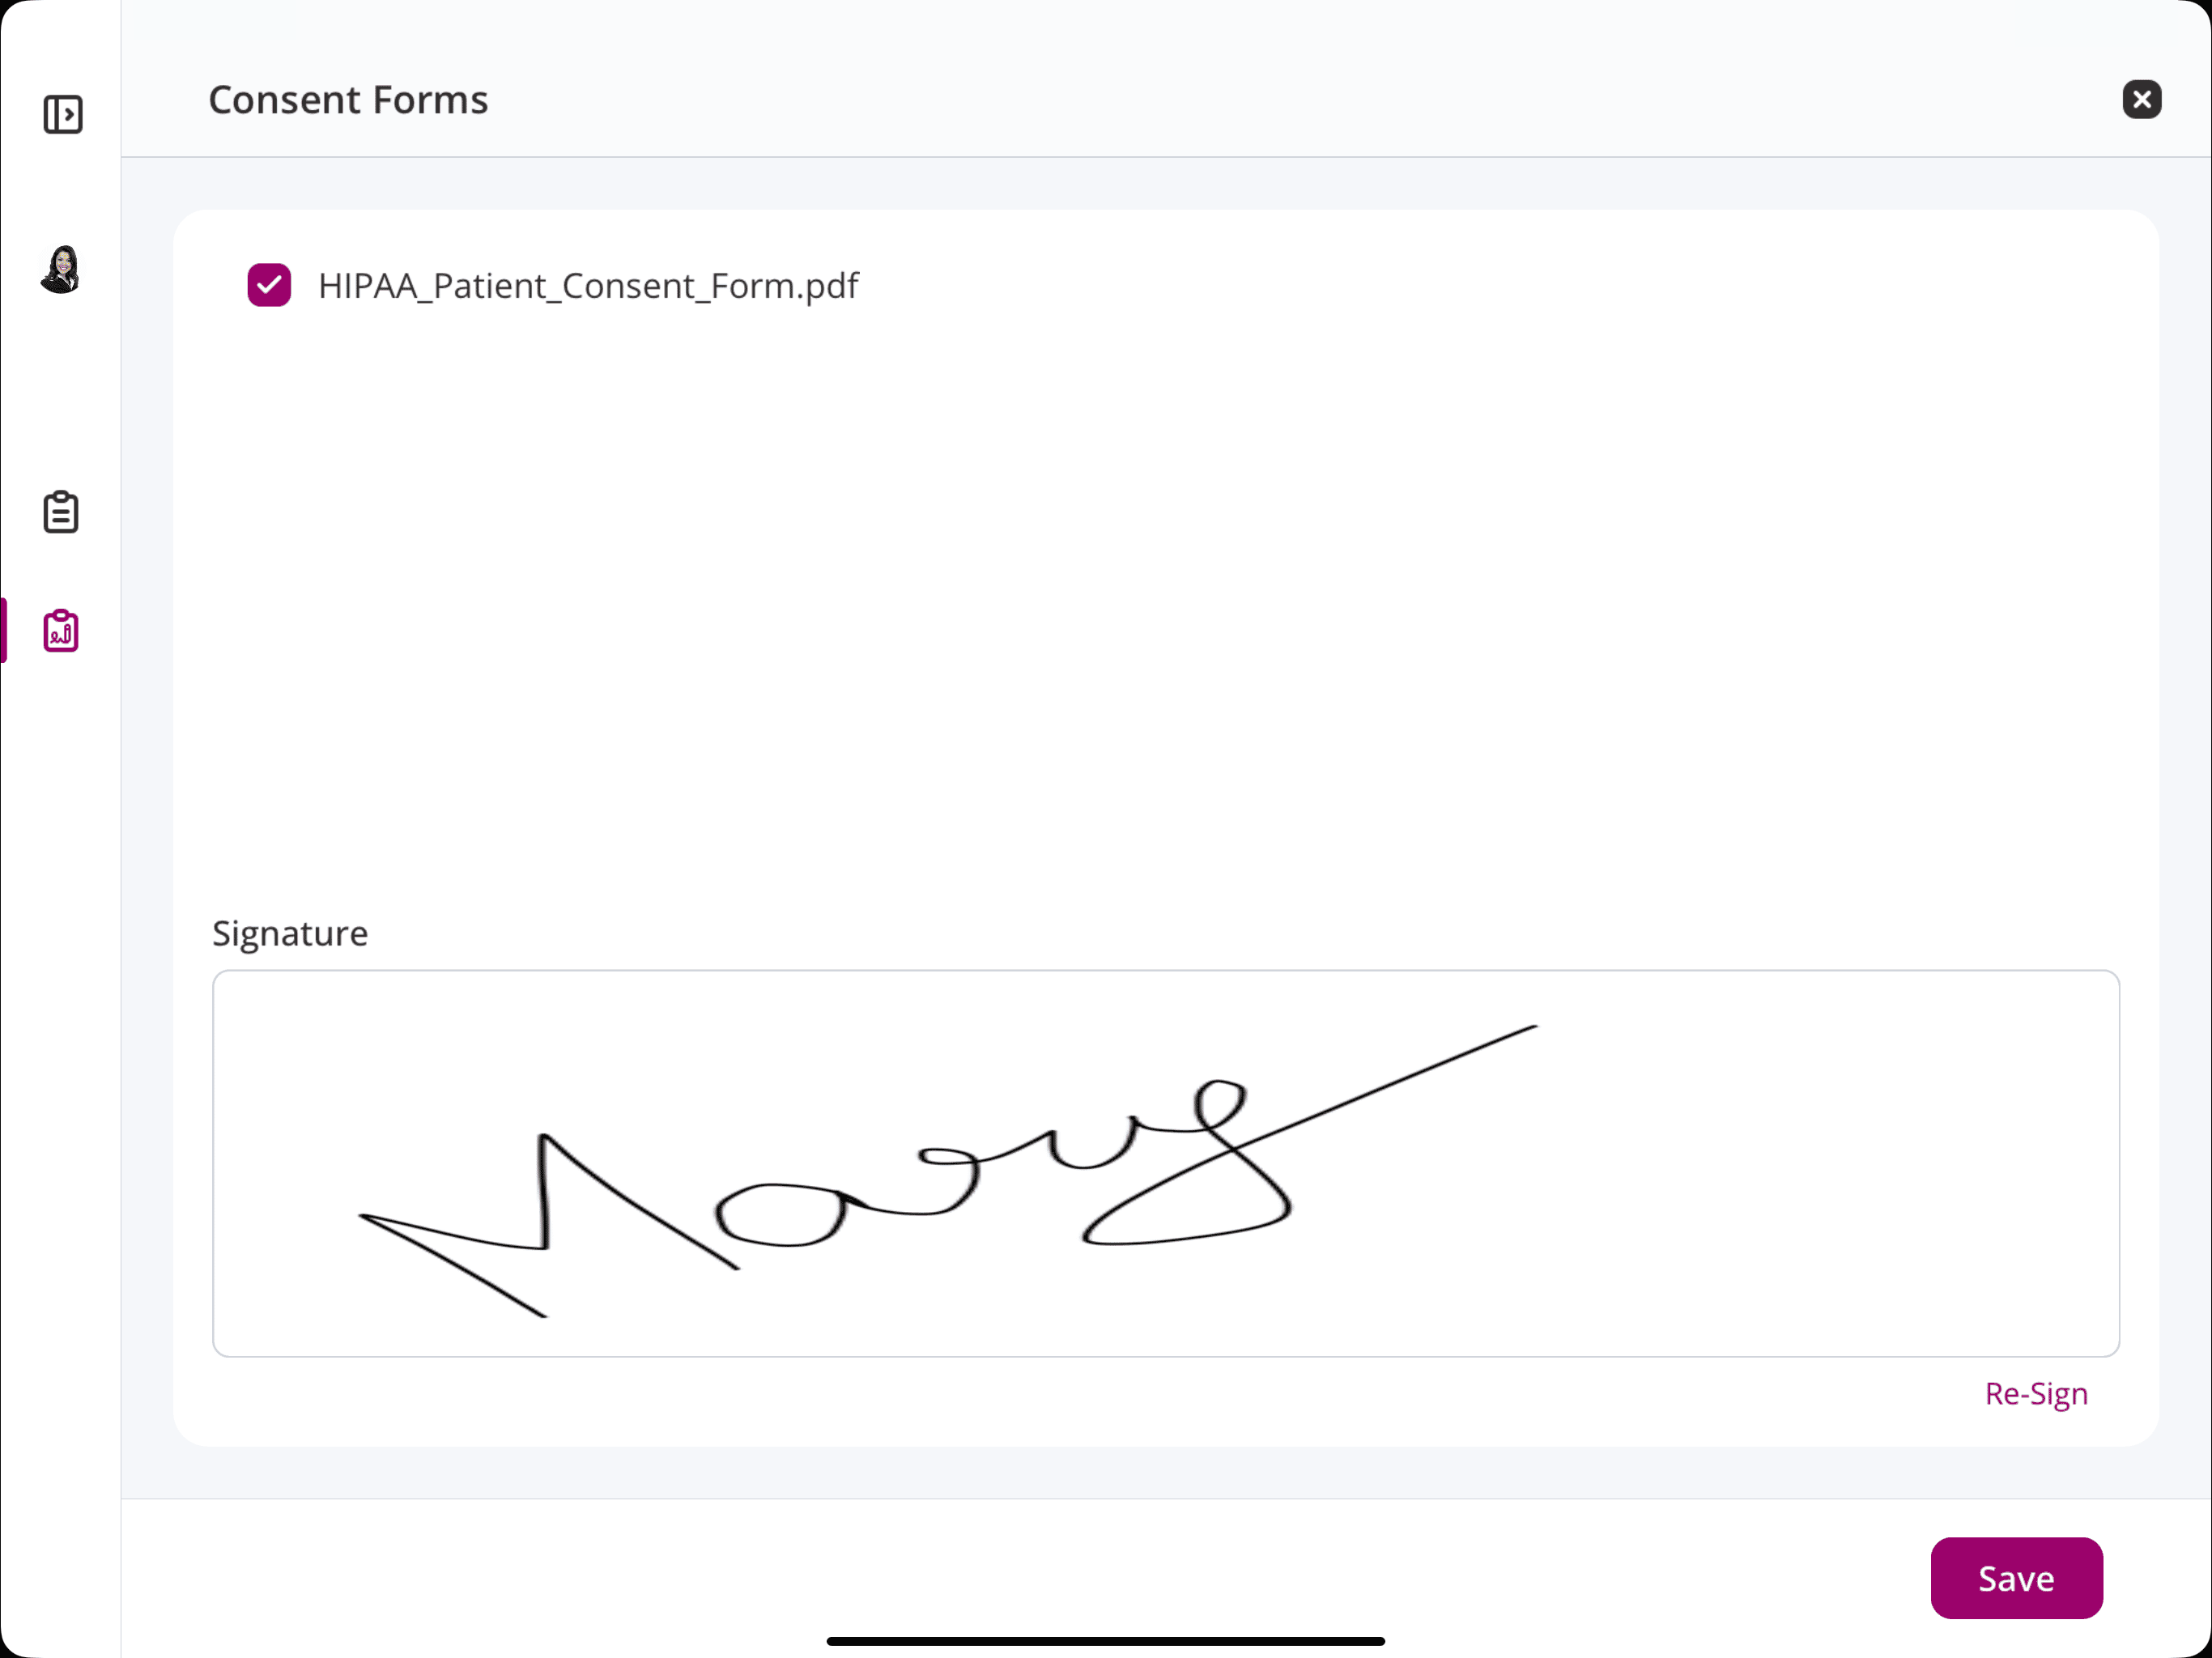
- Patients can then complete the questionnaires or consent forms if they have been shared by the Practice during appointment booking or through Messages from CharmHealth EHR.
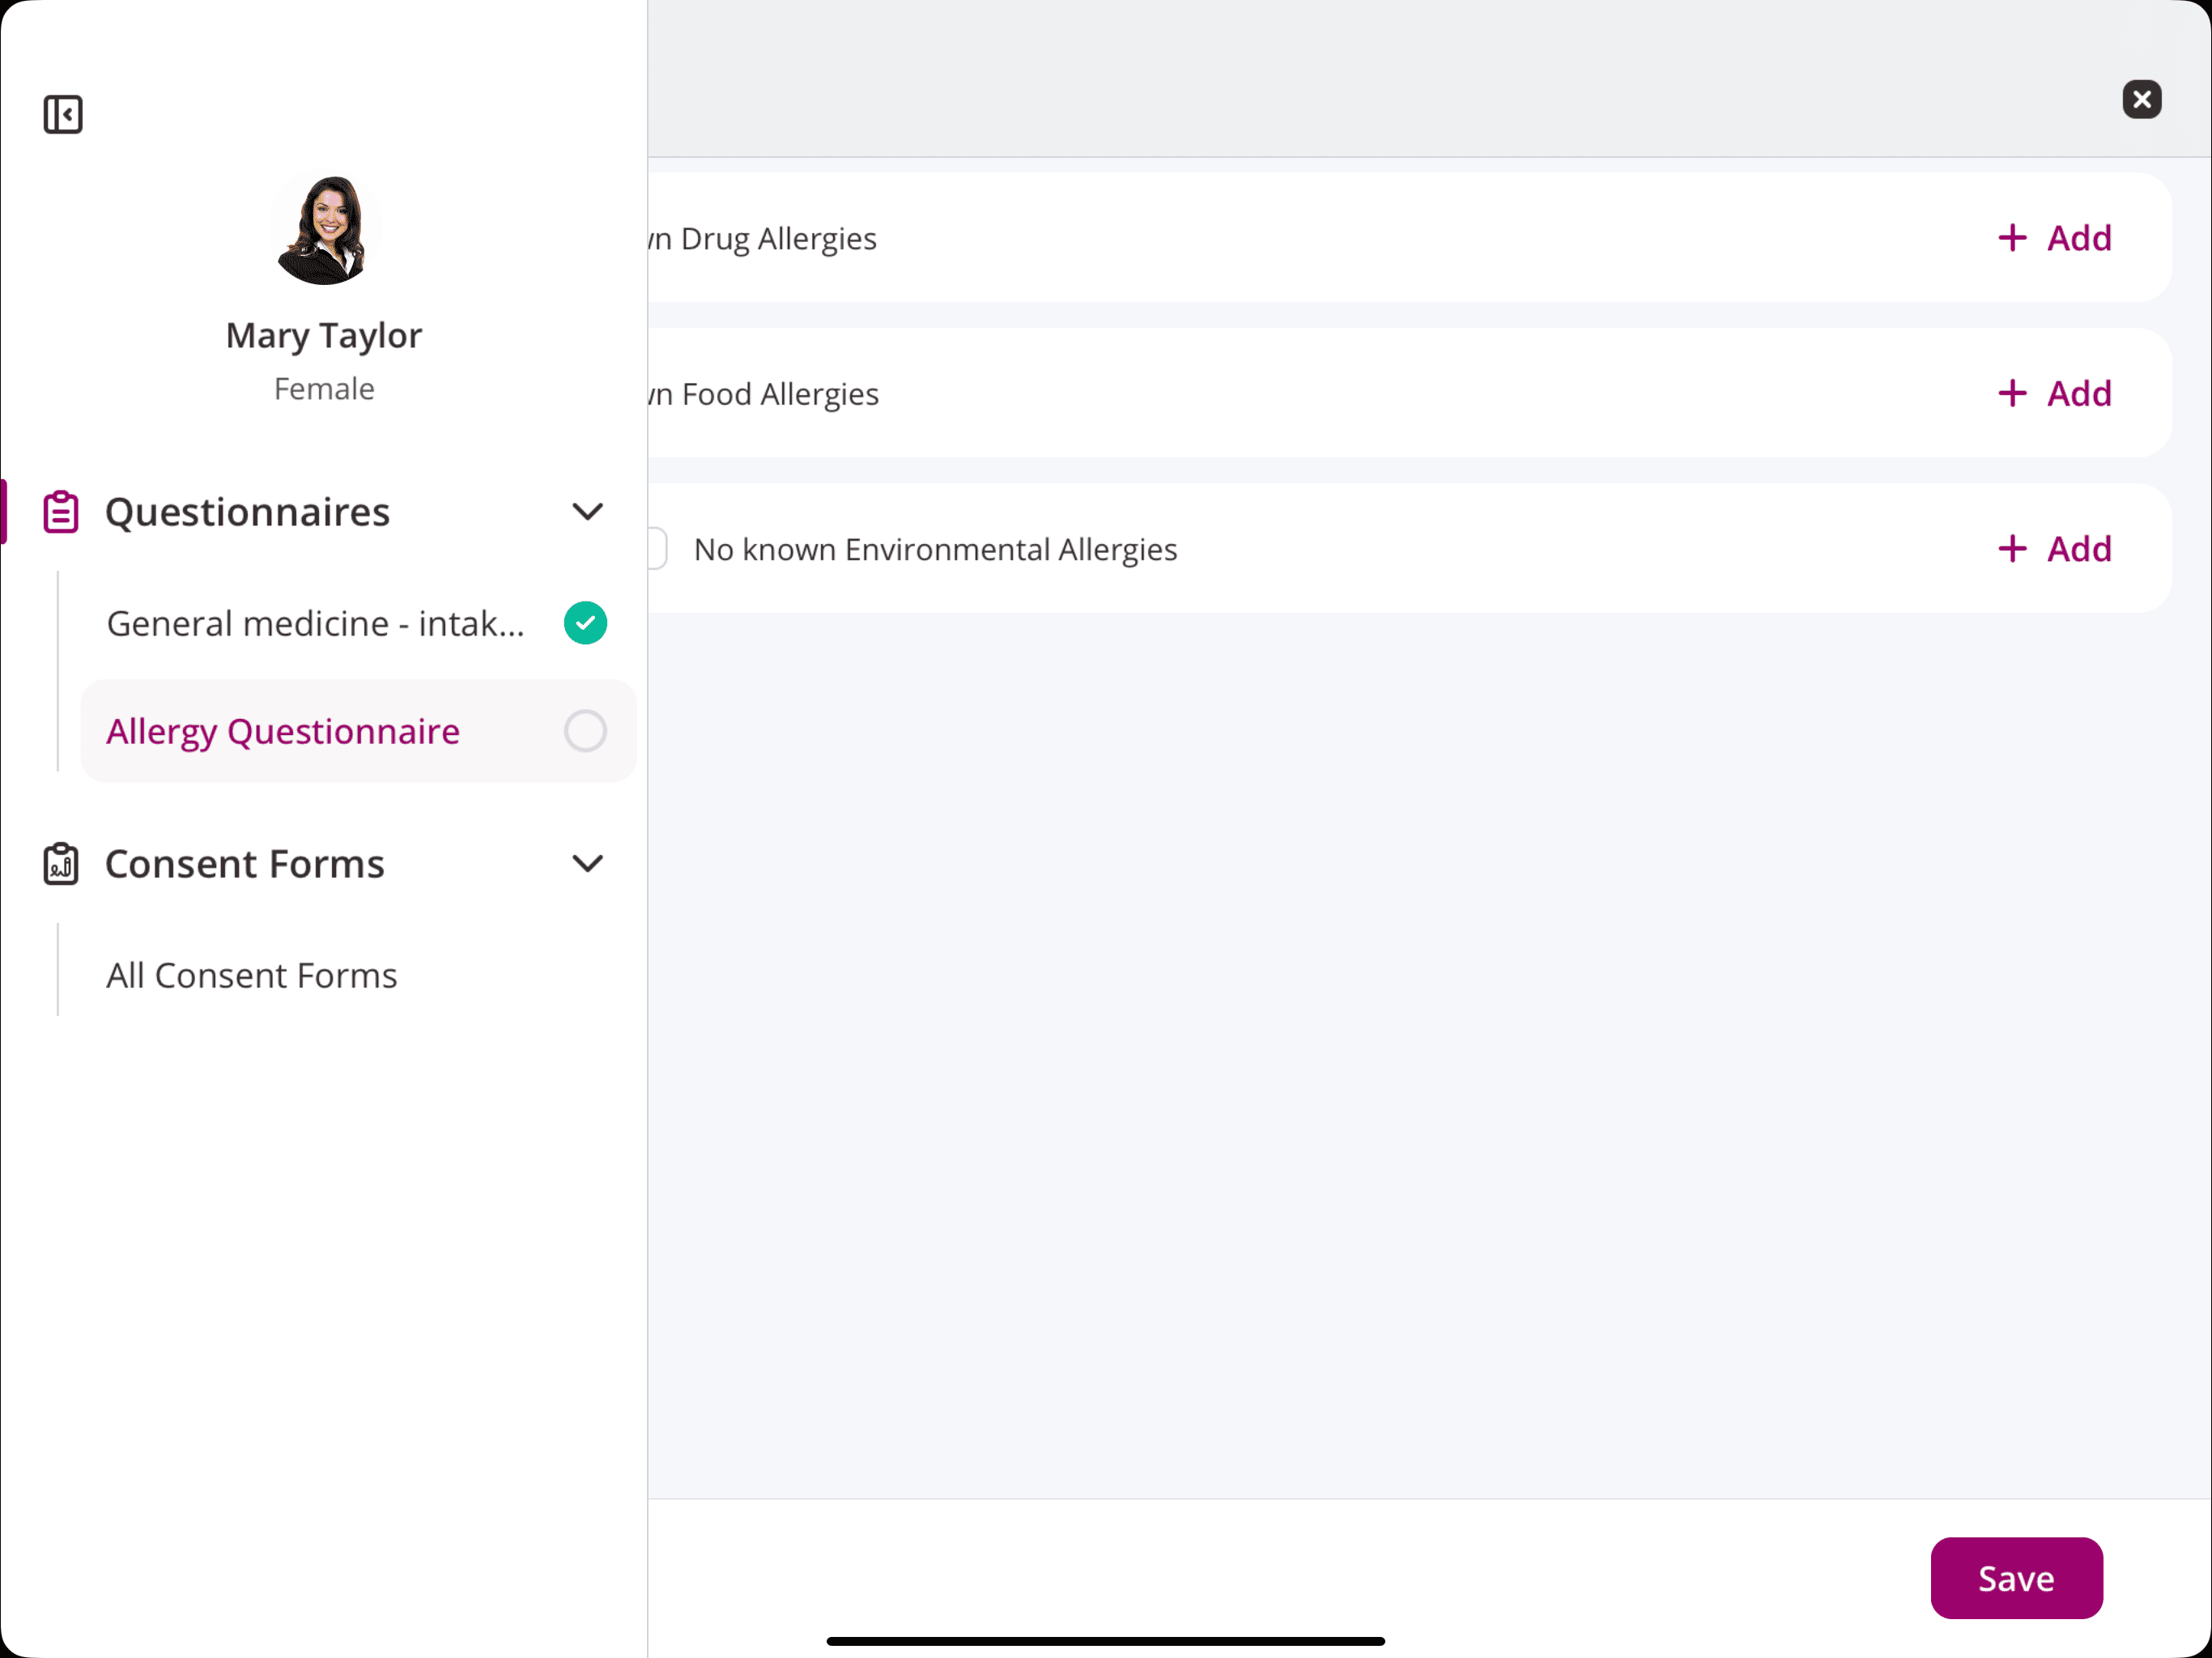
- Swipe the left-side navigation bar to view all the questionnaires and consent forms shared and their submitted status.
- All upcoming TeleHealth appointments of the Patient will be listed on the Patient Summary Page. The Patients can join the session by tapping the 'Join' button.
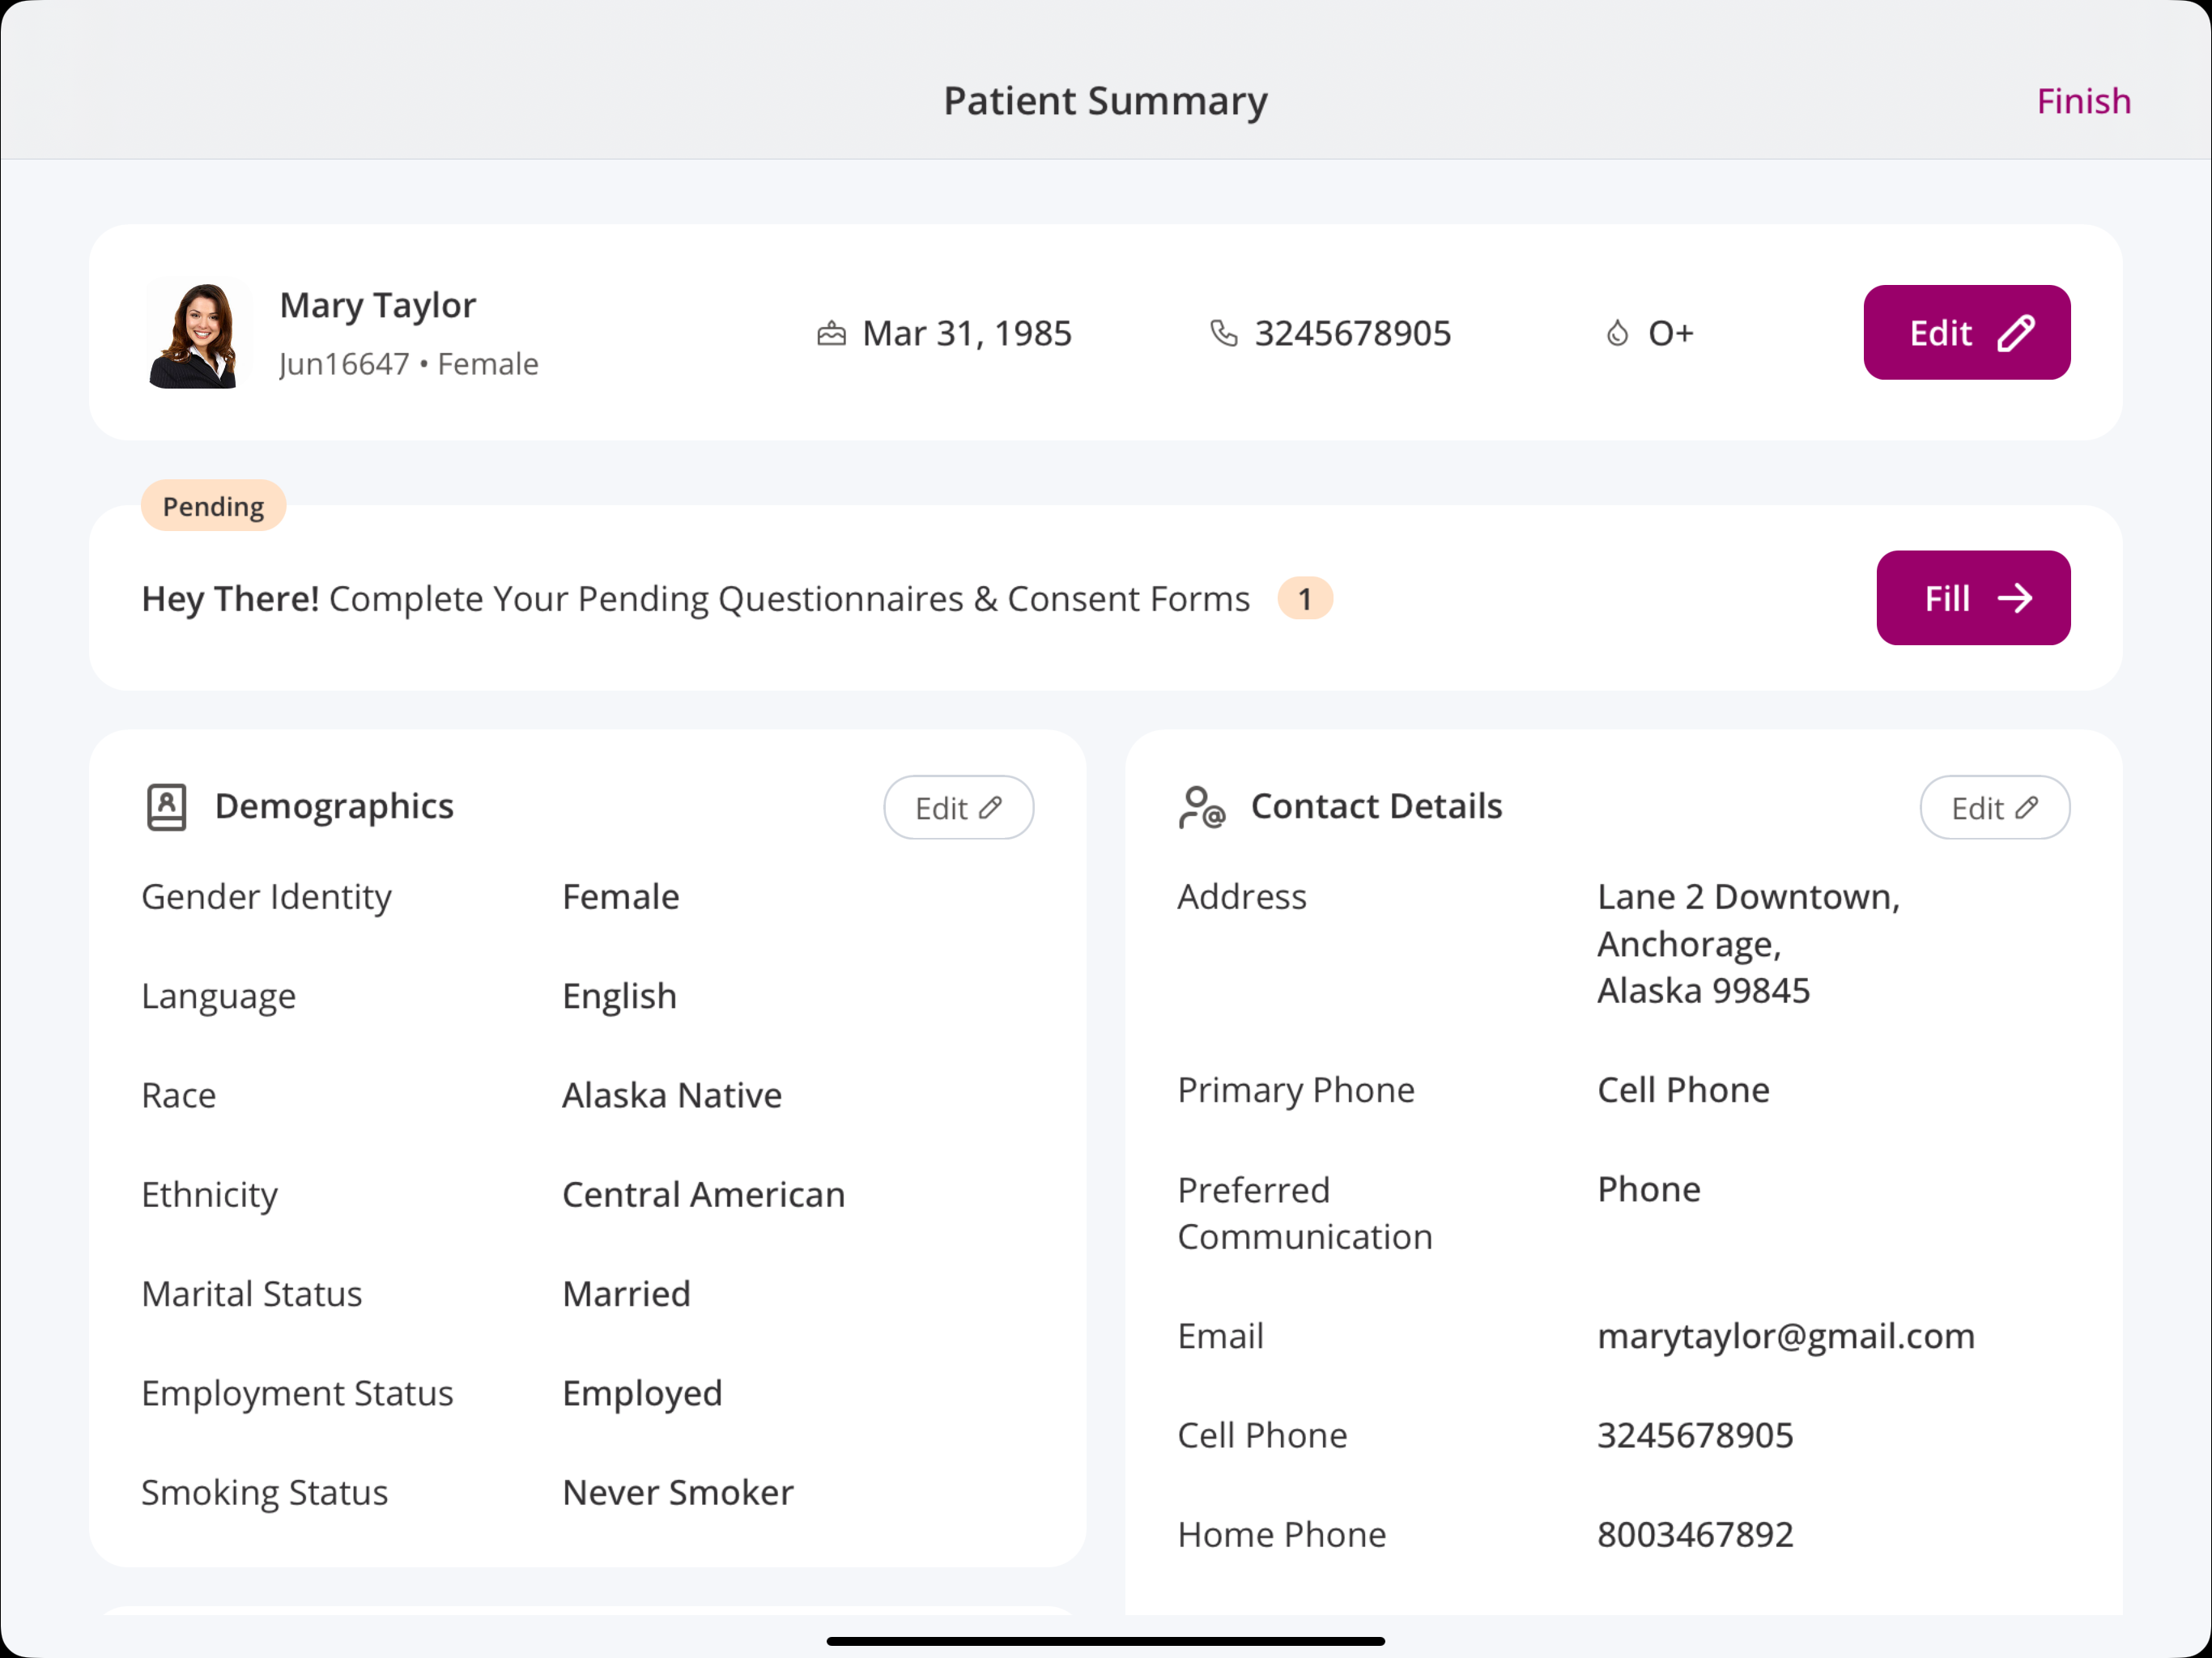
- On updating the personal details and completing the TeleHealth session, Patients can tap the 'Finish' button, the patient will be redirected to the 'Thank You' page.

The Nurse or Front Office Staff can unlock the Kiosk app using the configured app lock method to continue with the next Patient check-in.
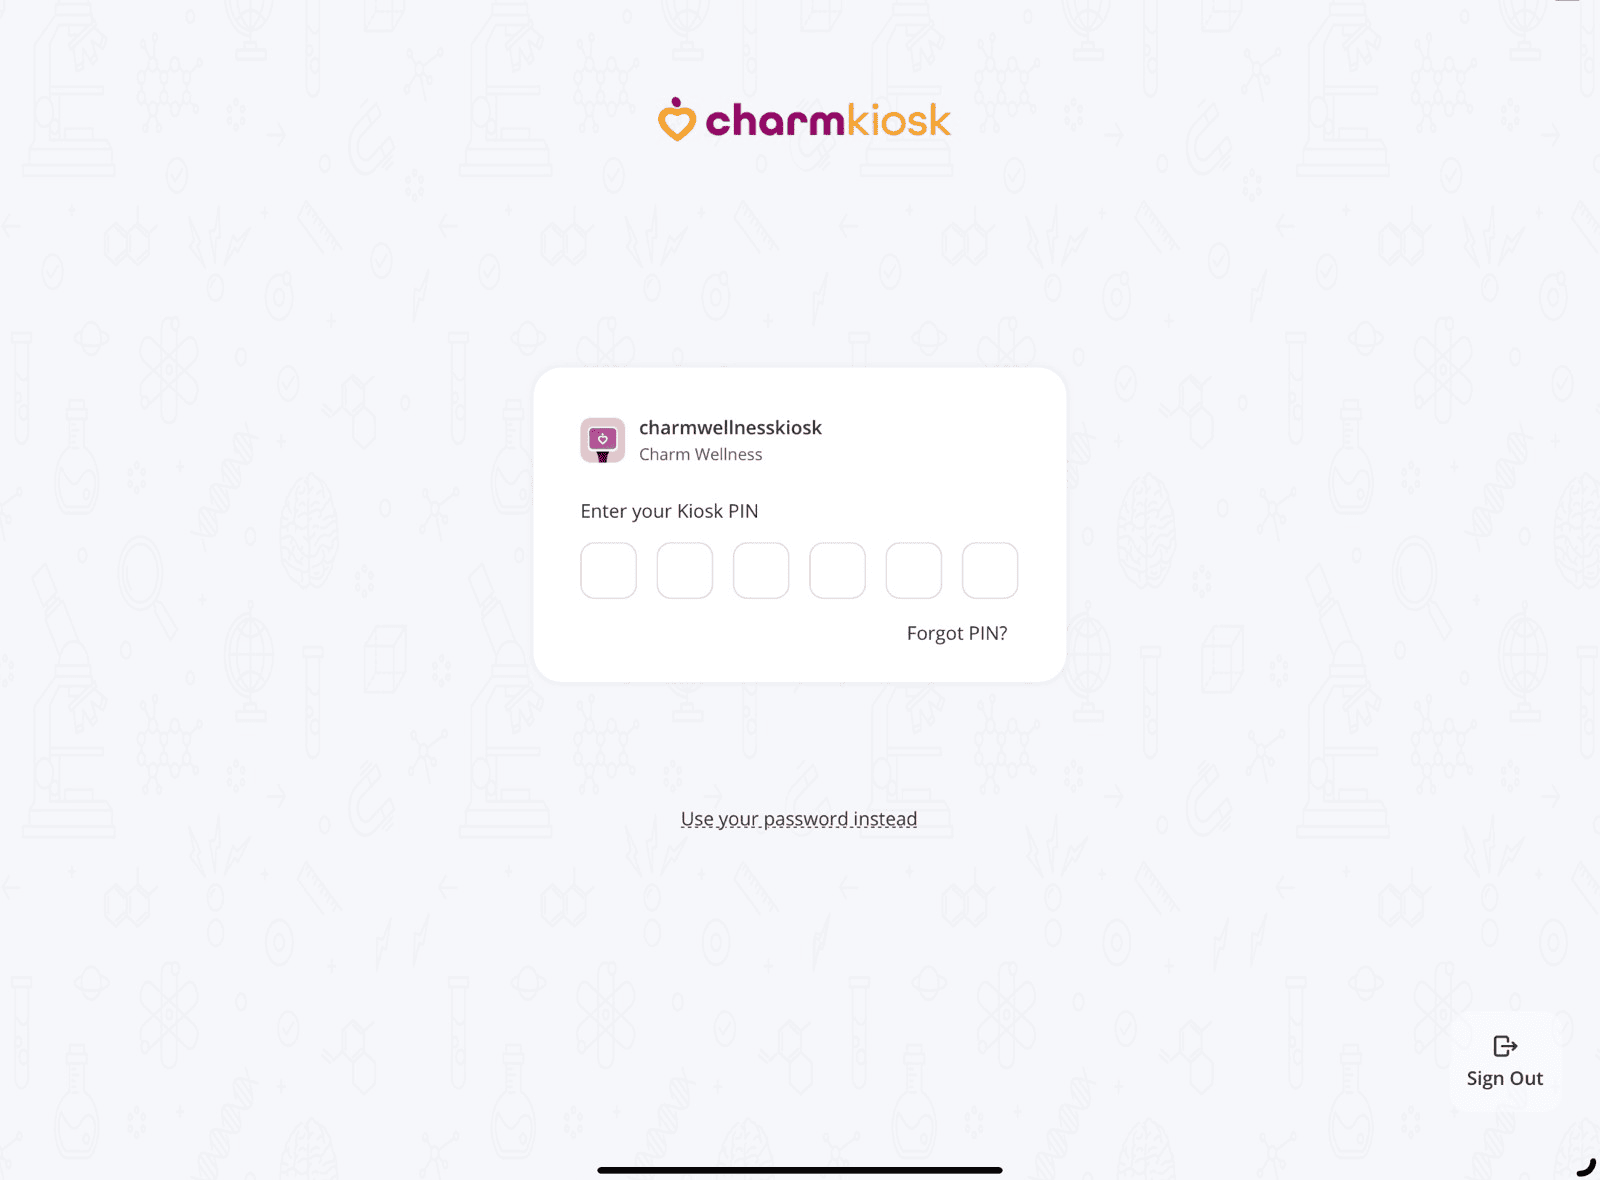
You can use your password instead.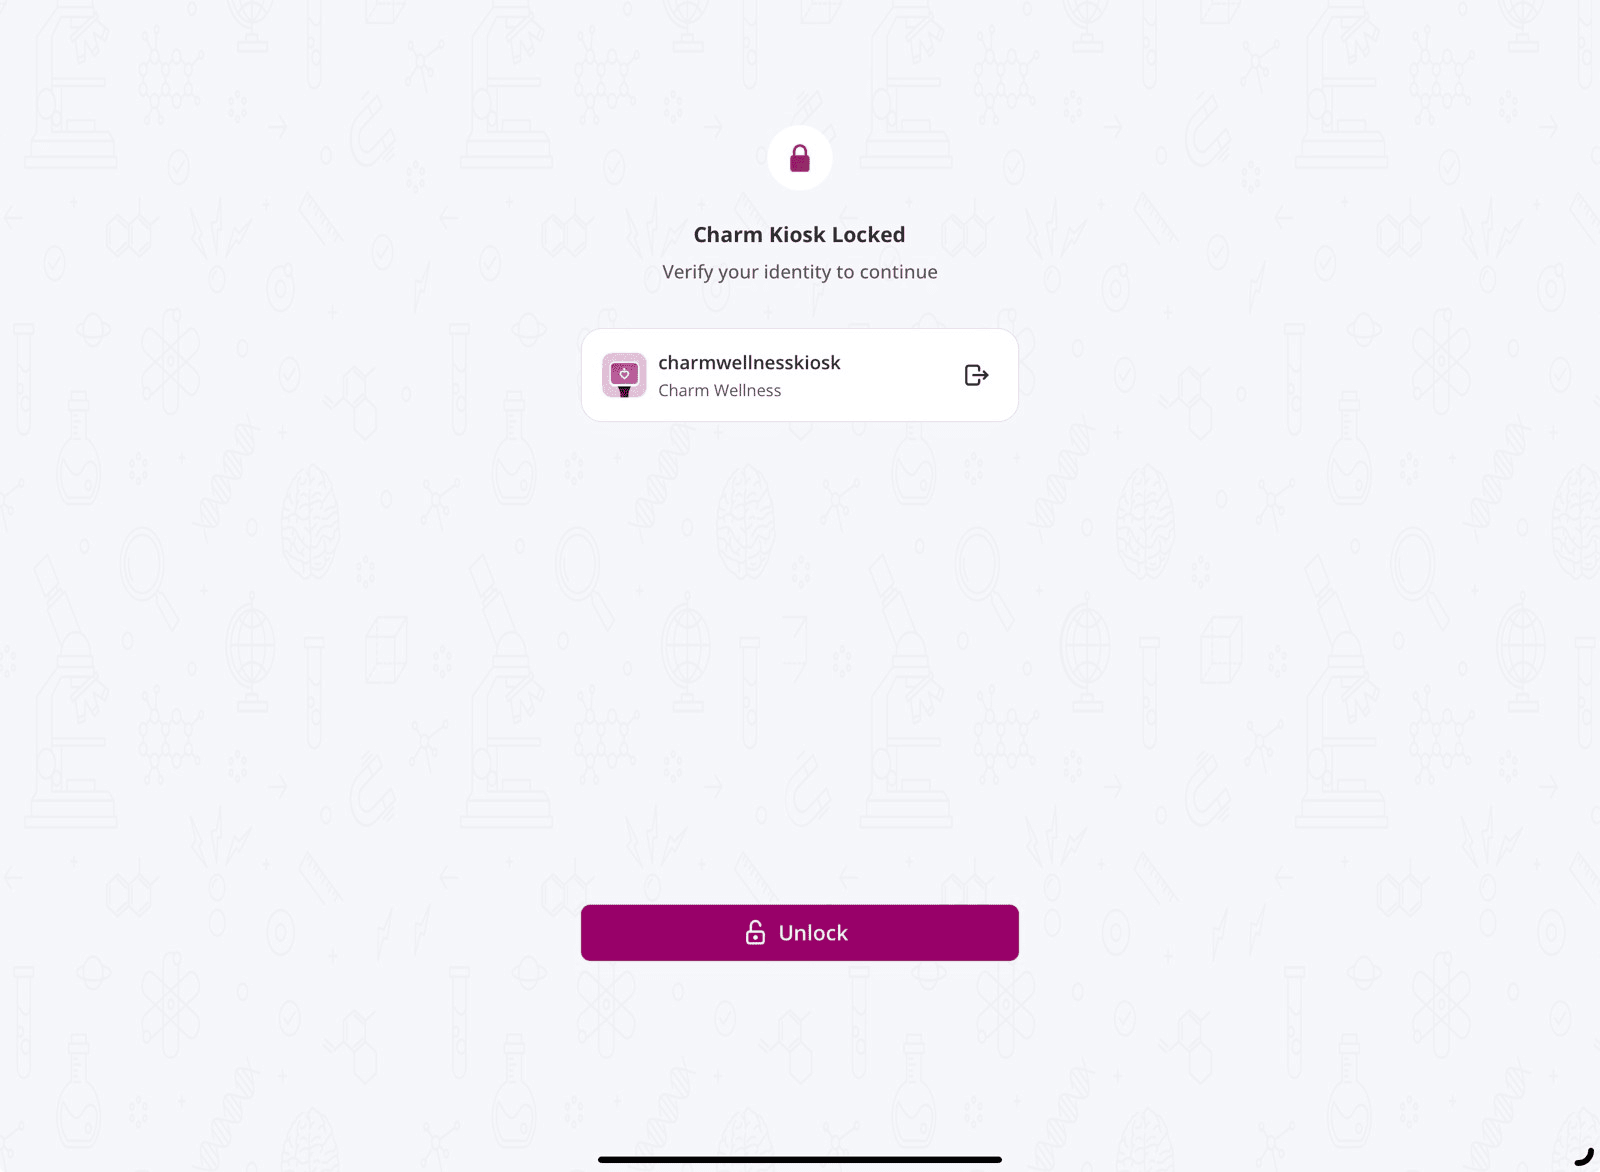
d. Telehealth Appointments
The Nurse or Office Staff at a remote facility can help Patients join their TeleHealth sessions. To see the list of scheduled TeleHealth appointments for the day, tap the 'Video' icon on the left sidebar of the homepage.
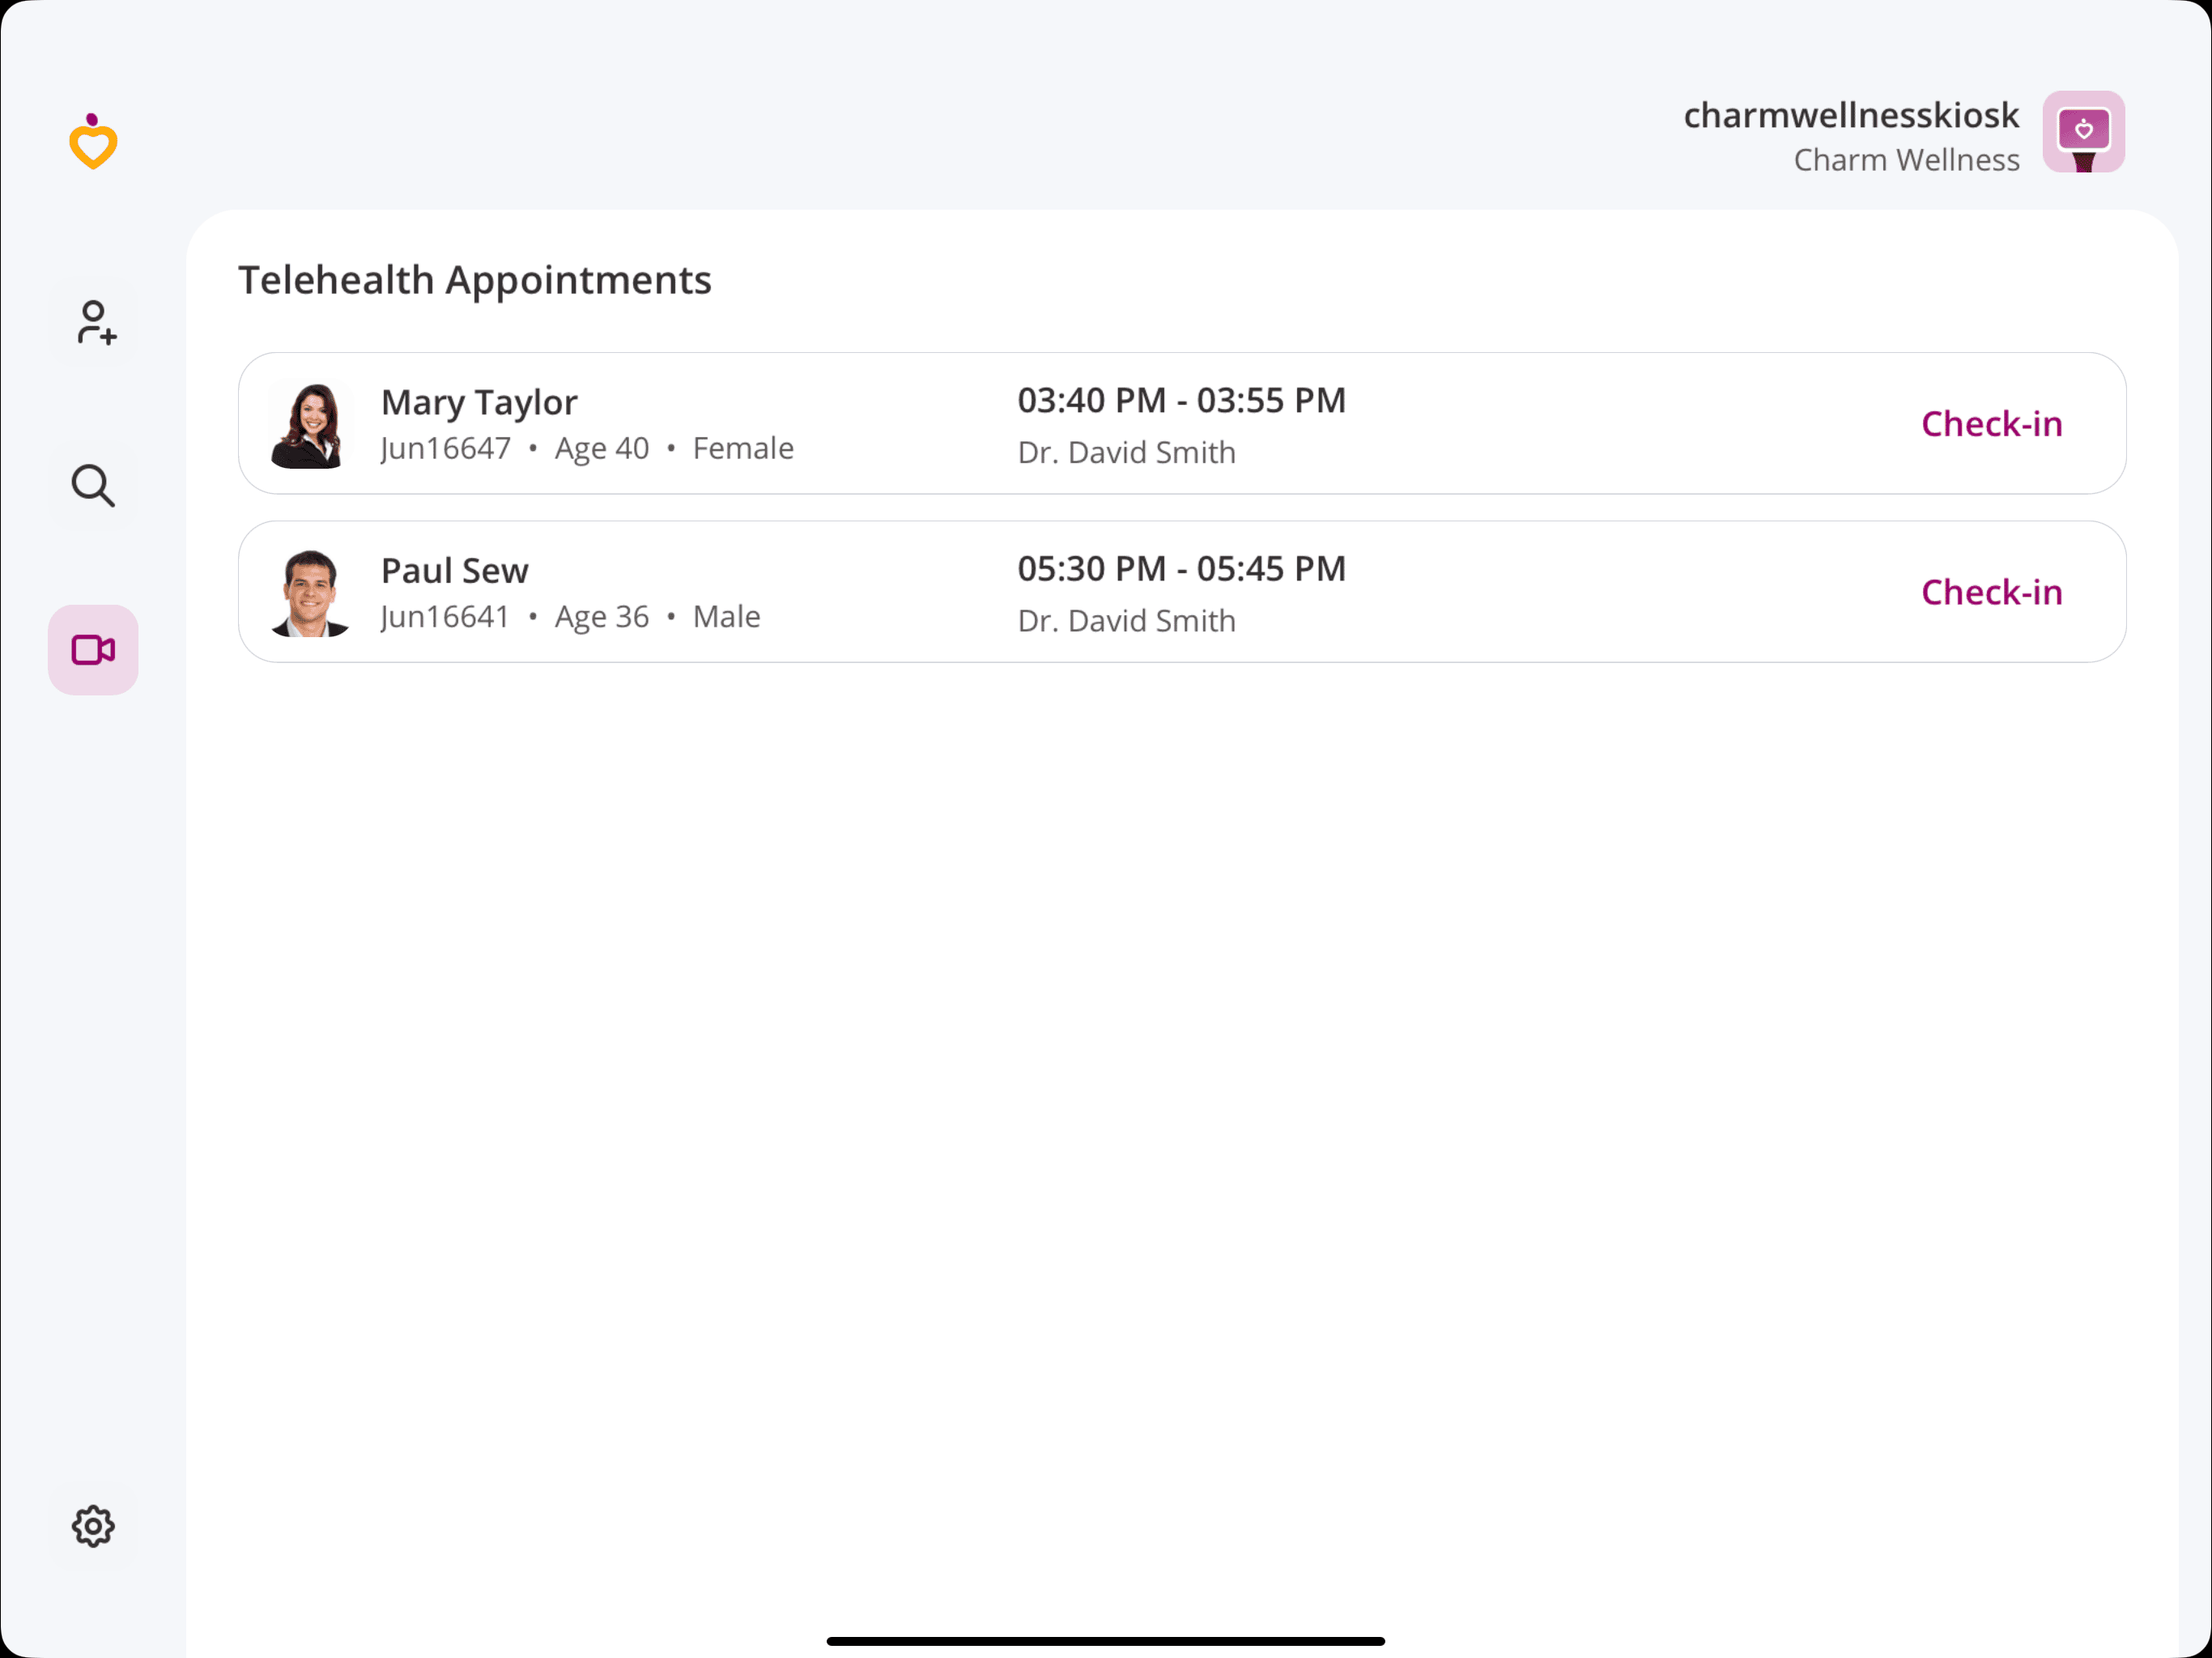
Patients can join the TeleHealth sessions either through the Charm Integrated Video Platform or Zoom, based on the configuration set by the Practice in CharmHealth EHR.
- At the scheduled appointment time, the Patient can join the Telehealth session by clicking the 'Check-In' link next to their upcoming Telehealth appointment in Charm Kiosk.
- Before joining the session, the Patients must fill out and submit any pending consent forms if shared by the Practice.
- The Patient must wait for the Provider to join the Telehealth session.
Through the Charm Integration Video Platform
If the Practice has configured the Charm Integrated Video Platform, clicking the 'Join' button against the TeleHealth appointment will display a Meeting Passcode. Copy the TeleHealth Meeting Passcode and tap the 'Proceed' button.
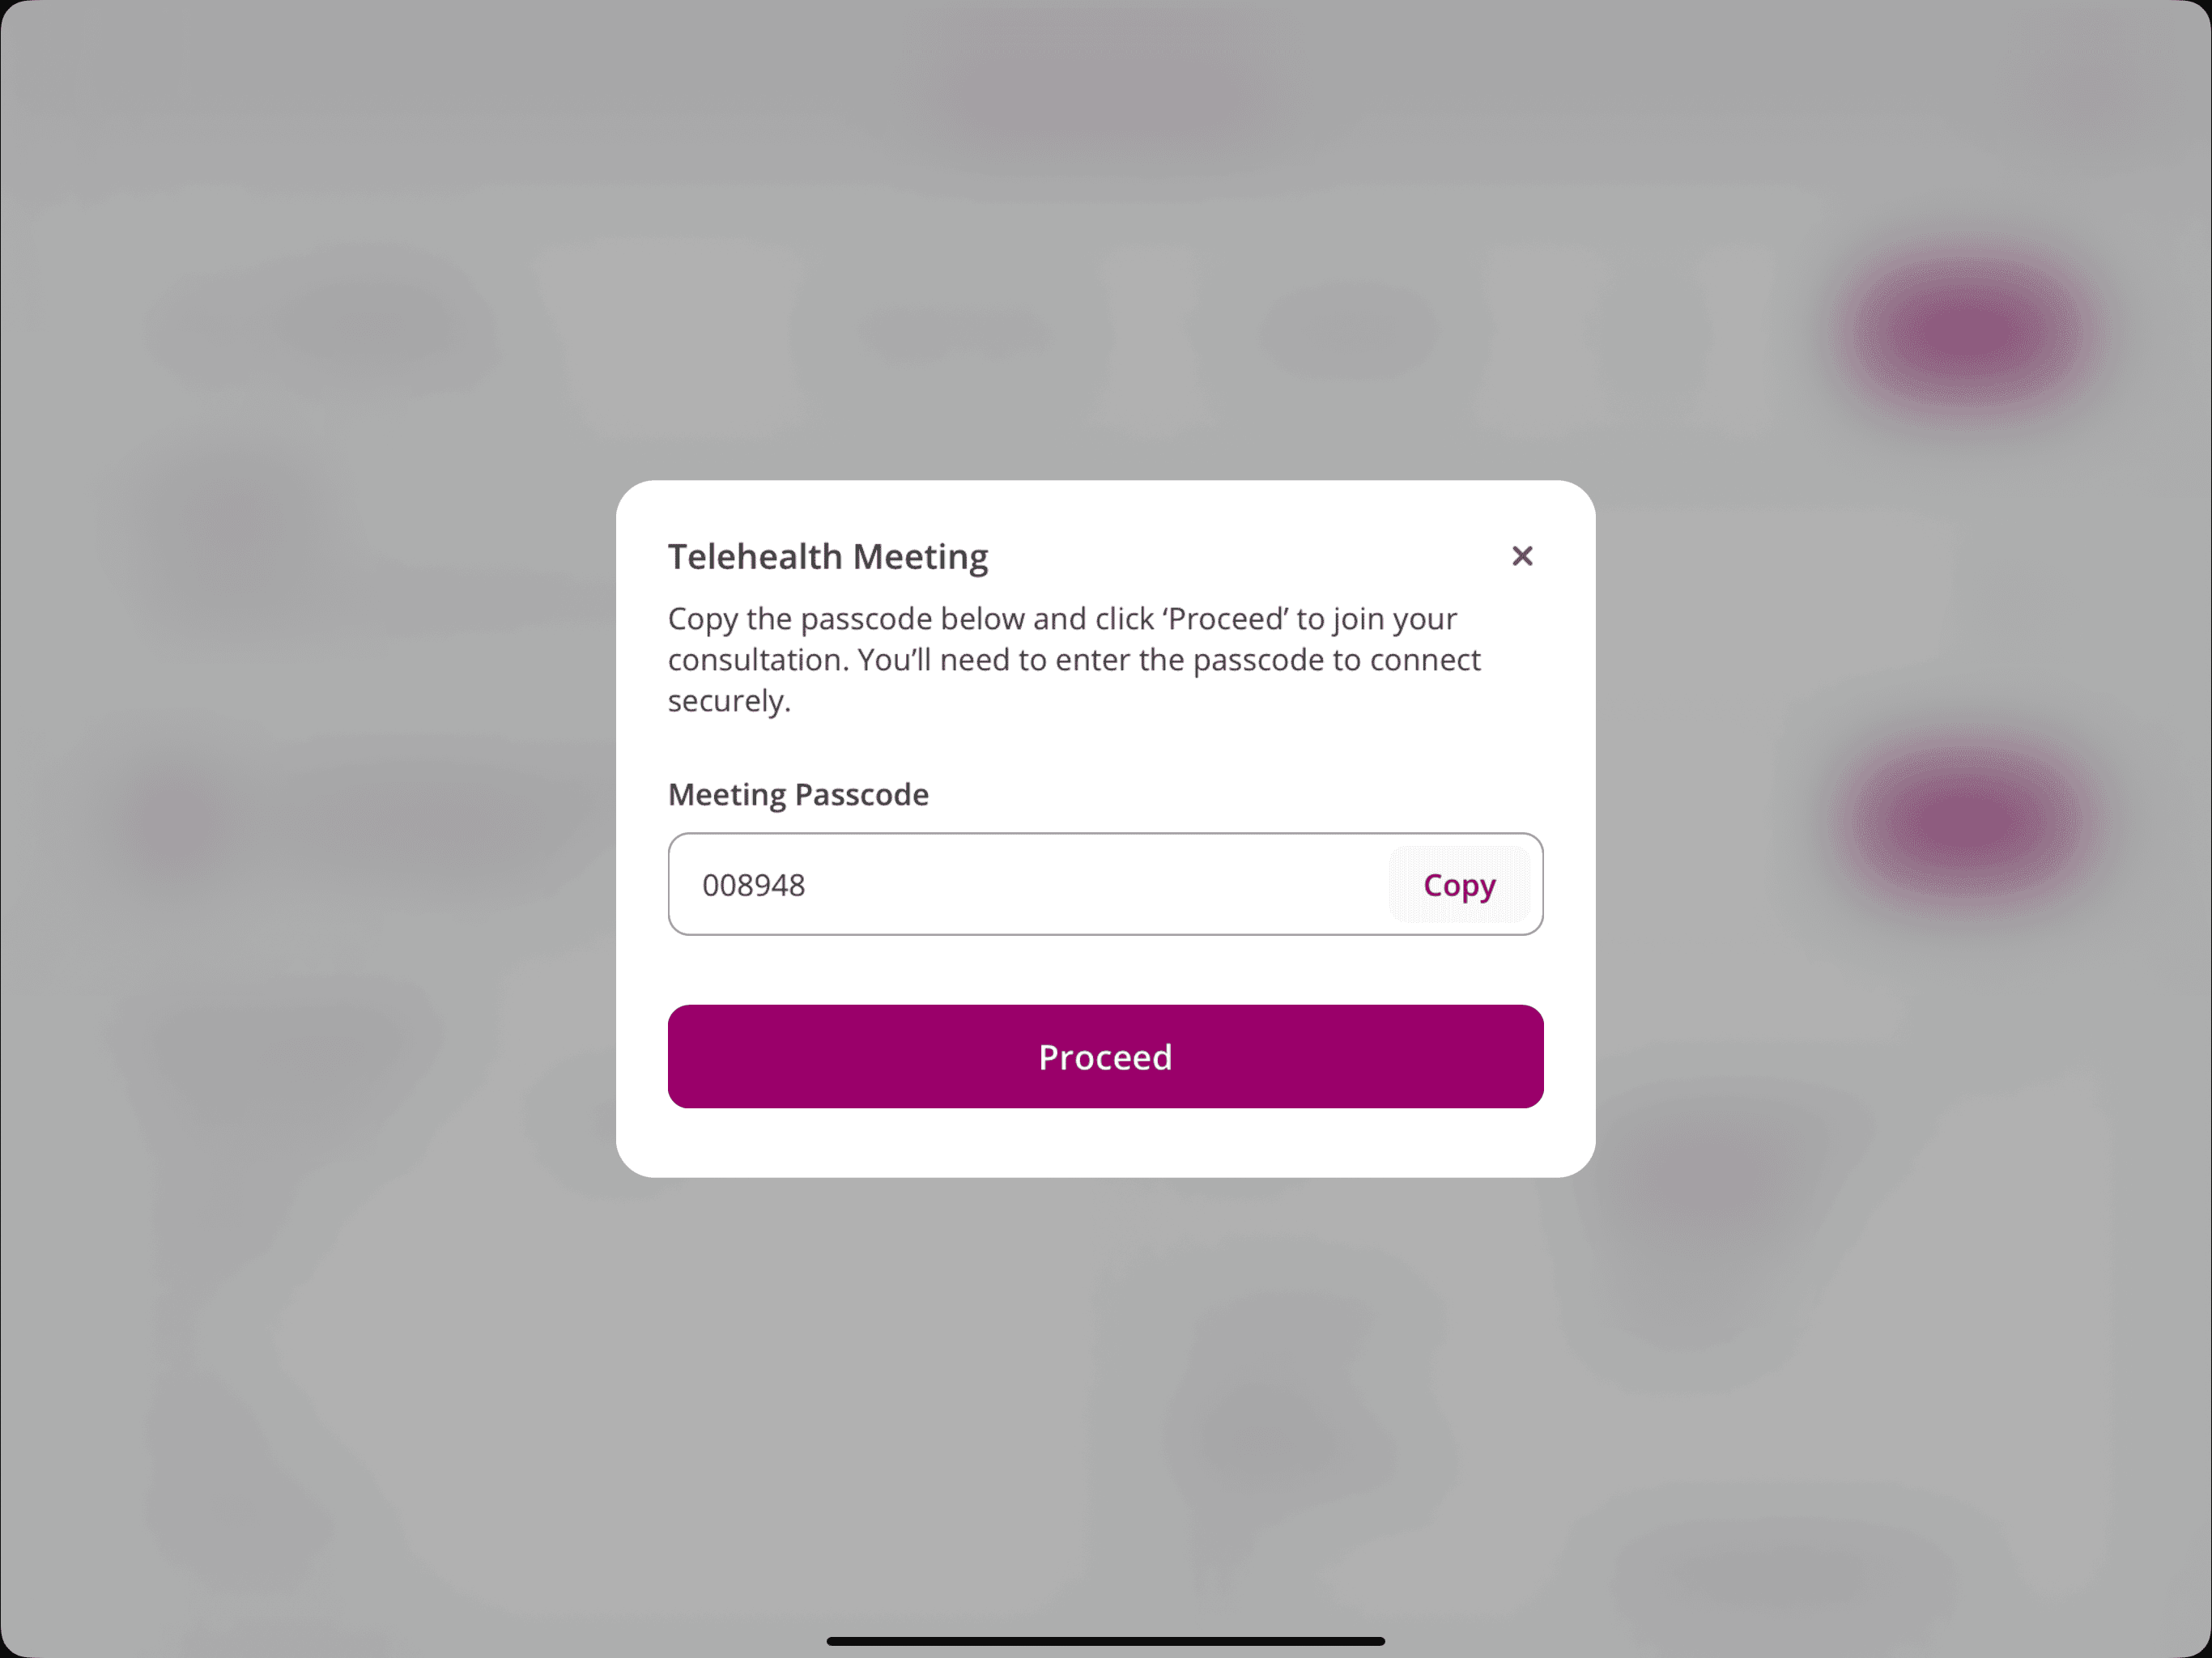
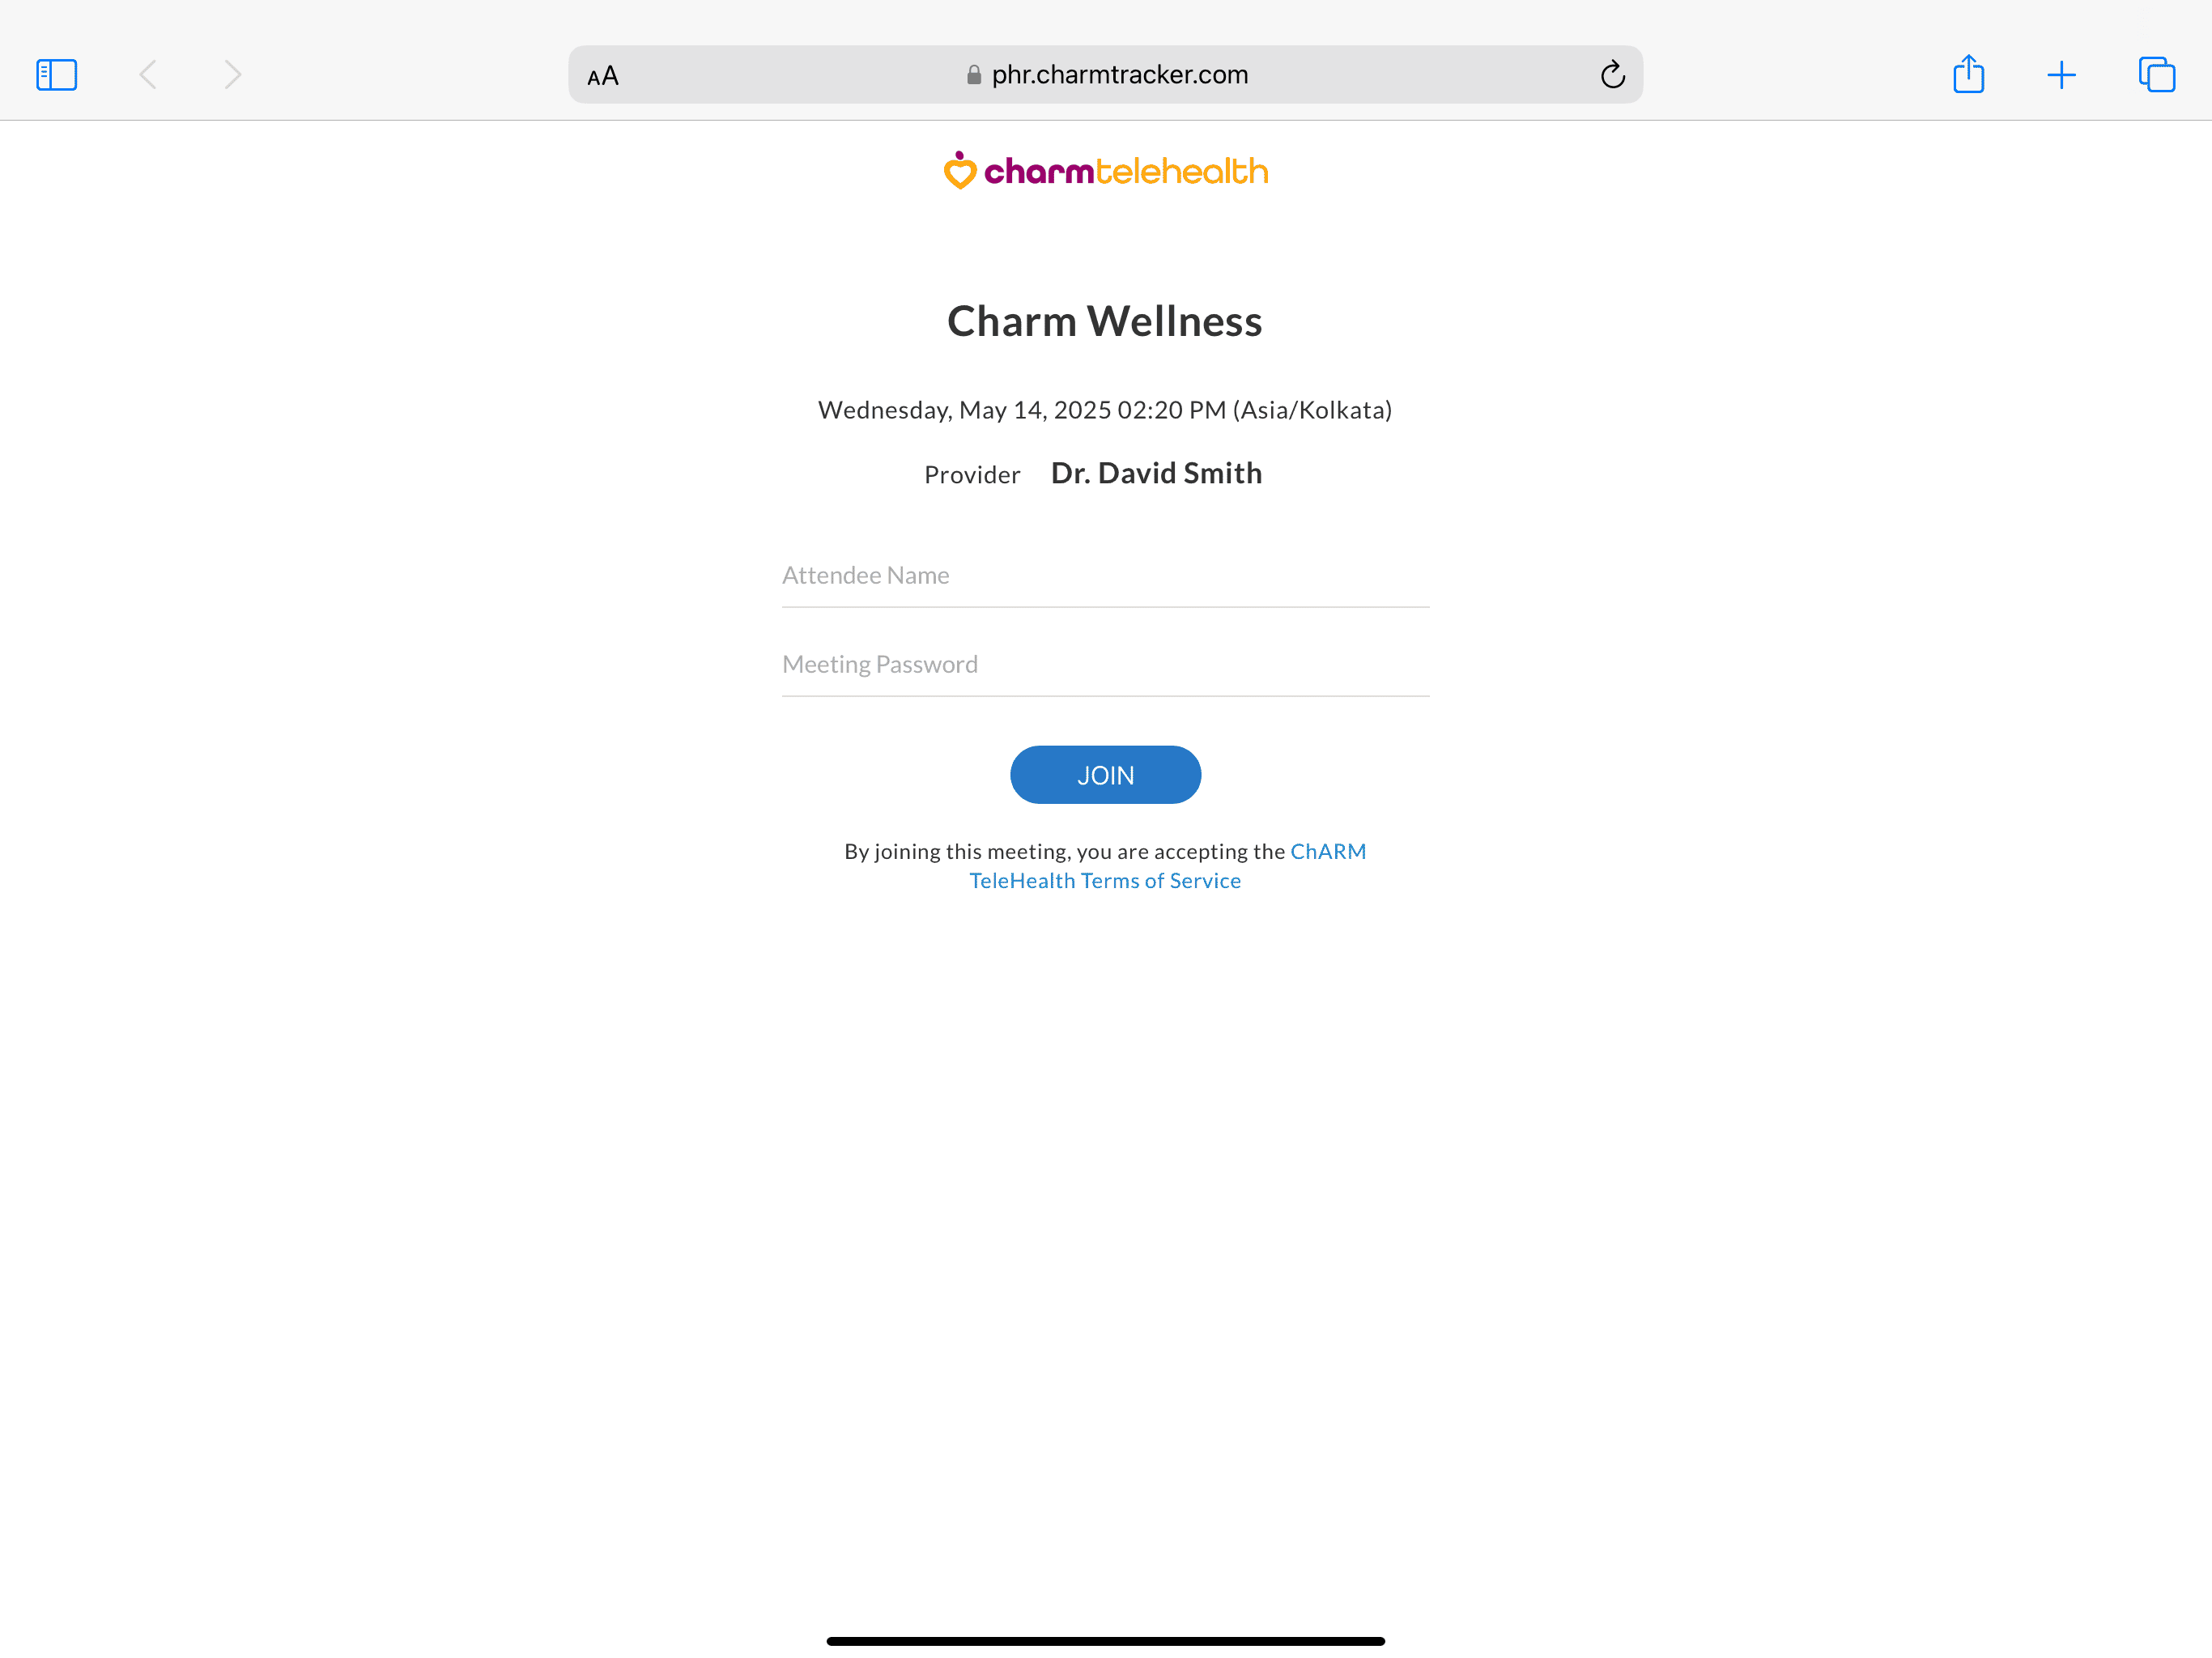
A link to join the TeleHealth consultation will open directly in the browser within the Charm Kiosk app.
If the Patient's government-issued ID is not already available in the CharmHealth EHR and the Practice has mandated ID verification for TeleHealth sessions, Patients will be prompted to upload it during the check-in process.
Patients need to enter their name and Meeting Passcode to join the consultation with the Provider securely.
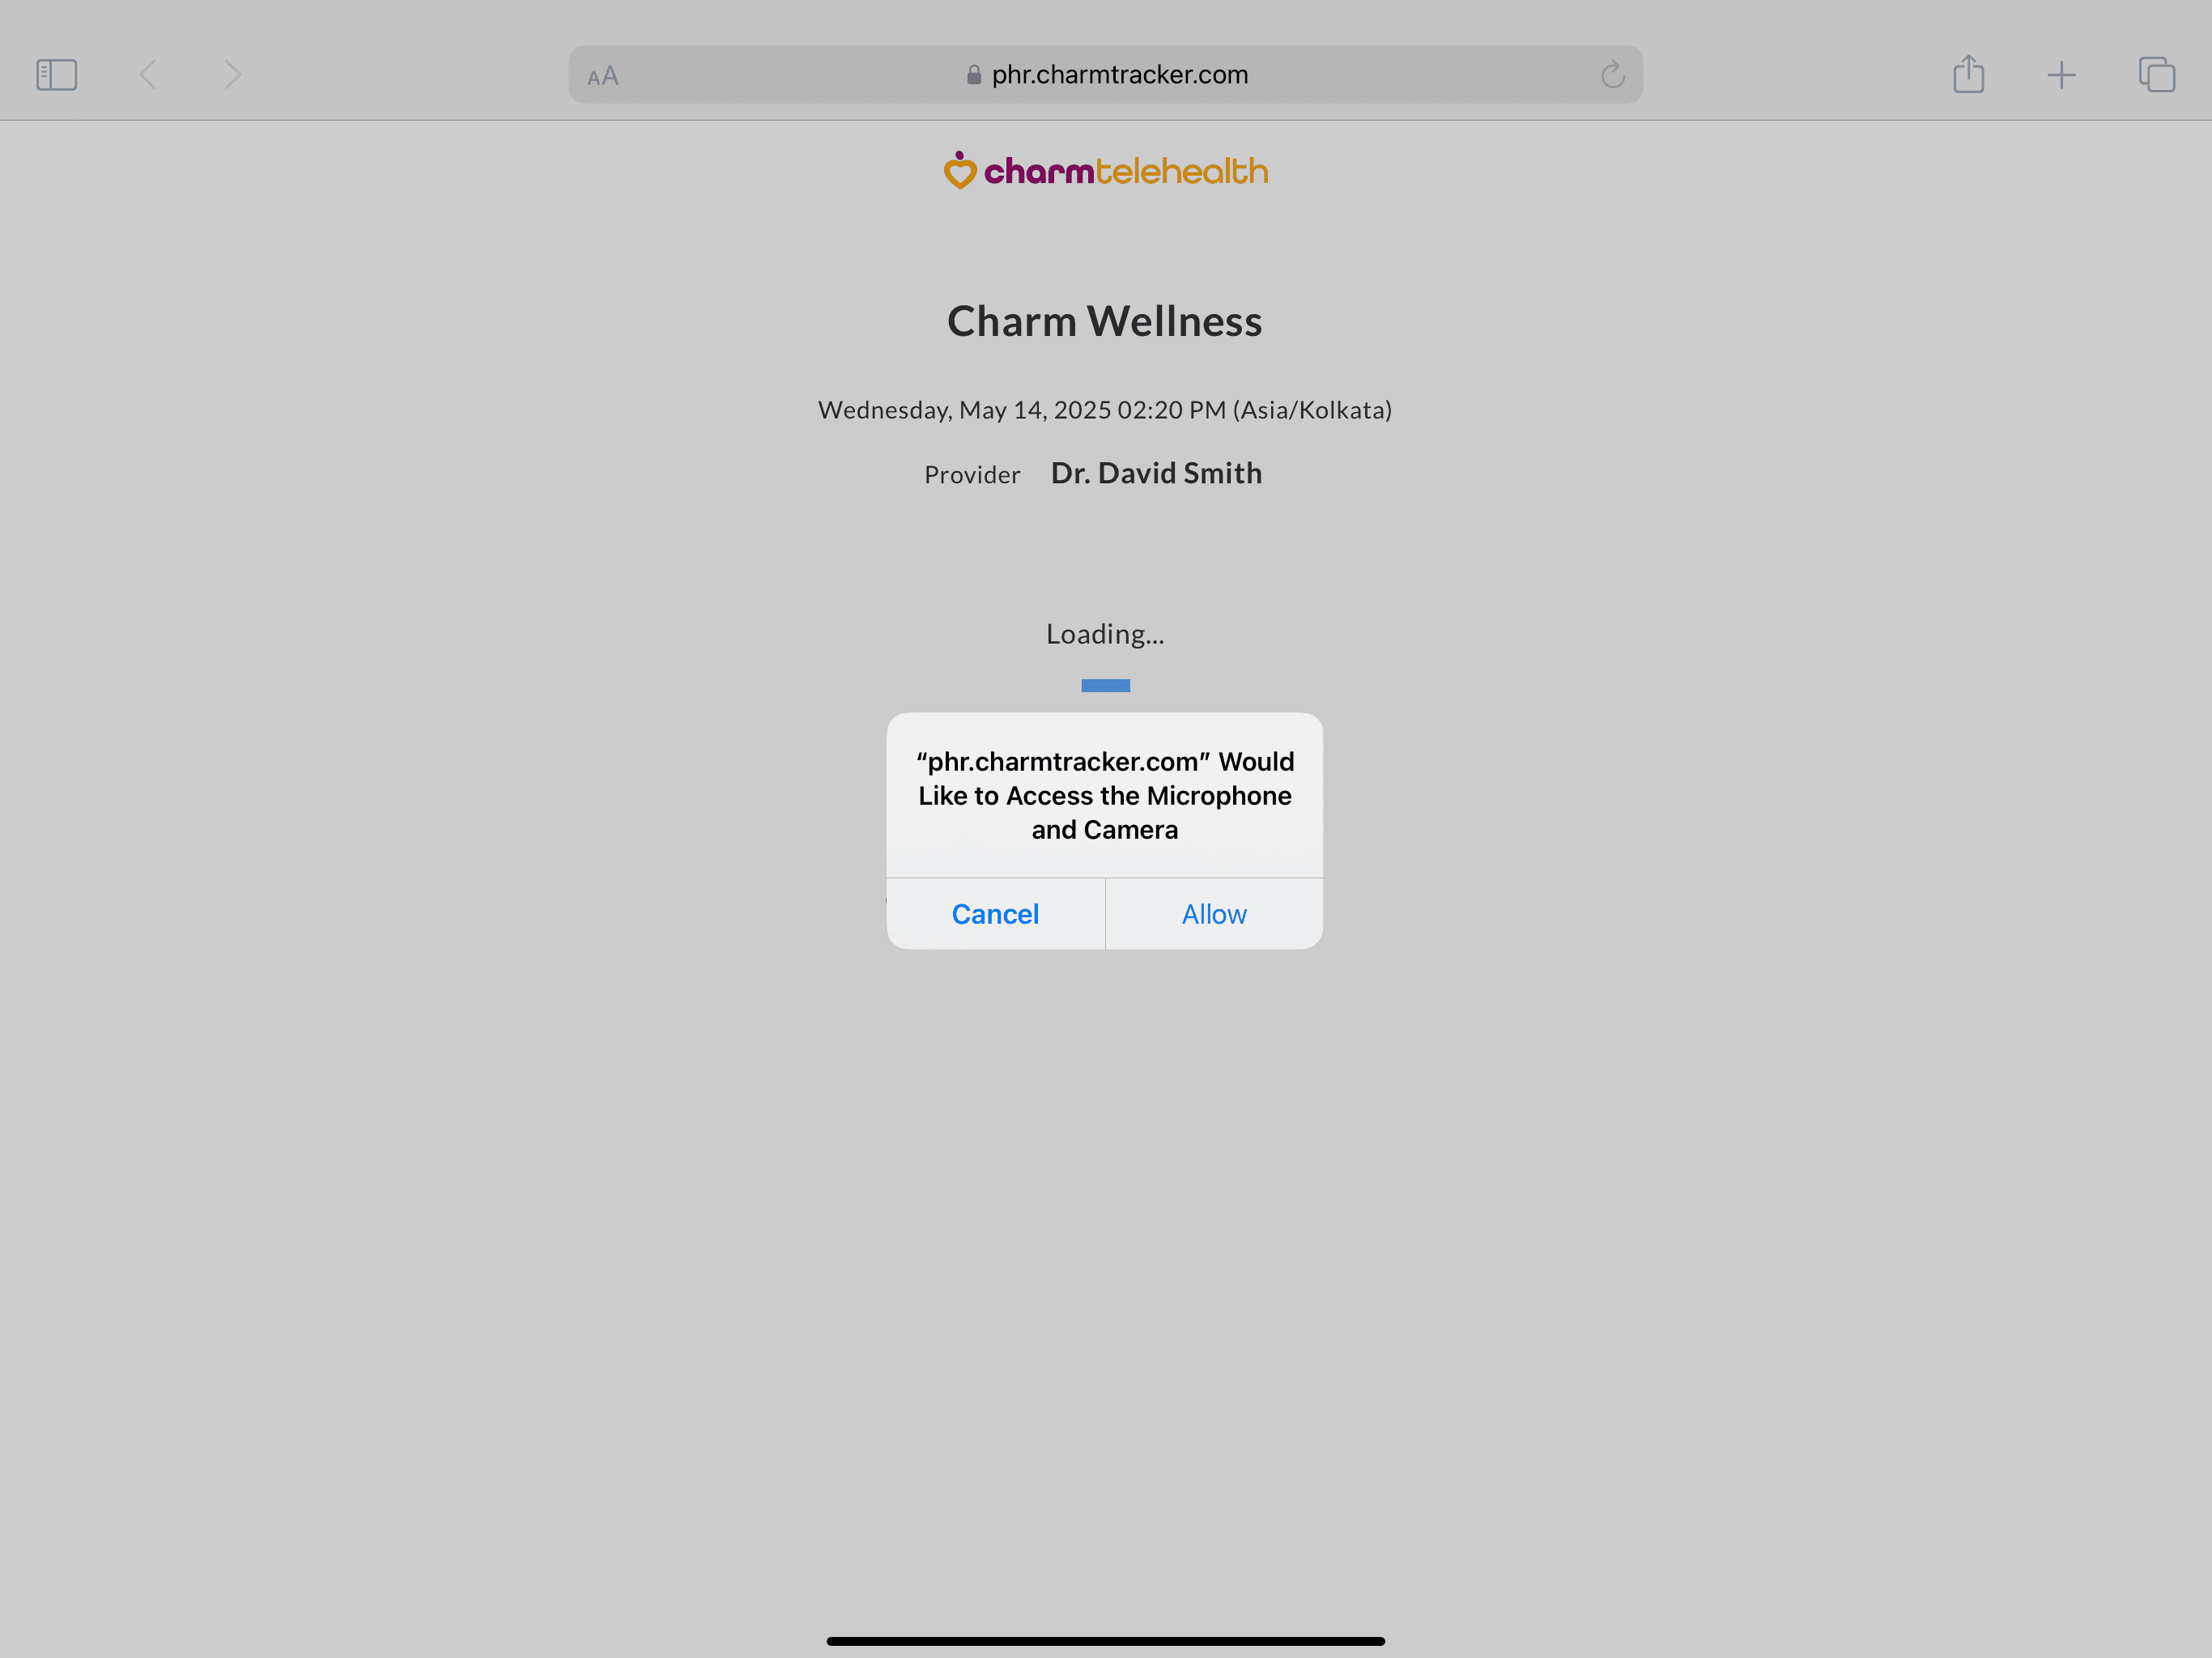
Patients need to allow the microphone and camera access in their browser when prompted.
During the TeleHealth session with the Provider, the Patients can mute or unmute their audio and video as needed.

Note: The guided Access must be disabled for TeleHealth Sessions by the Nurses or Front Office Staff.
Connecting via Zoom
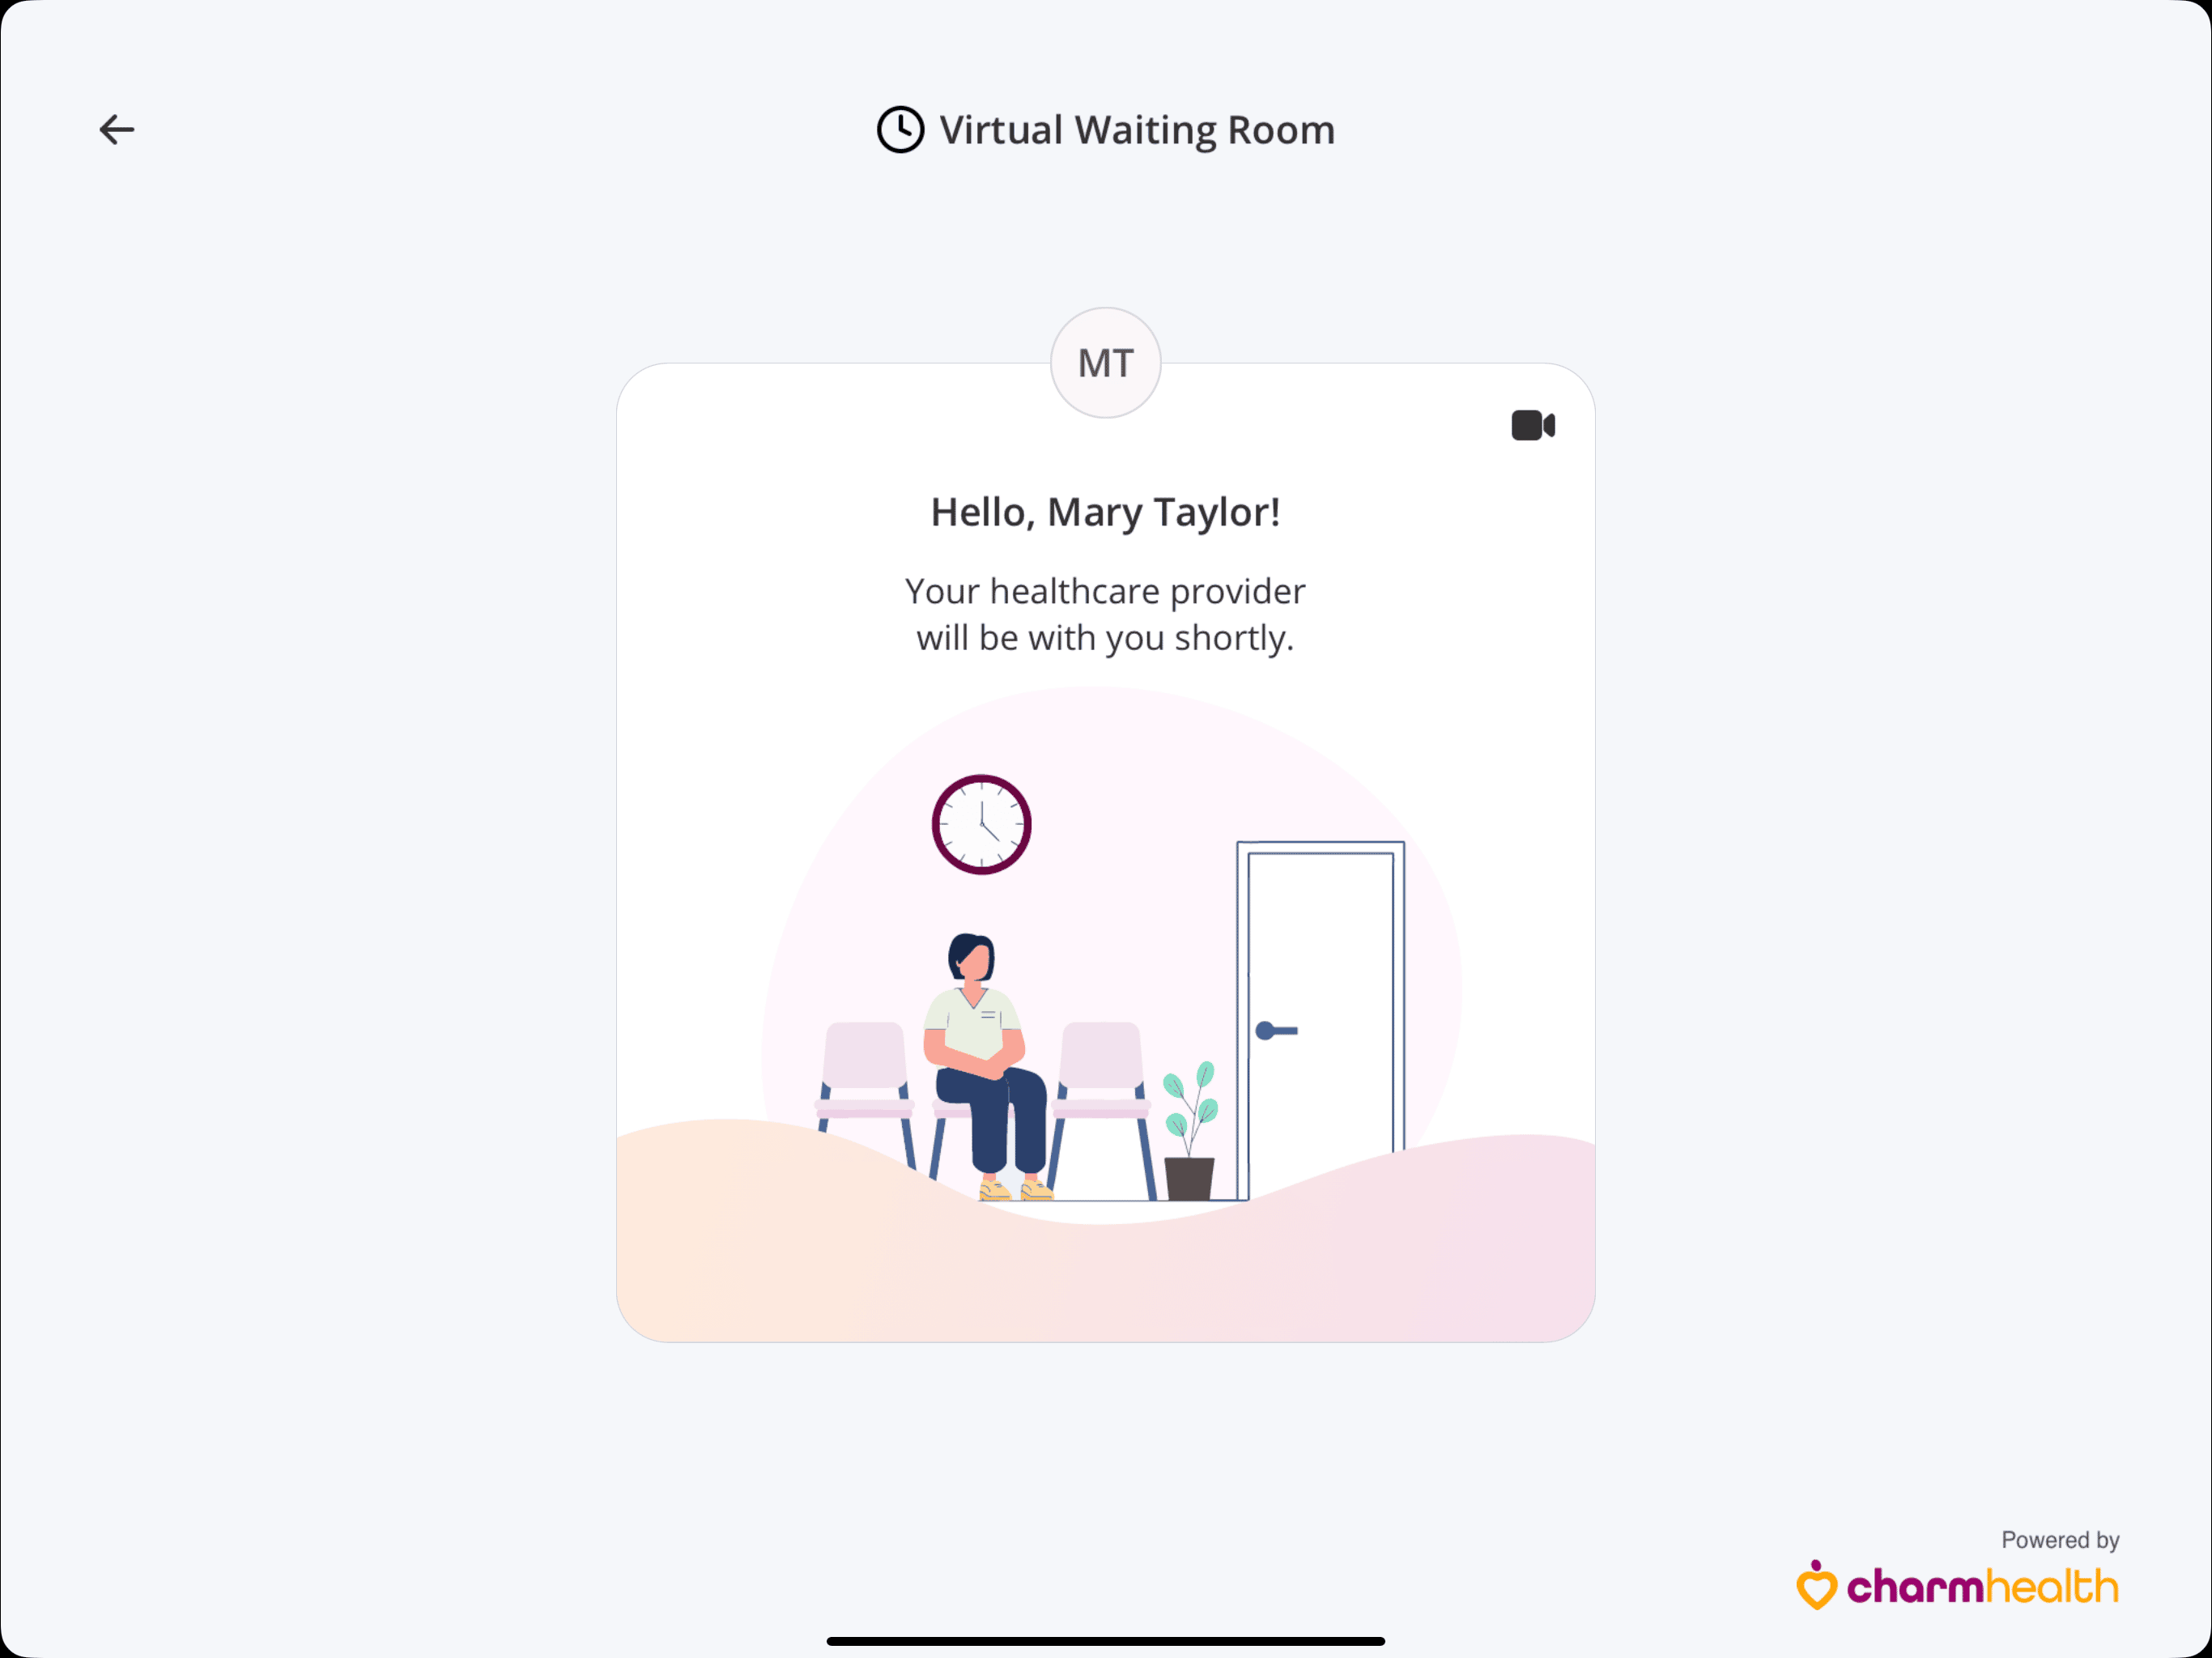
- When the Patient joins via Zoom, they will get added to the virtual waiting room, and the Provider must admit the Patient to proceed with the encounter.
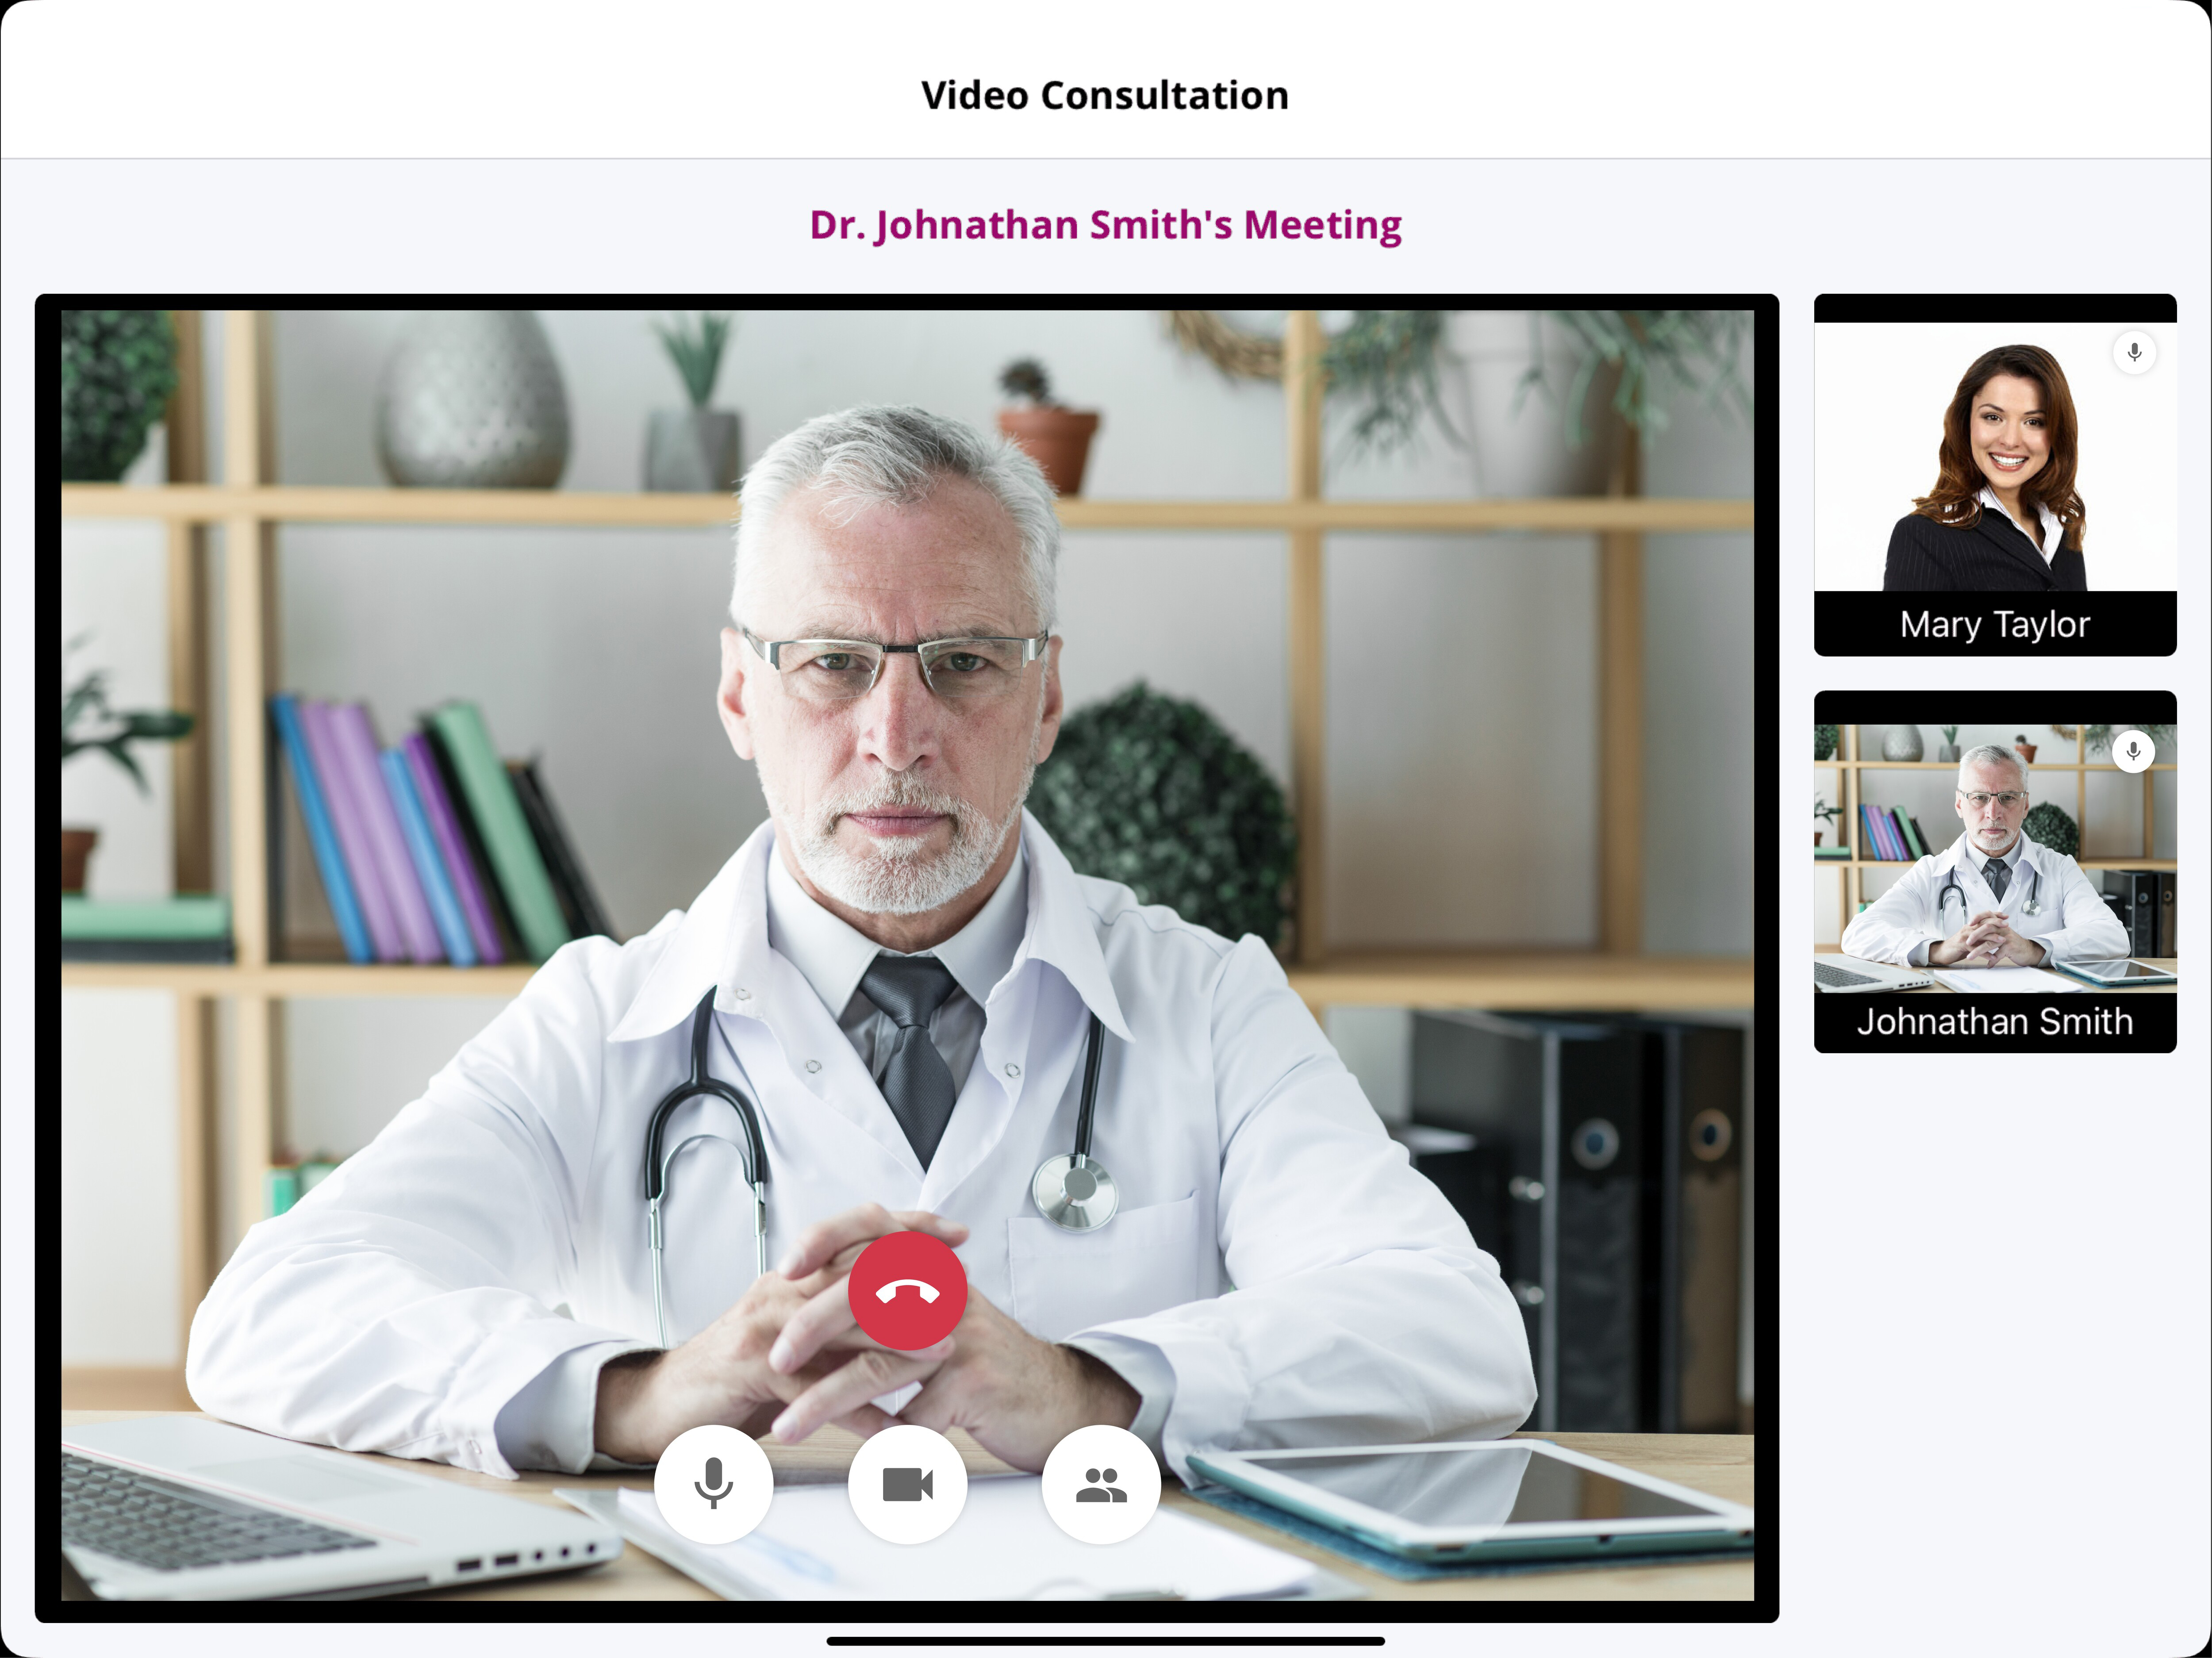
- Once joined, the Patient can control the microphone and video by tapping their respective icons.
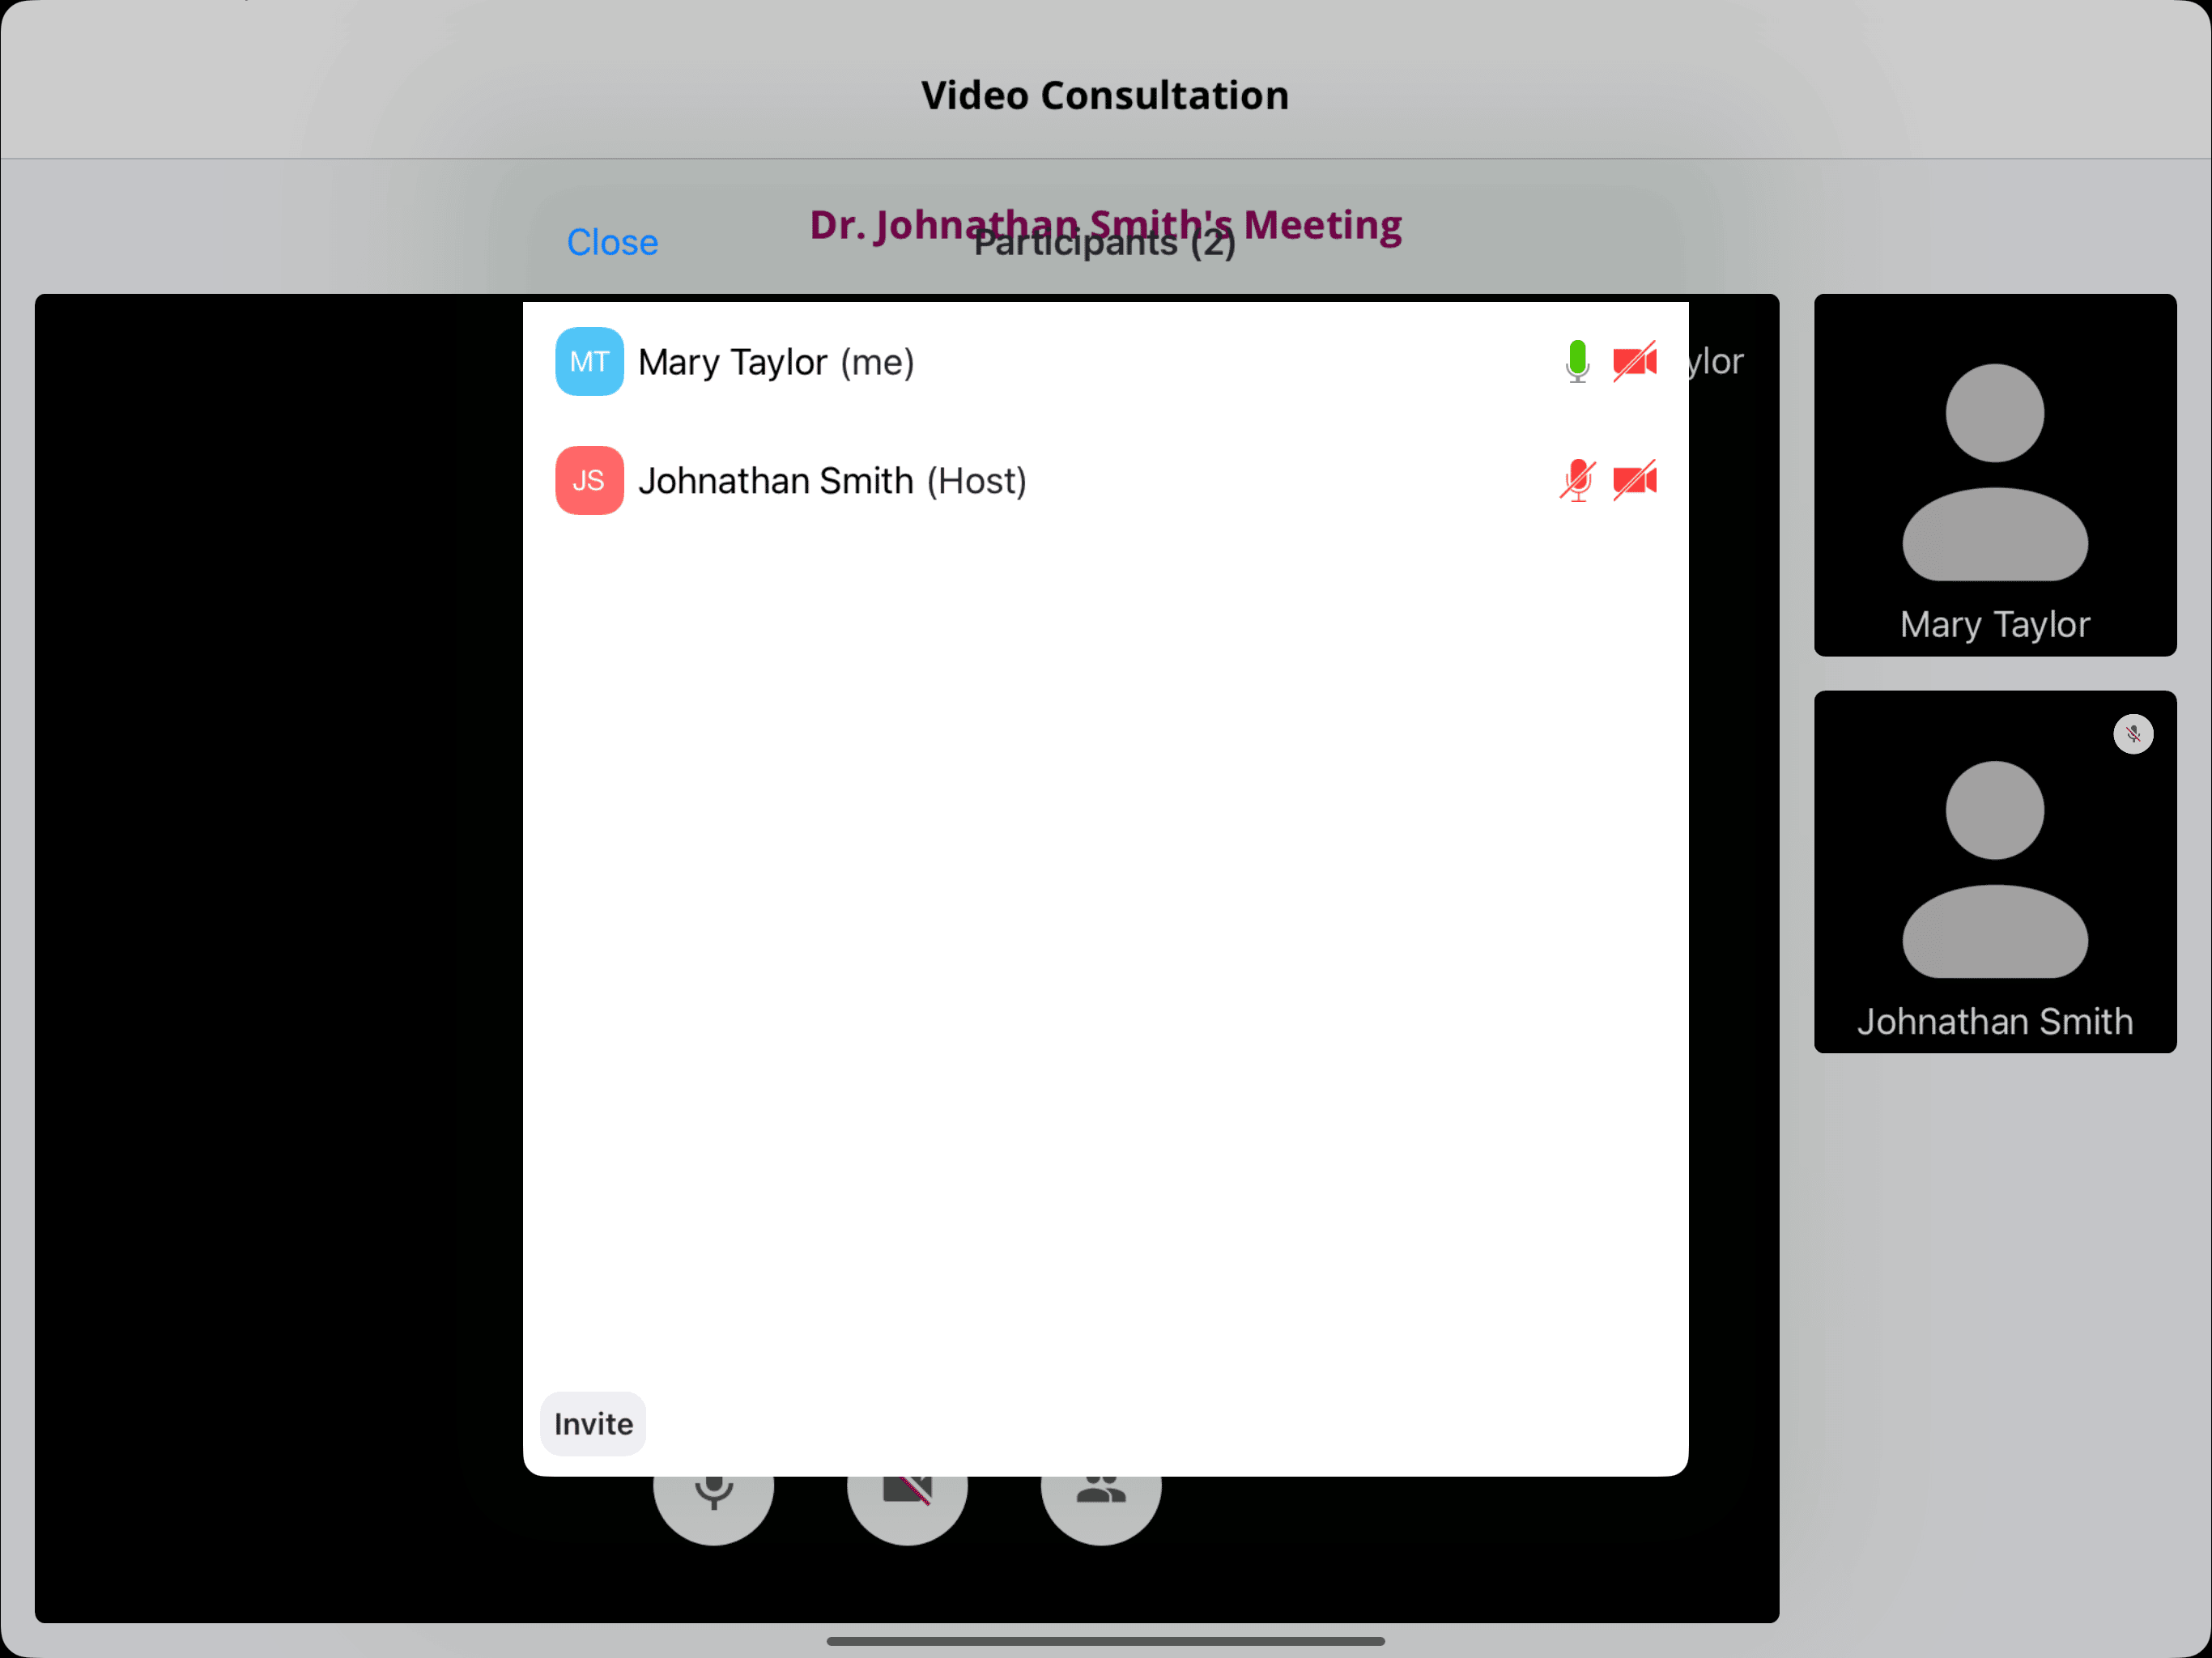
- Tapping the 'Participants' icon displays the list of attendees.
- Tapping on your profile name displays these options:
- Raise Hand (if lowered) or Lower Hand (if raised)
- Unmute (if muted) or Mute (if unmuted)
- Rename
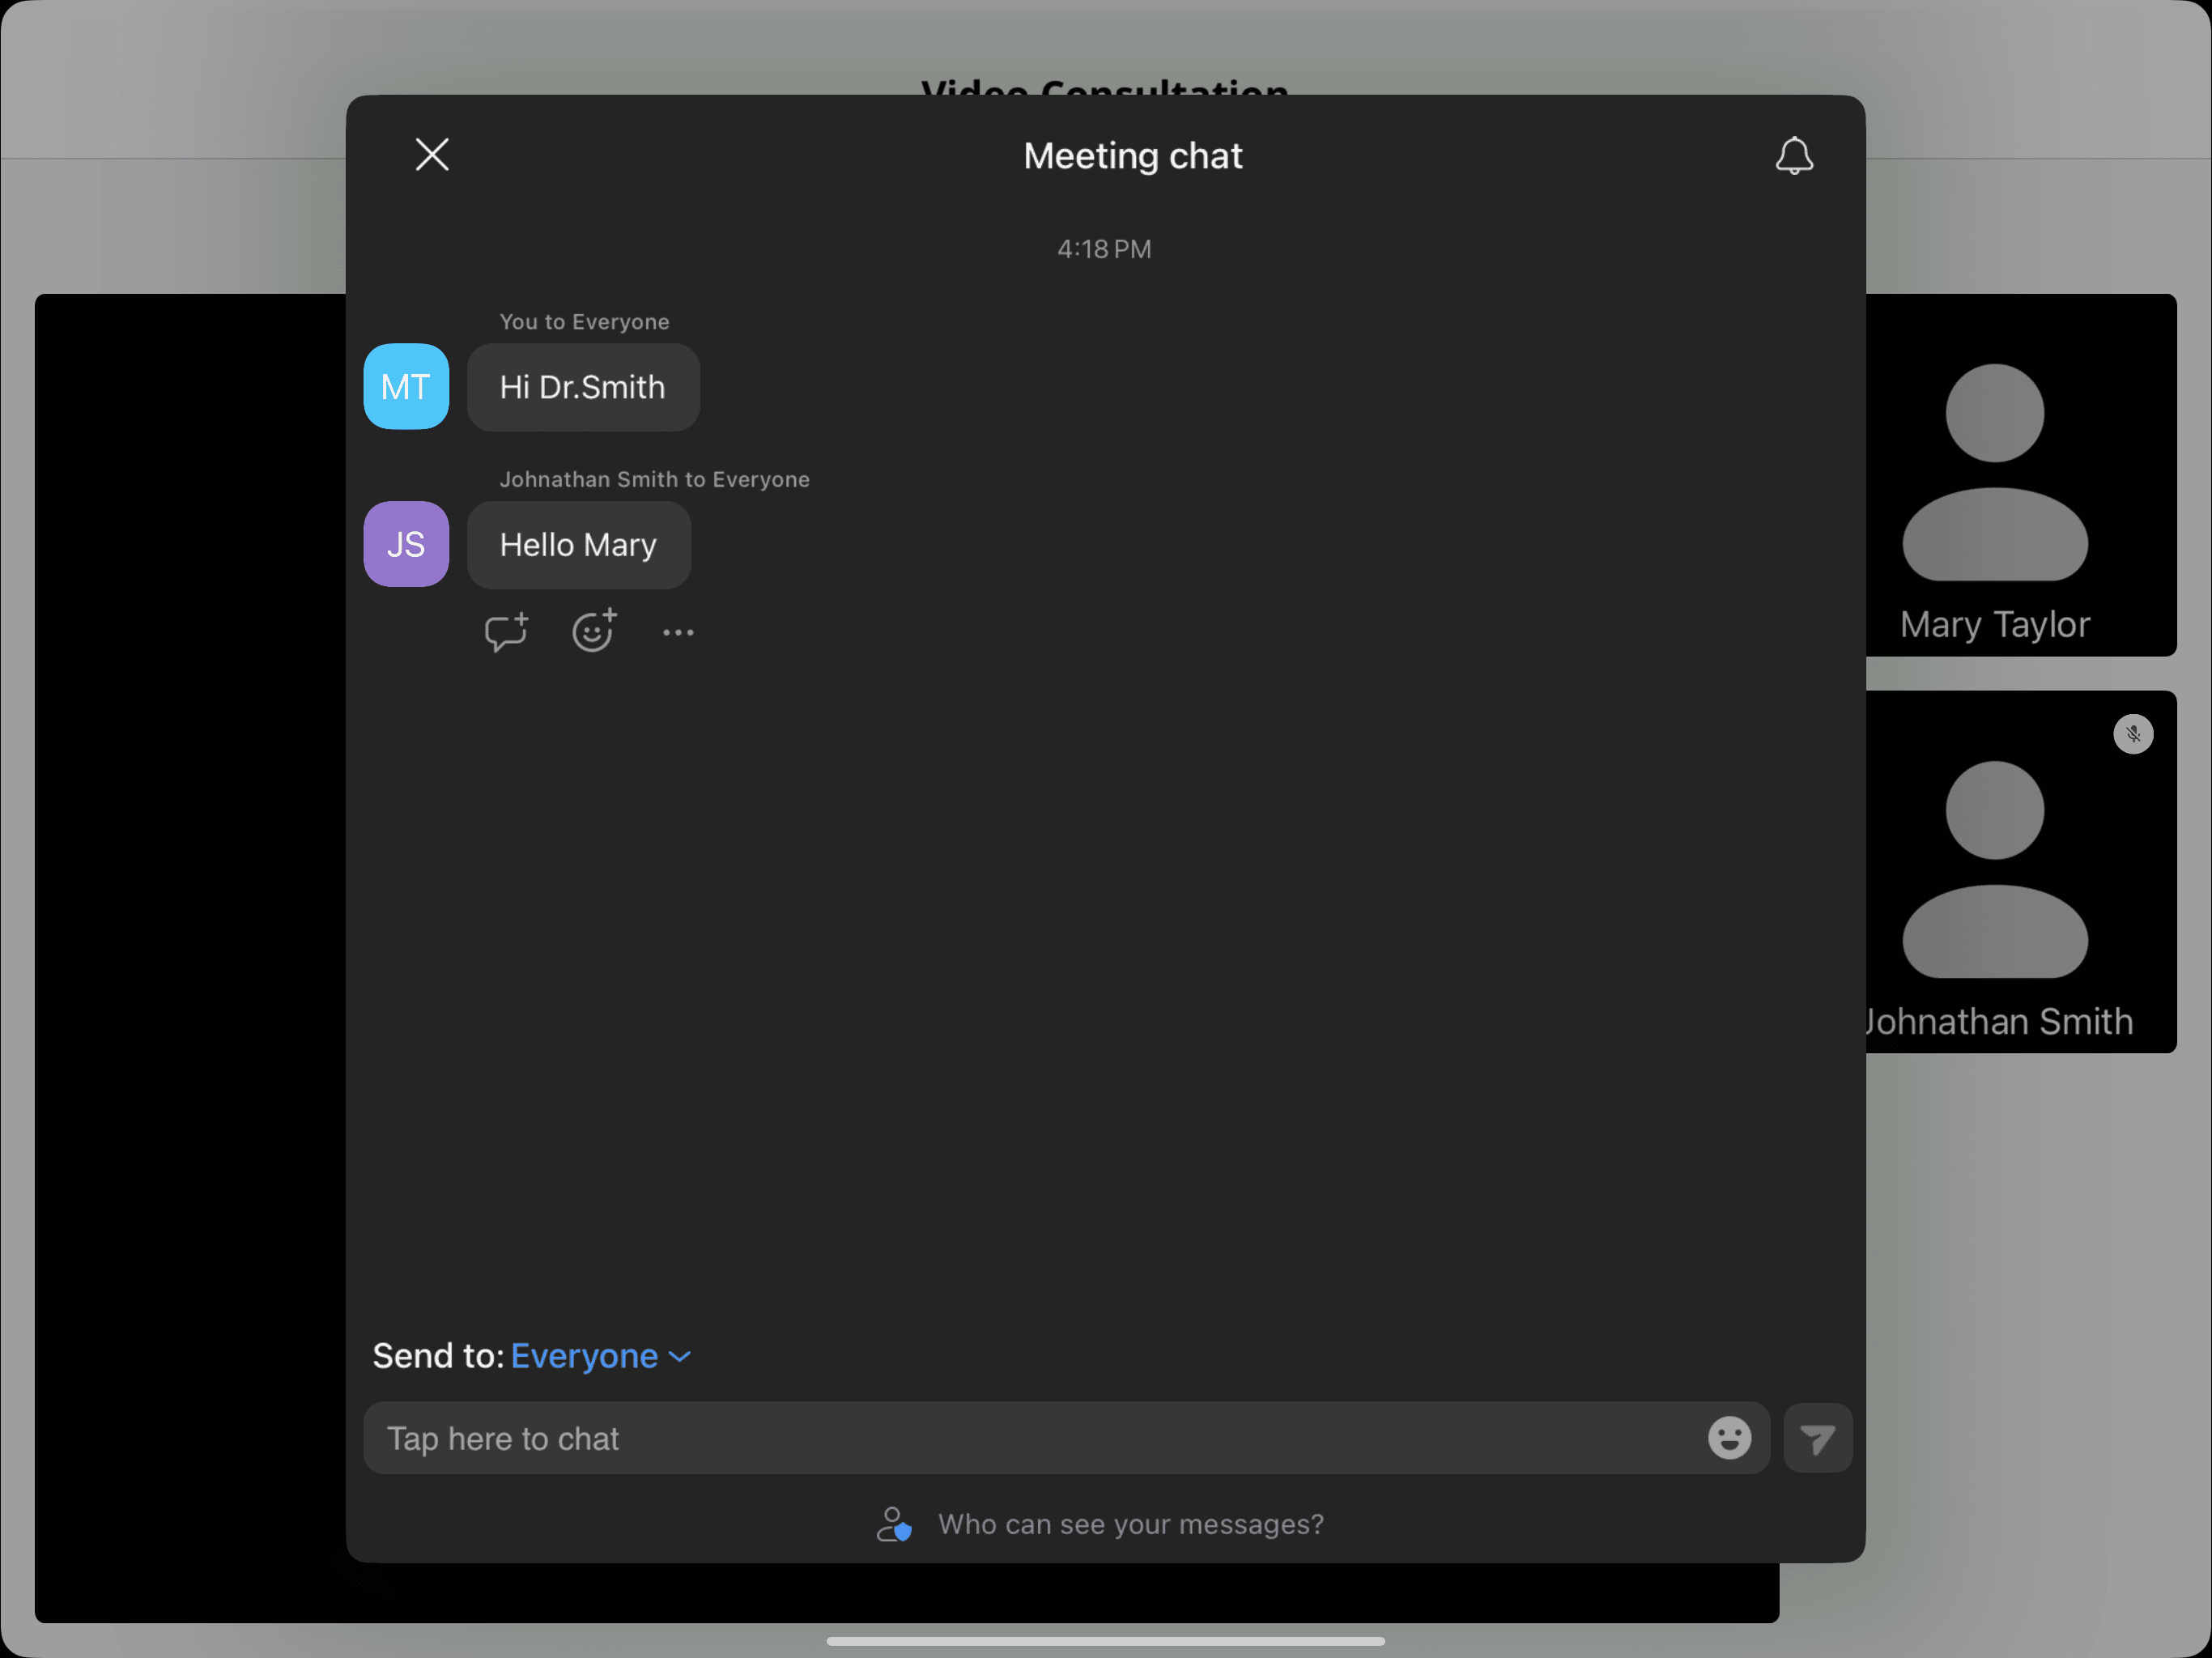
- Selecting any other participant or host opens the chat window for private or public conversations.
- Tap the 'End Call' button to 'Leave the Session'.
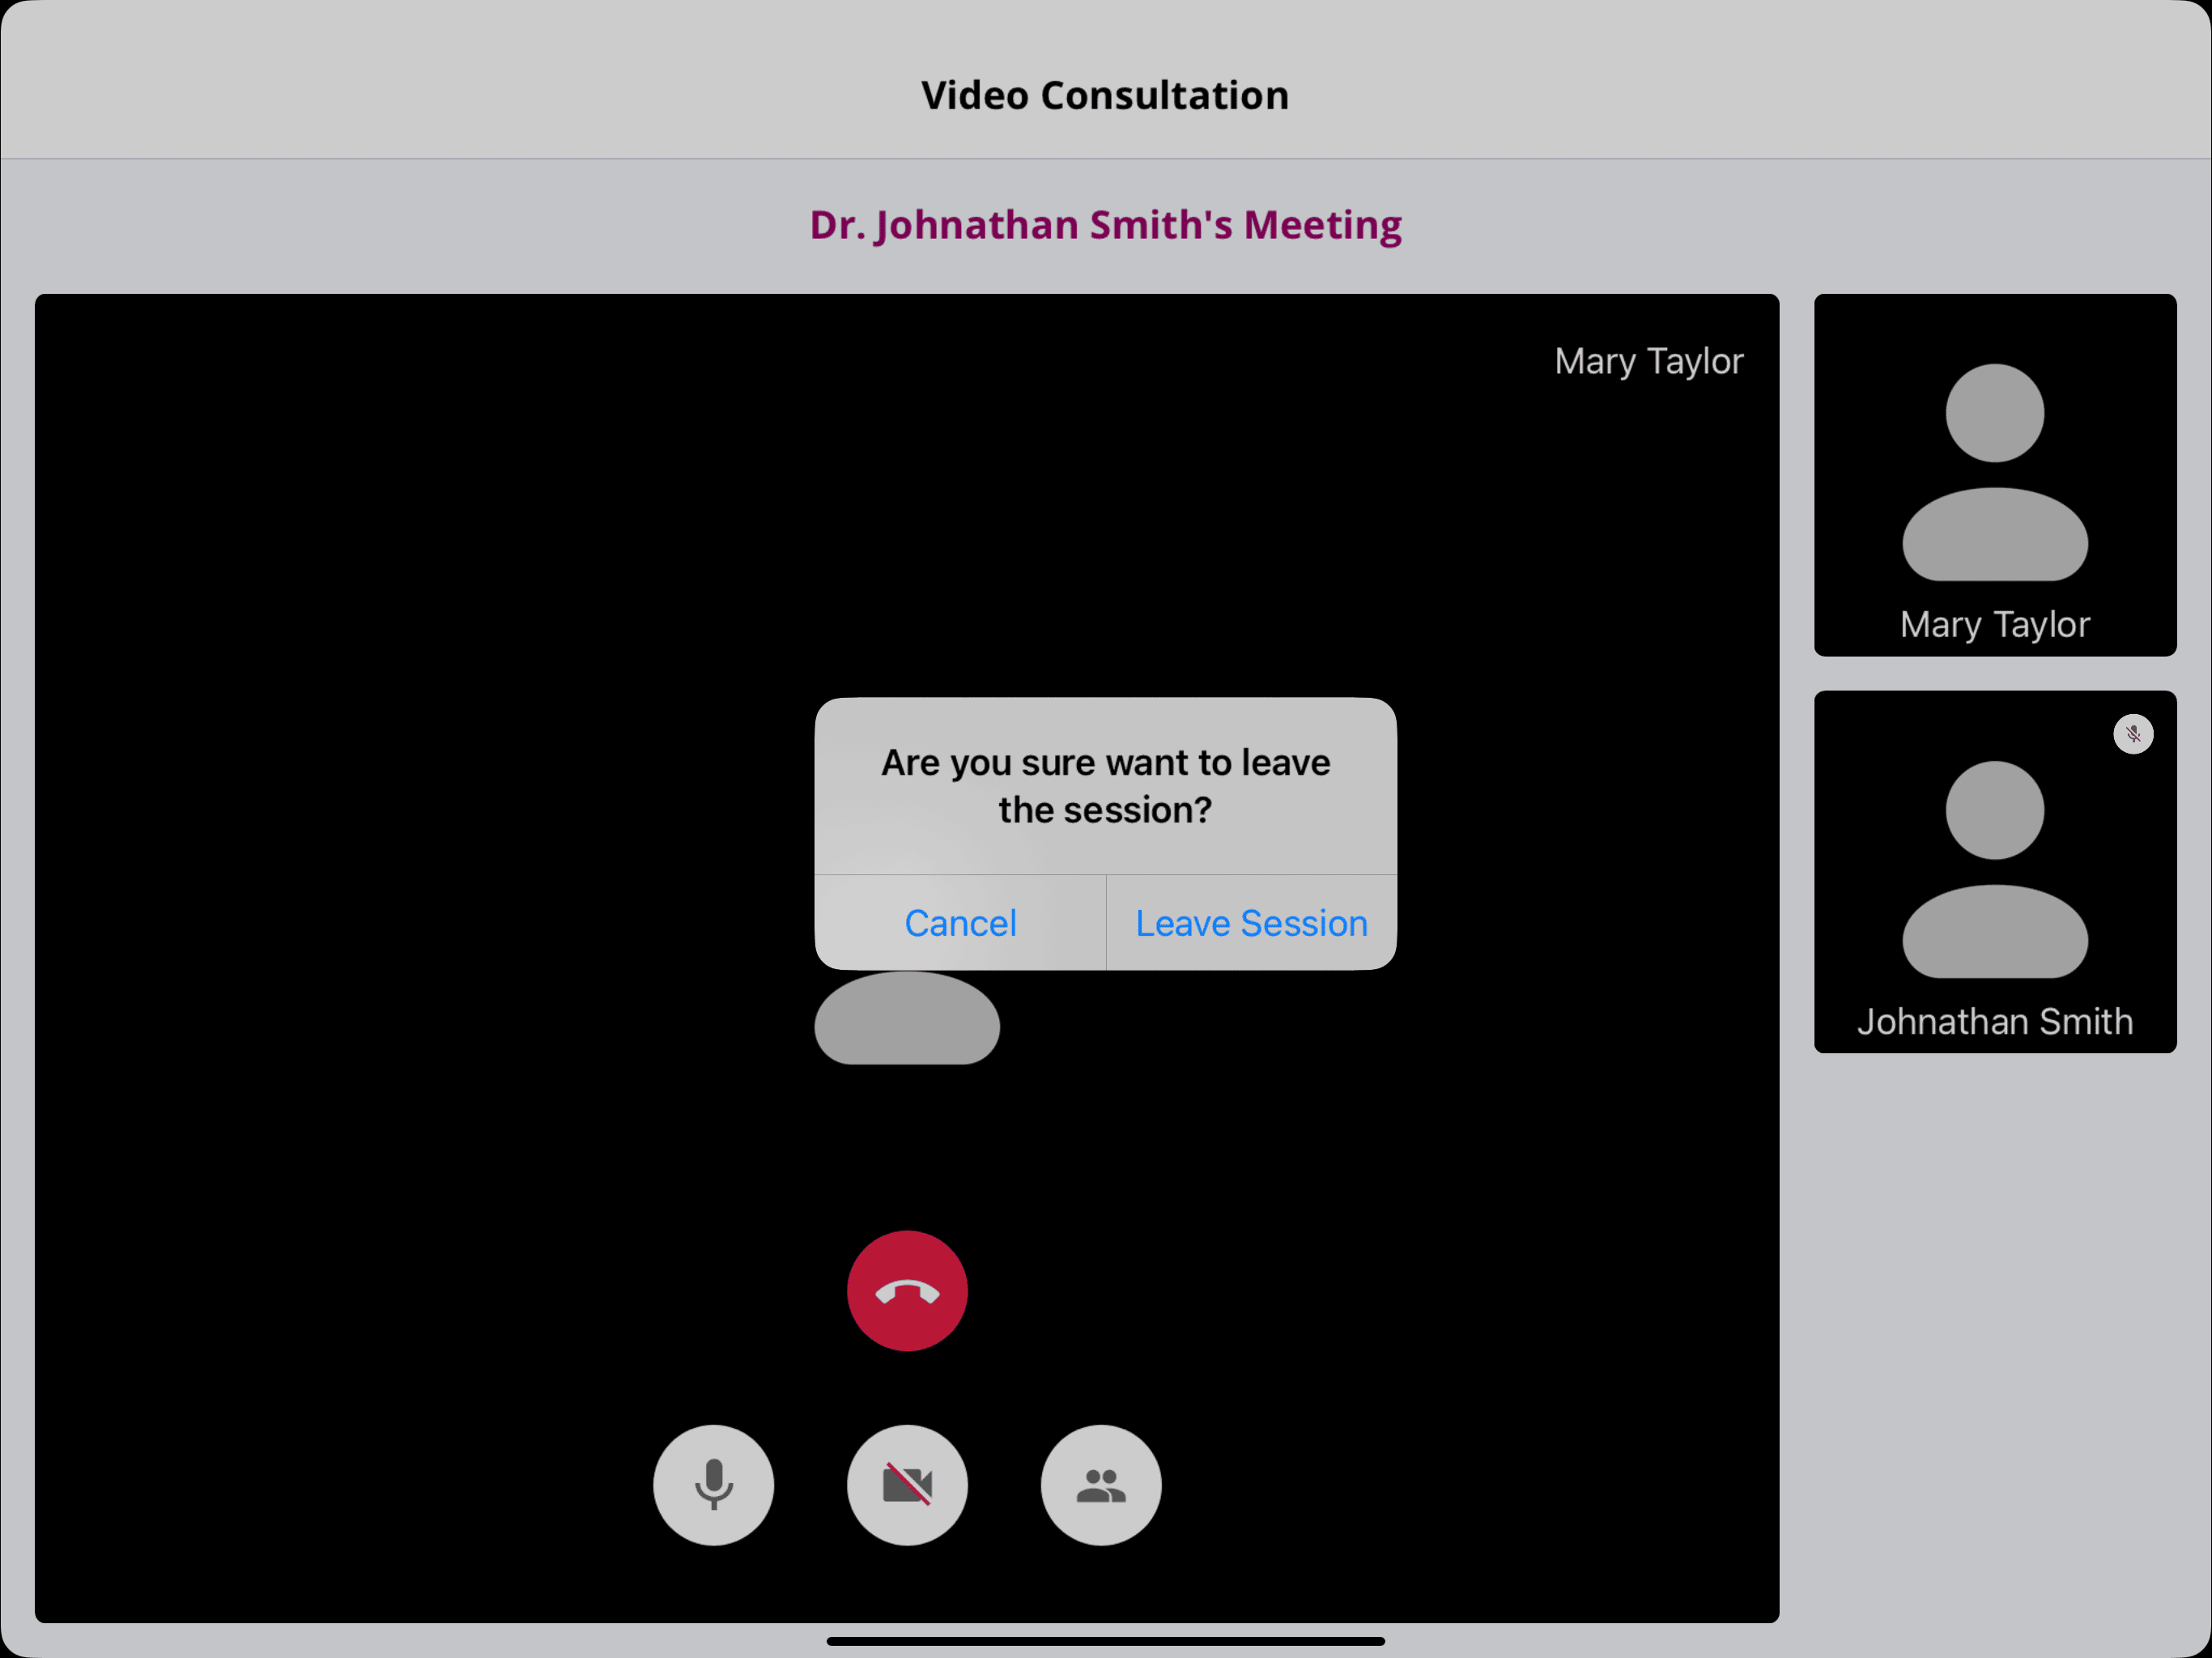
After completing the TeleHealth session, the Patient will be redirected to the 'Thank You' page. Tapping anywhere on this page will take them back to the Charm Kiosk lock screen.