Lab Settings
Configuring Labs
Before you start working on your lab module, you need to configure the labs and tests performed in your labs. Follow the steps given below to configure the lab tests.
- Go to the 'Settings' page.
- Click on the 'Lab / Image > Customize Labs' option.

- Click on the '+ Lab and Tests' button to add a new lab. You can add labs like Charm Labs, LabCorp, etc., and enter the Account number associated with your Practice.

- Enter the Test/Panel Name, Code, Test Type, Specimen Source, and Department name.
- Click on the 'Add' button to add the lab.
- If you need to add a few more Tests to the lab, click on the 'More Options' (...) icon against the lab and choose the 'Customize' option.

- Click on the '+ Test' button to add the Tests to the lab.

- You can configure Test codes while adding the Tests. Enter the Test details and click on the 'Add' button. The test gets added to the existing list of tests under the lab.

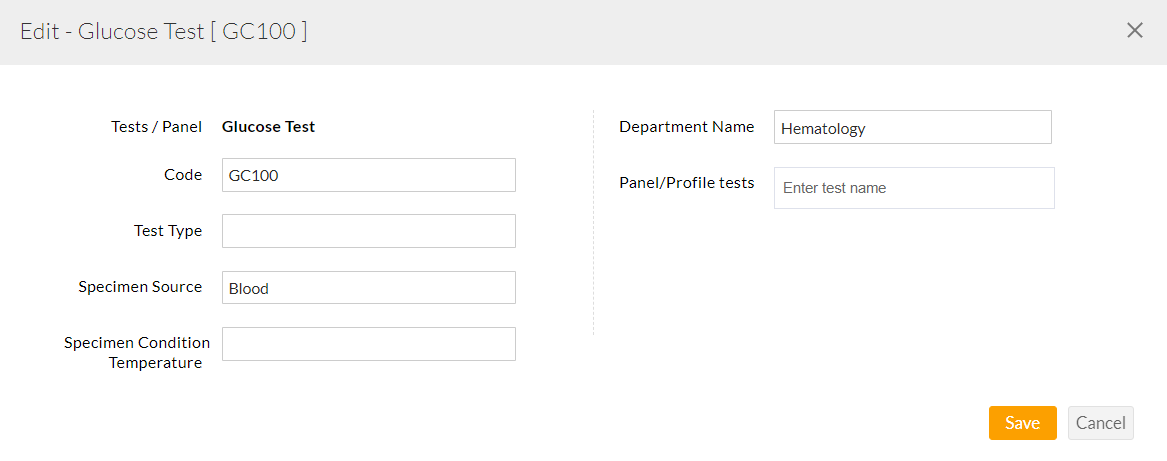
- To customize or edit the test, click on the 'Customize' option under the 'More Options' (...) icon and enter the Test Type, Specimen Source, Specimen Condition Temperature, Department name, and Panel/Profile tests name. Click on the 'Save' button to save the changes.

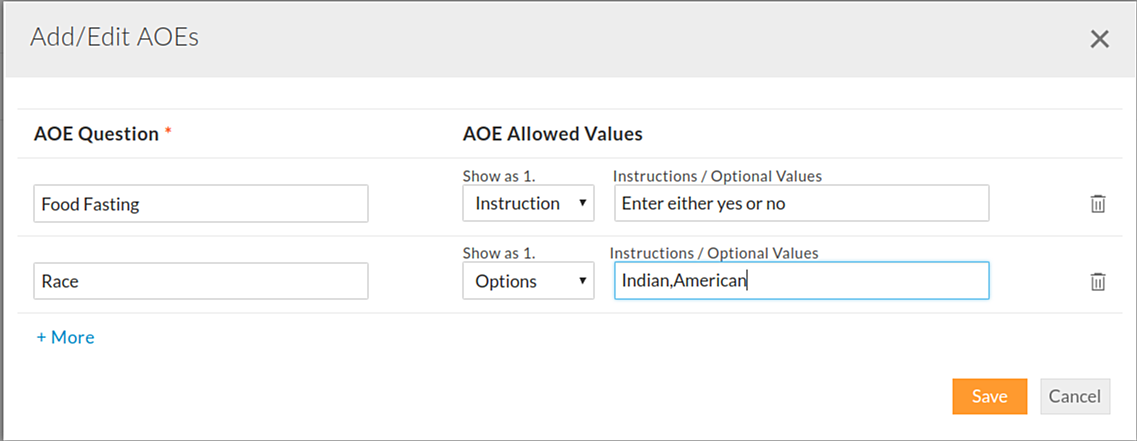
- To add or edit the AOEs, click on the 'More Options' (...) icon against the test and select the 'AOEs' option. The AOEs can be added either as an Instruction or an Option.


- To edit the existing parameter or add a new parameter to the test, click on the 'Params' option from the 'More Options' (...) icon.
- Enter the Parameter Name, Code, Unit, LOINC code, and its Reference Range. The Reference Range can be either Numeric or Custom. The numeric value takes the Minimum and Maximum ranges as input, while the 'Custom' value can be a text. You can delete a param by clicking on the 'Delete' icon.

Lab Tags
Lab Tags in Charm enables the user to tag the Lab Records of the Patient in the Patient Dashboard. The Tags can be added to the Lab Results by following the steps given below.
- Go to 'Settings > Labs/Images > Lab Tags' and click on the '+Tag' button.

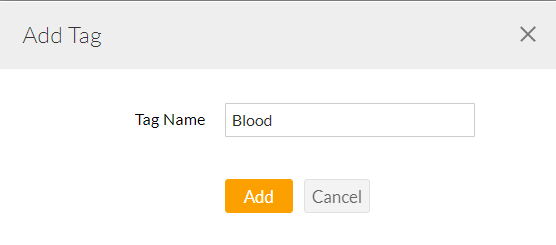
- Enter the Tag Name and click on the 'Add' button.

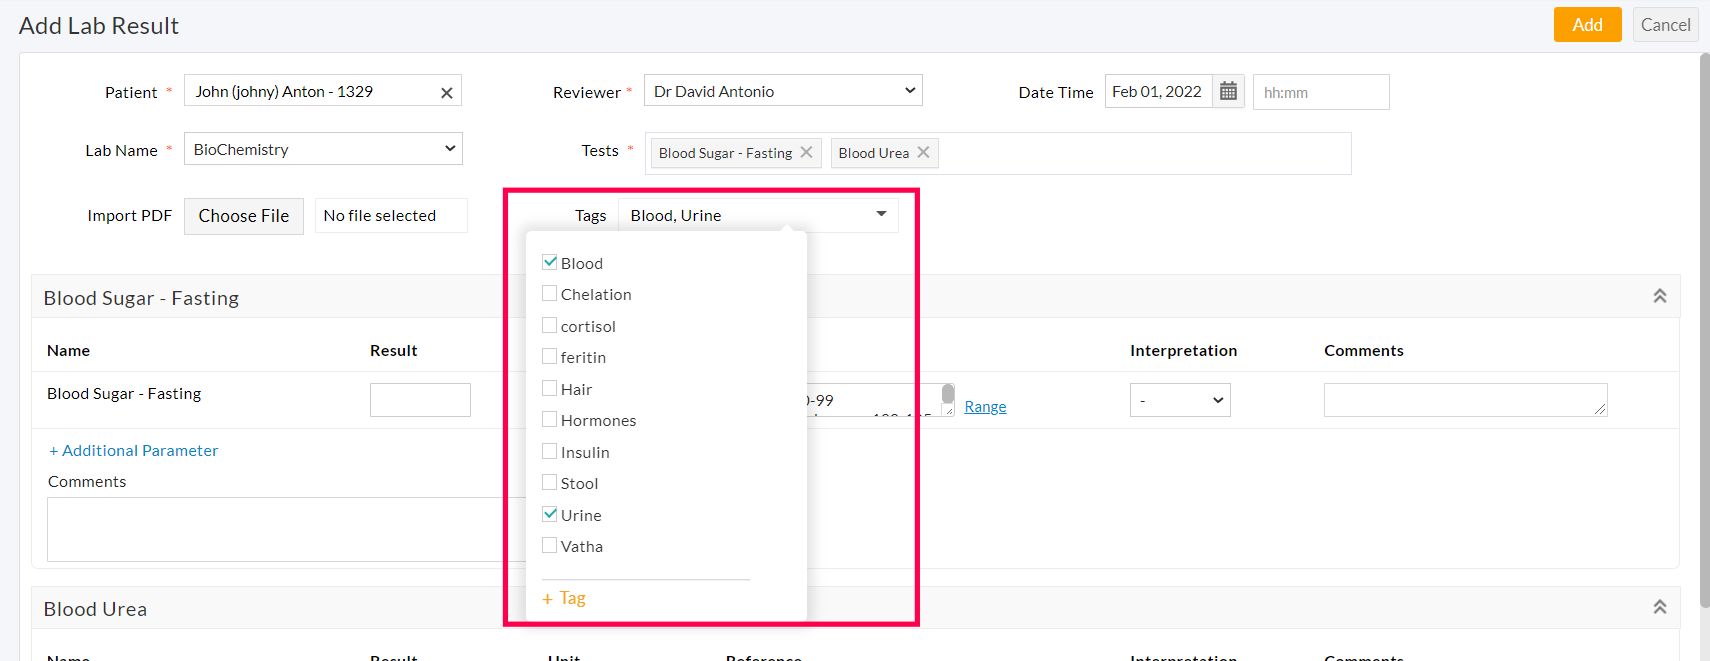
- The added Tags can be included in the Lab Results, as shown below. You can associate multiple tags for the same record.

- The tagged results are grouped under the 'Patient Dashboard > Lab Results' section.

Configuring Images
You can configure/ customize the Imaging Tests by following the steps given below.
- Go to the 'Settings > Lab /Image > Customize Images' page.
- You can add a new image type by clicking on the '+ New Image Type' button.

- To add a new test to the image type, click on the 'More Options' (...) icon against the Image and select the 'Customize Tests' option.

- You can add tests to each image category using the '+ New Test' option.

