Consultation
New Consultation
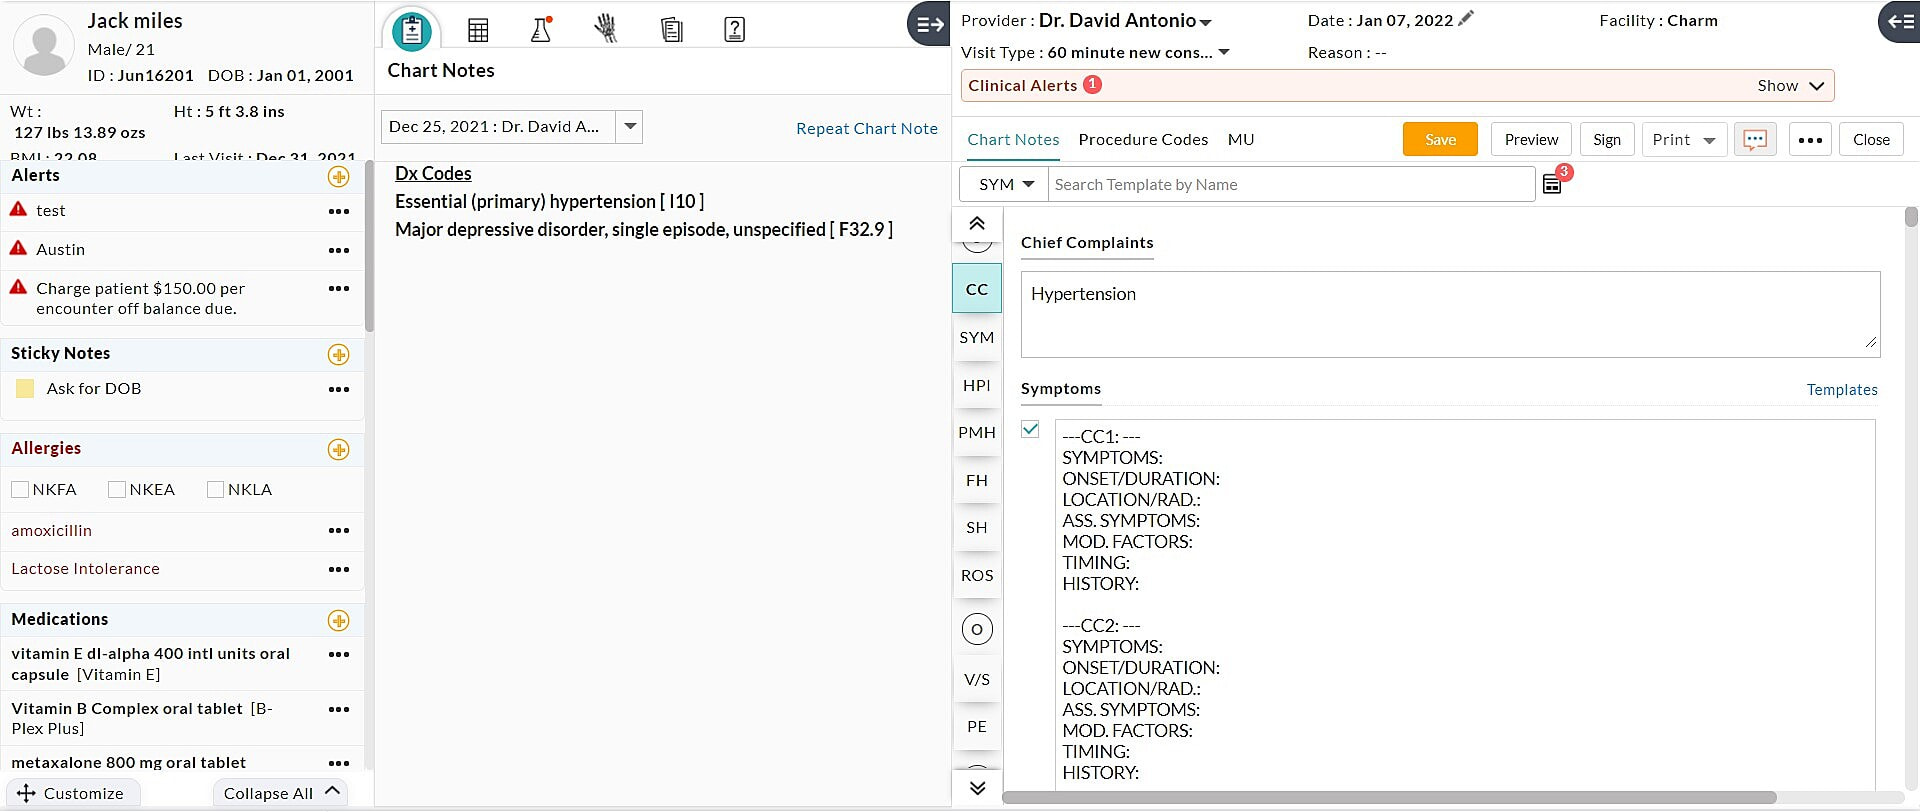
A new consultation can be created from the Home page by typing the Patient Name/ID in the search bar. You can also go to the Patient Dashboard, click on the '+' button above, and select the 'Encounter' option. There are four ways in which you can create a consultation chart.
- Quick
- Brief
- Comprehensive
- SOAP Template
Quick Consultation
To create a 'Quick Encounter', follow the steps given below.
- Go to the 'Patients' icon and select the Patient from the list.
- Click on the '+' button above and select the 'Encounter' option. A window for selecting the type of Consultation will appear on the screen.
- Select the 'Quick' option.

- Click on the 'Create' button to continue with the Quick Consultation.
- Upon completion of the charting, click on the 'Sign' button to sign the Chart Note.

Brief Consultation
To create a 'Brief Encounter', follow the steps given below.
- Go to the 'Patients' icon and select the Patient from the list.
- Click on the '+' button above and select the 'Encounter' option. A window for selecting the type of Consultation will appear on the screen.
- Select the 'Brief' option.
- Click on the 'Create' button to continue with the Brief Consultation.

- On completion of the charting, click on the 'Sign' button to sign the chart note.

Comprehensive Consultation
To create a 'Comprehensive Encounter', follow the steps given below.
- Go to the 'Patients' icon and select the Patient from the list.
- Click on the '+' button above and select the 'Encounter' option. A window for selecting the type of Consultation will appear on the screen.
- Select the 'Comprehensive' option.
- Click on the 'Create' button to continue with the Comprehensive Consultation.

- Click on the 'Physician Notes' option to enter the detailed notes about the Patient.
- On completing the charting, click on the 'Sign' button to sign the chart note.

SOAP Template Consultation
To create a 'SOAP Template Encounter', follow the steps given below.
- Go to the 'Patients' icon and select the Patient from the list.
- Click on the '+' button above and select the 'Encounter' option. A window for selecting the type of Consultation will appear on the screen.
- Select the 'SOAP Template' option.
- Click on the 'Create' button to continue with the SOAP Template Consultation.

- Choose the name of the SOAP template. Once the template gets loaded in the chart, you can enter the notes about the Patient.
- On completing the charting, click on the 'Sign' button to sign the chart note.

File for Review
Once you finish charting, you can file the Encounter for review with another Physician. To do this, follow the steps given below.
- Go to the Home page and click on the 'Chart Notes' icon
- The unsigned encounters get listed by default.
- Select the Encounter of a particular Patient that you need to submit for review.
- Click on the 'More Options' (...) icon and select the 'File for Review' option.

- A popup will open to choose a Physician's name to whom you want to file the chart note for review.
- Select the Physician's name and click on the 'Submit' button to file the chart for review.

Review Charts
- Go to the Home Page and click on the 'Chart Notes' icon. The following screen opens up.

- Select a chart note to review its content. Click on the 'Sign' button to finalize the chart note.

Generate Referral Letters
- Click on the 'Chart Notes' icon on the Home Page and select the chart note of a Patient to create a Referral Letter.
- Click on the 'Reports' option under the 'More Options (...)' button.

- Select a template and click on the 'Generate' button to generate the referral letter.

- The Referral letter will open up the medical condition of the Patient. If you wish to edit the Referral Report, you can use the 'Edit' icon.
- You can print the Referral letter by clicking the 'Print' icon.

Add Followup Appointments
Follow-up Appointments for the Patients can be created at the end of the consultation by following the steps given below.
- Open the chart note, scroll down to the end of the note, and click on the 'Add Follow up' link.

- Recommend the type of followup, viz., Office Visit, Lab Test, Procedures, etc., and add a date. Click on 'Add' to add the followup to the chart note.

- On configuring this, the reminders get sent to the patients about the follow-up visits.