Flow Sheet
The Flowsheets in CharmHealth EHR helps you to easily track Patient's health data over a period of time.
Using Flowsheets, you can,
- Record and track Patient's health vitals and other custom parameters (like Hunger Level, Pain Severity, etc.
- Pull lab results and review them along with the Patient's other health data
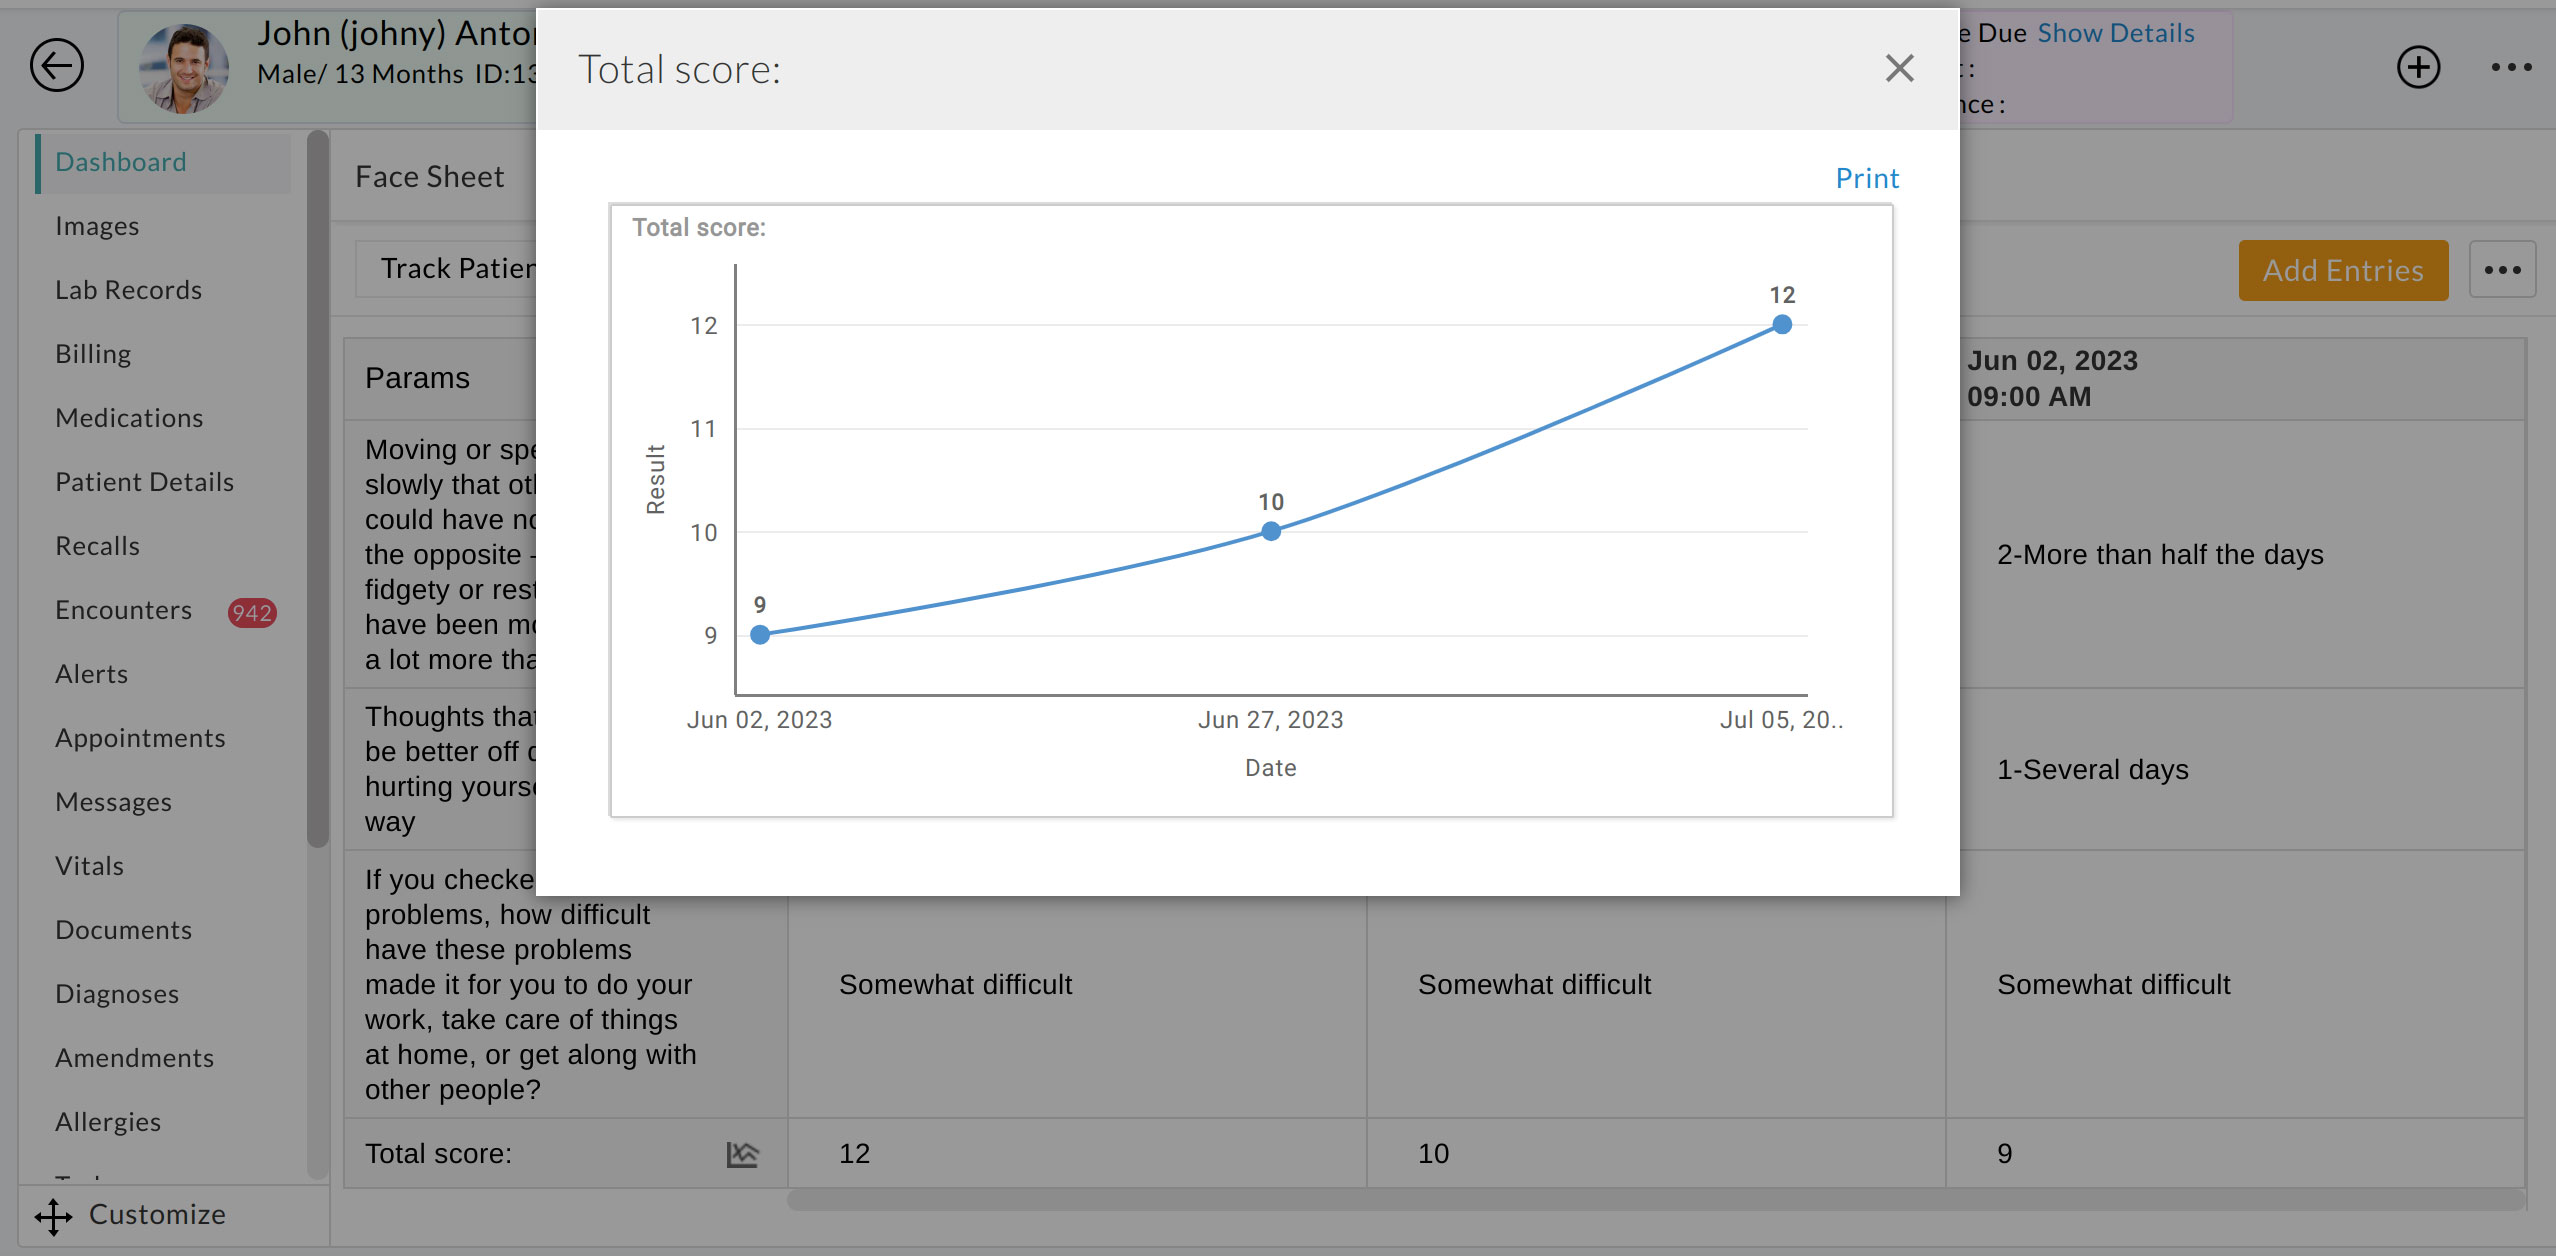
- Plot the data to see the changes visually
- Flag abnormal values
Create Flowsheets
The Flow Sheets are fully customizable. You can create Flowsheets with your fields and preferred layout. Let us see how to create a Flowsheet with the data given below.
| NAME | Diabetes Flowsheet |
|---|---|
| FIELDS | |
| VITALS | Weight, BP |
| LAB VALUES | HbA1c, LDL |
| CUSTOM PARAMS | Foot screening |
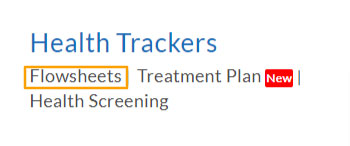
- Go to Settings > Health Trackers > Flowsheets

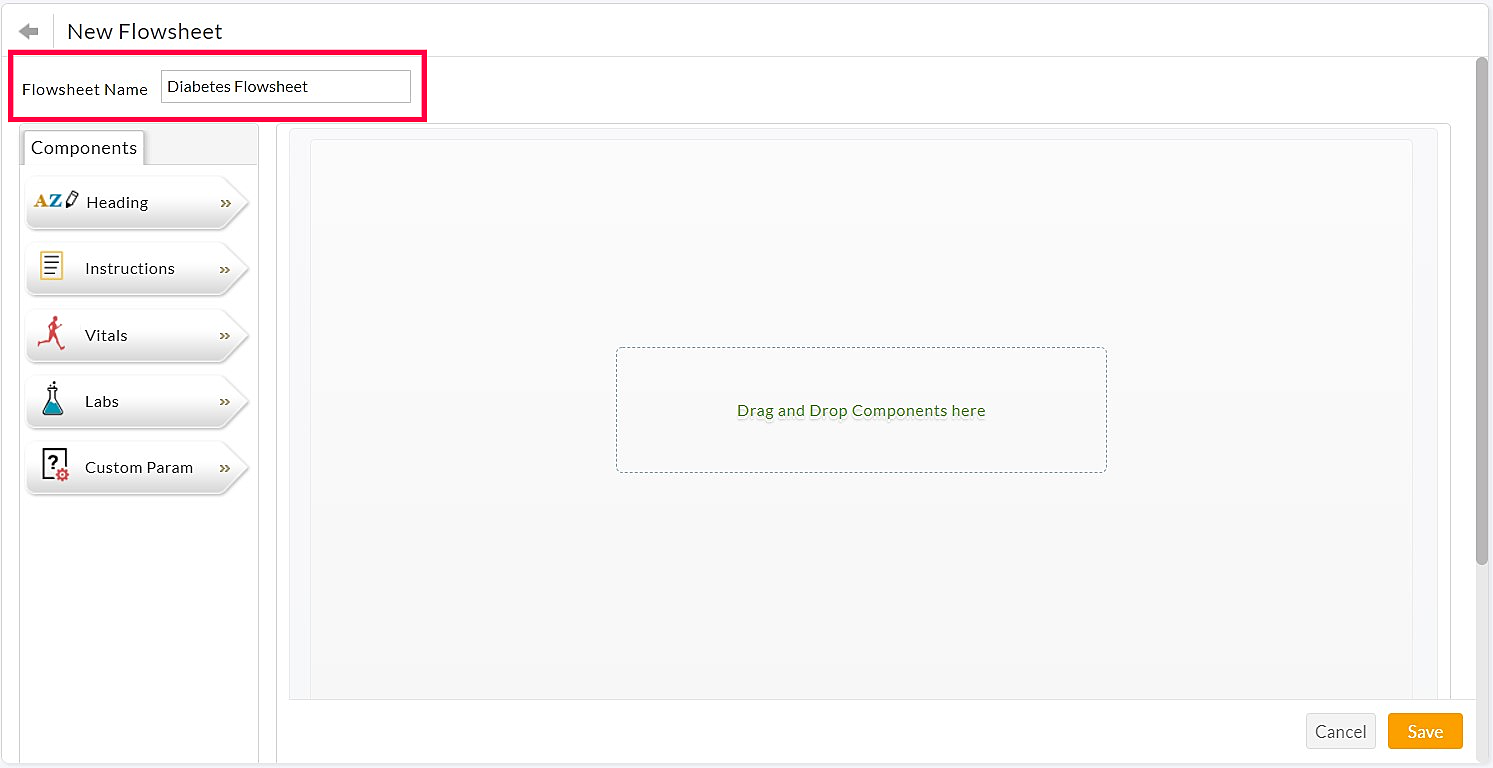
- Click on the '+ Flowsheet' button and enter the Flowsheet name.
- Drag and drop the 'Heading' component and create a heading for the vitals.

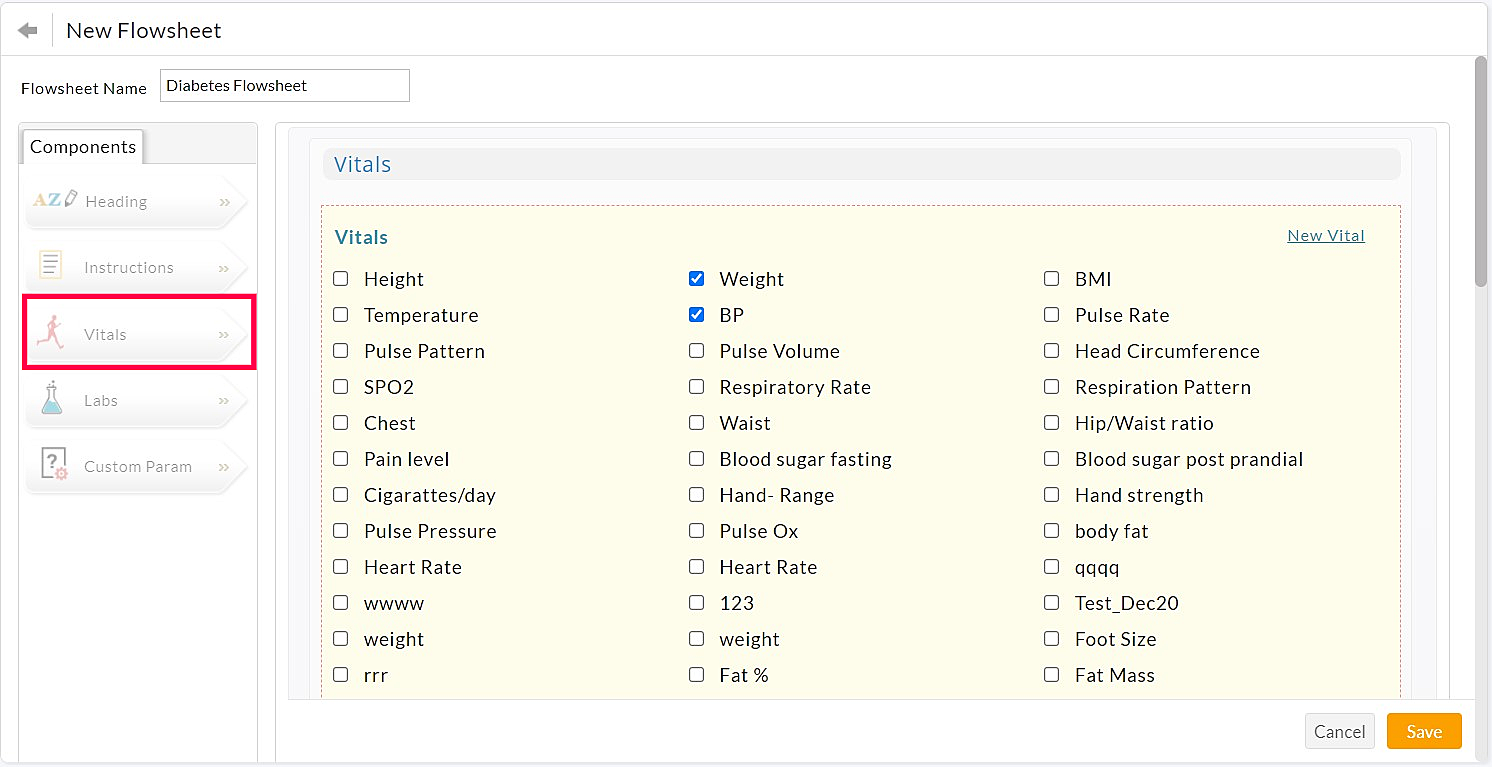
- Drag and drop the 'Vitals' component and choose Weight and BP.
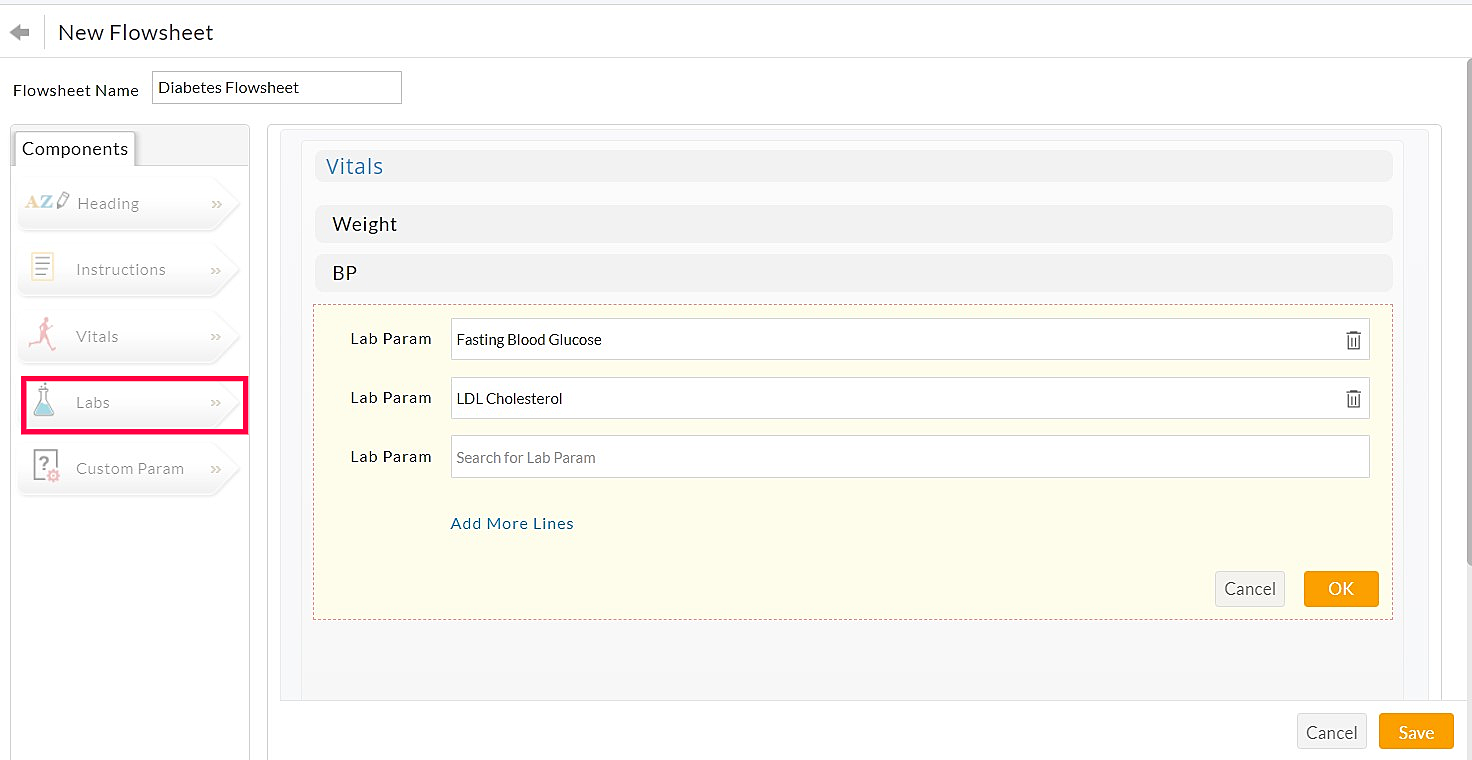
- Create a heading for 'Lab Values' and then drop the 'Labs' component. Search and select the lab parameters Blood Glucose and LDL. The Lab values are pulled based on the parameter name. Hence, make sure that the lab parameter name given in the Flowsheet exactly matches the imported results.
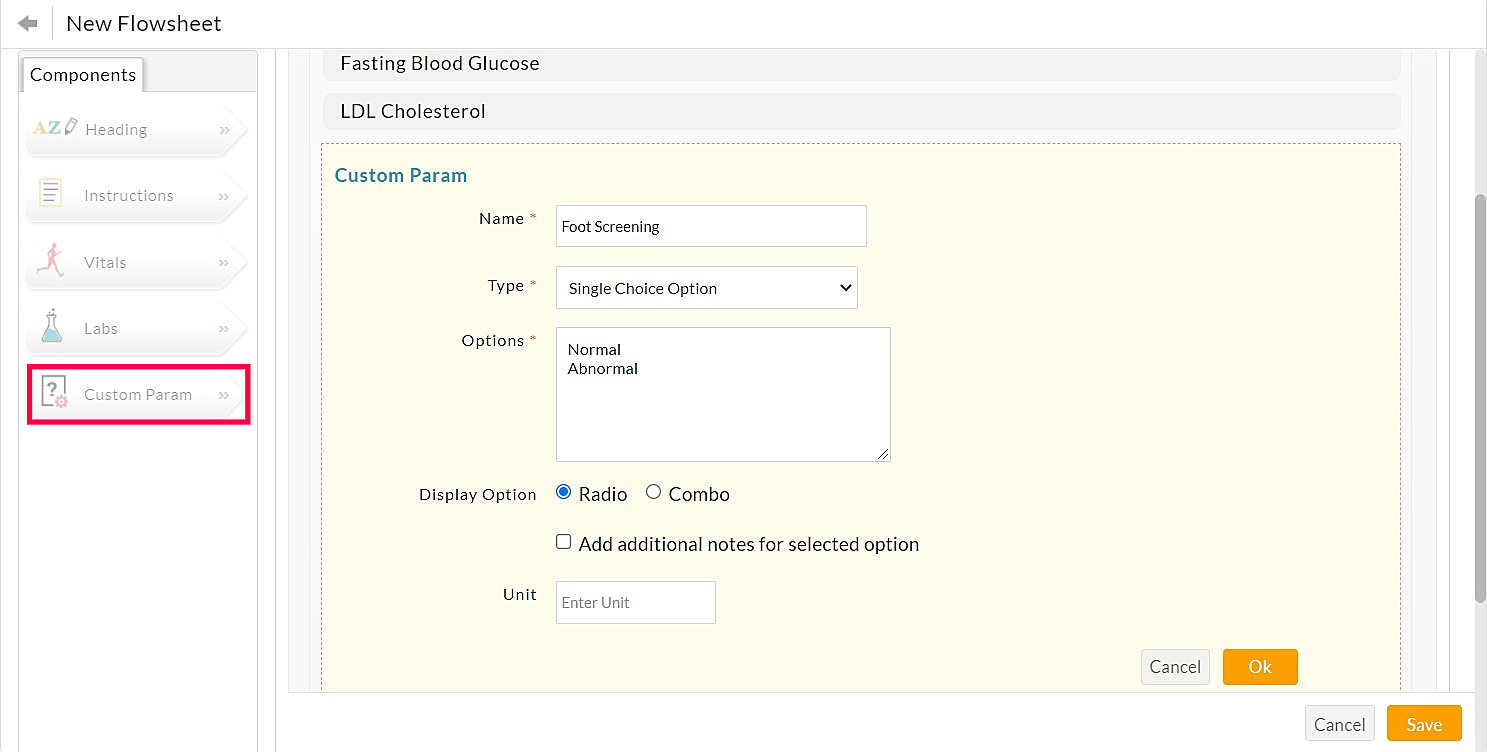
- Create a heading for 'Assessments' and drag and drop the 'Custom Param' component. Enter the parameter name as 'Foot Screening' and type it as 'Single Choice Option'. Enter two options - 'Normal' and 'Abnormal'. Choose the 'Add Additional Notes' option to add comments on foot screening.
- You can also choose your preferences for the additional fields below and save the Flowsheet.
- Sort Data - The Date order in which the Patient health data need to be sorted in the Flowsheet
- Date Format - Choose the date format required in the Flowsheet
- Flowsheet Layout - Choose the preferred layout for displaying the data in the Flowsheet
- Apply Flowsheet - Choose whether this Flowsheet has to be added to all Patients by default
- Share Flowsheet - Enable this option to share the Flowsheet with all Patients and choose the frequency of data to be filled by the Patients.

Flowsheet from Patient Dashboard
- You can access the Patient’s Flowsheets from the Patient Dashboard.

- Flowsheets associated with all patients (as configured in Settings) are shown by default. You can also open a new Flowsheet by clicking the 'Add Entries' button.
- Patient's existing medical records get pulled automatically and shown as per the fields created in the Flowsheet.
- Click on the 'Add Entries' button to add new Flowsheet entries.
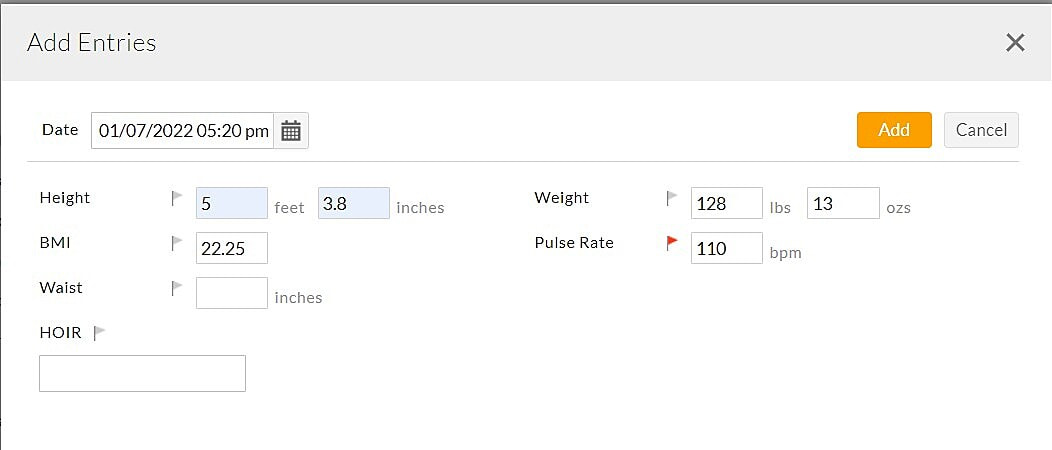
- Use the FLAG icon next to the parameter to flag the abnormal values.
Flowsheet within Encounter
You can also add the Flowsheet entries during Encounter.
- Flowsheet entries added in the Encounter section are shown as a part of the Chart Note.

- If the vitals are already included in the Flowsheet, you can even remove the 'Health Vitals' section from the Encounter. This option is provided under the Settings > Encounter > Preferences section.

Flowsheet Privileges
You can configure the member privileges to View-Only, Add, Edit, Delete, or Export actions in the Flowsheets under the Settings > Facility > Roles section.

Export Flowsheet
Practice Members can share flowsheets with Referring Providers in 4 different ways.
- Go to the 'Patient Dashboard > Flowsheet' section
- Choose a flowsheet of your choice from the drop-down list
- Click on the 'More Options' icon and choose either:
- Export as PDF
- Export as CSV
Fax - This option is available only if the Practice has subscribed to our 'Fax' add-on.

- Clicking on the Export as PDF, Print, or Fax menu provides Practice Members with two different options to choose from:
- All Entries - With this option, you can download, print, or fax the entire flowsheet data.
- Last 'n' Entries - Use this option to download, print, or fax a subset of the flowsheet data. For example, we have chosen to Print the last 4 flowsheet entries in the image below.
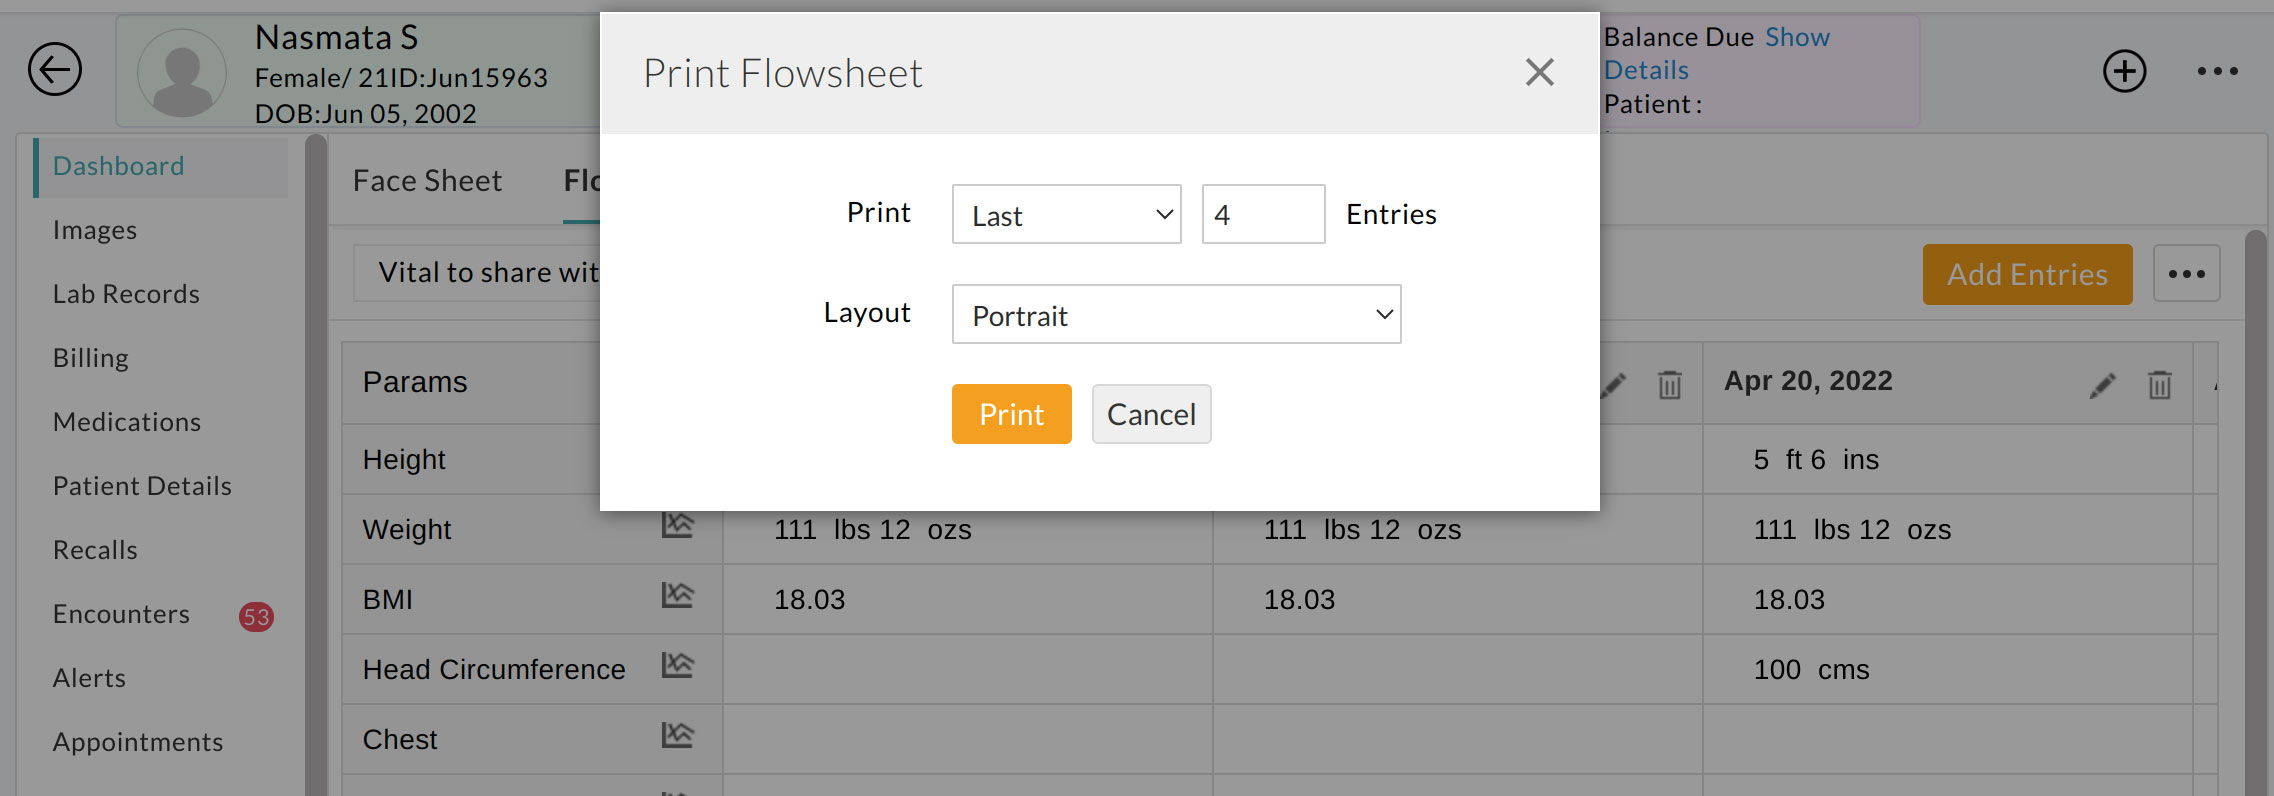
Additionally, you can export them in landscape or portrait modes based on your preference.
Share Flowsheet with Patients
- You can share the Flowsheet with all the Patients or any individual Patient based on your needs. Flowsheets can be shared only with the Patients who have PHR accounts.
- For sharing with all the Patients, edit the Flowsheet and select the 'Share this Flowsheet with all Patients' option. Also, specify how frequently the Patients need to fill the Flowsheet.

- For sharing with a specific Patient, go to the 'Patient Dashboard > Flowsheet' section.
- Add the Flowsheet and then share it with the Patient.
Data Entry by Patients
Once the Flowsheet is shared, the Patients can fill in at the specified interval from the 'Patient Portal > Flowsheets' section.
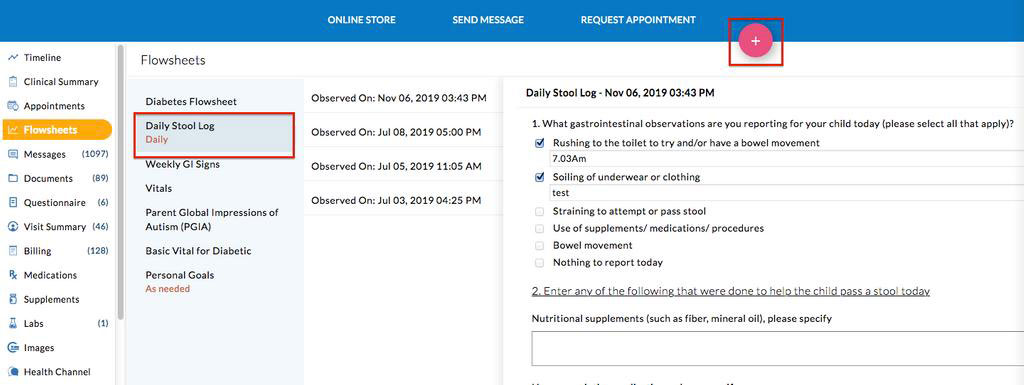
Fill Flowsheet with Questionnaire Data
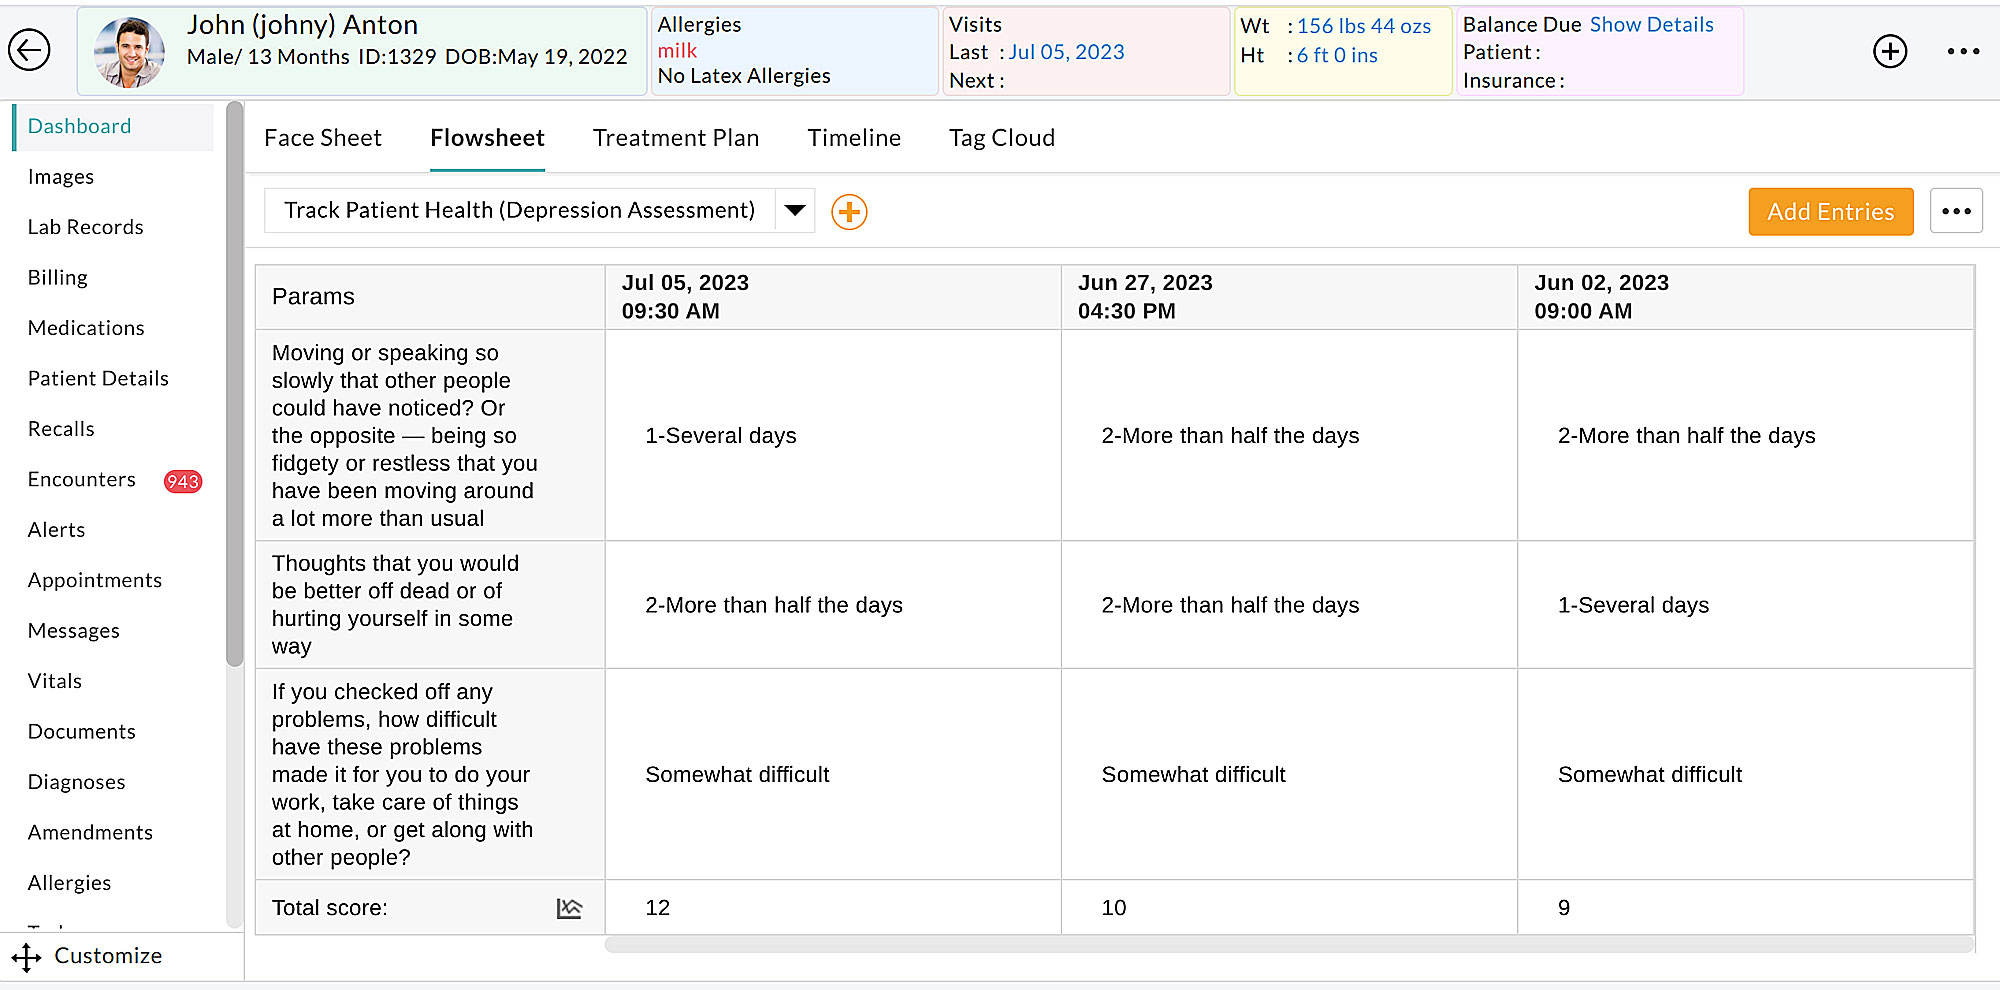
Practice Members can pull data (like Scores) from patient questionnaires into the flowsheet and track them over a period of time.
- Go to the 'Settings > Health Trackers > Flowsheet' section
- Create a new flowsheet or edit an existing flowsheet based on your requirements.
- Drag and drop the questionnaire component into the flowsheet.
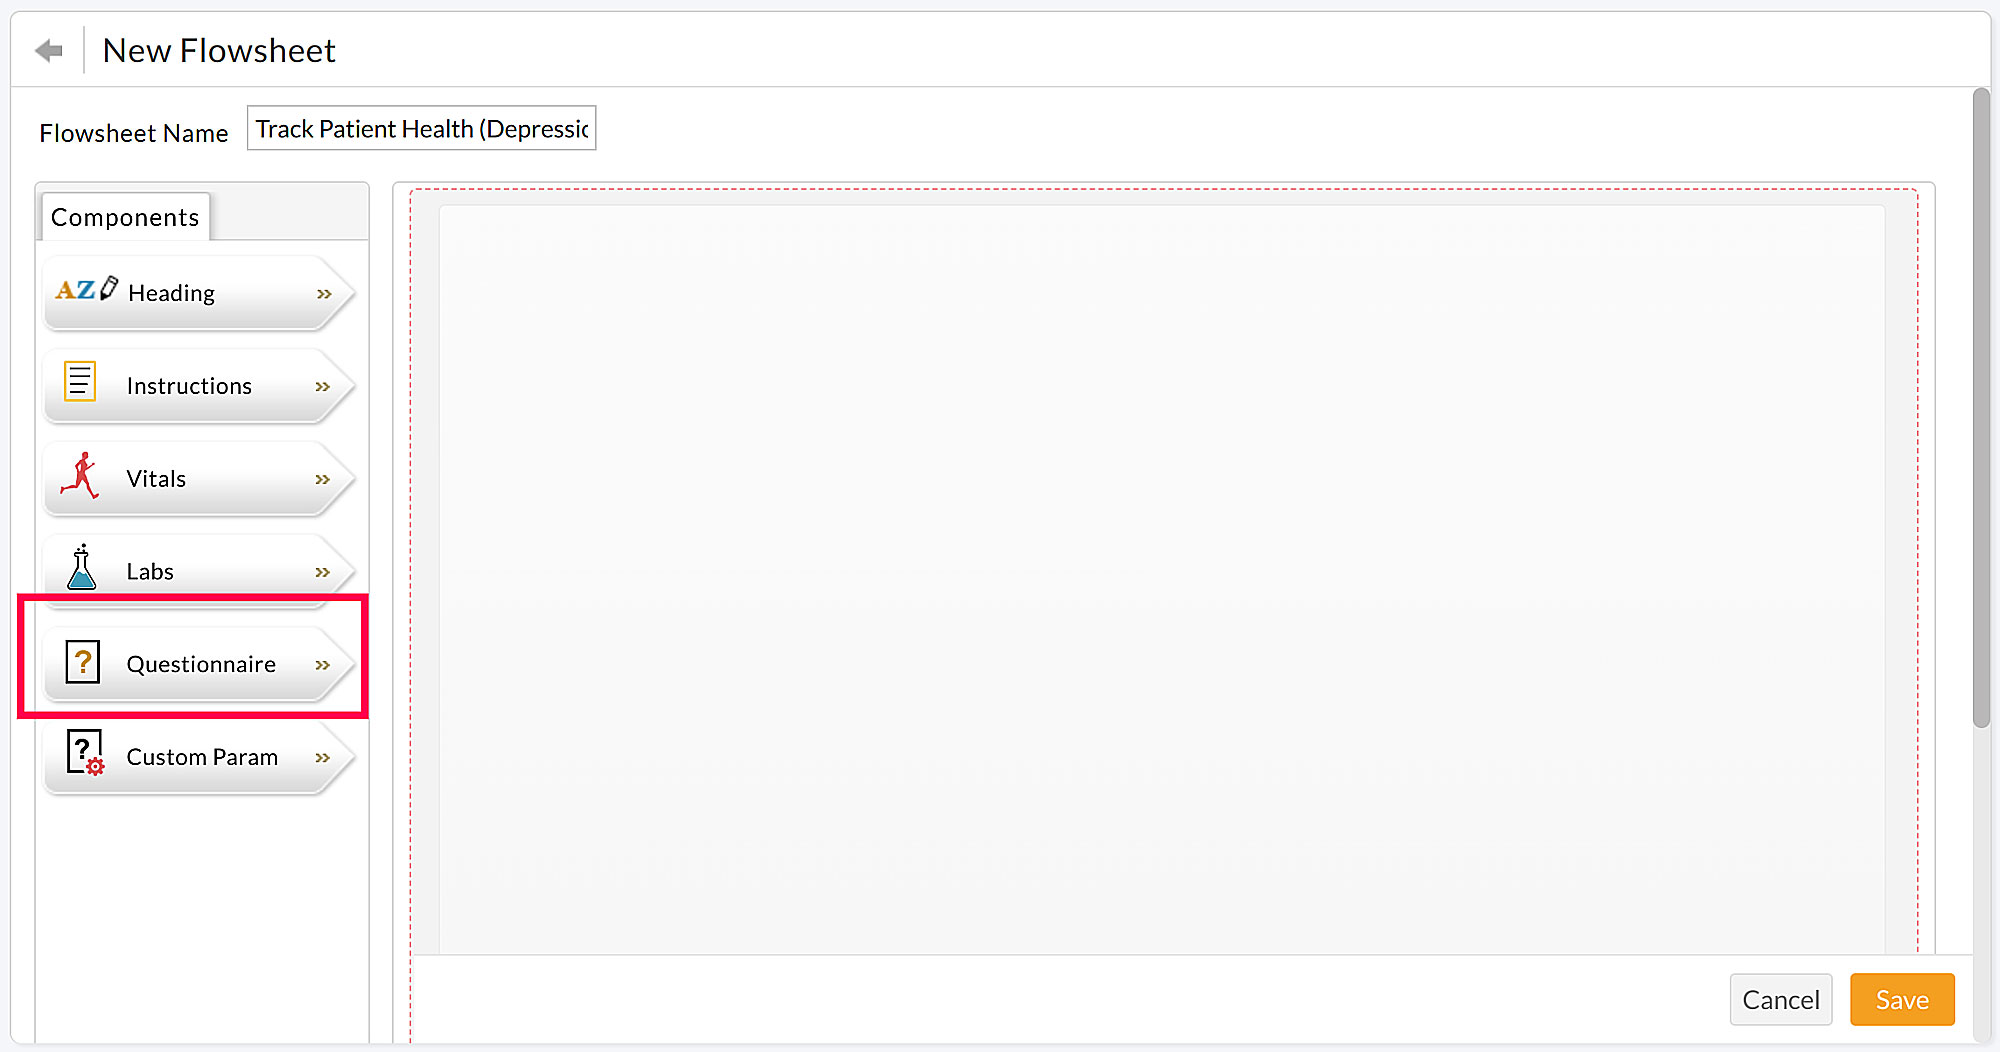
- Choose the questionnaire you want from the drop-down list. Then, select the questions you want to include in your flowsheet from the questionnaire.
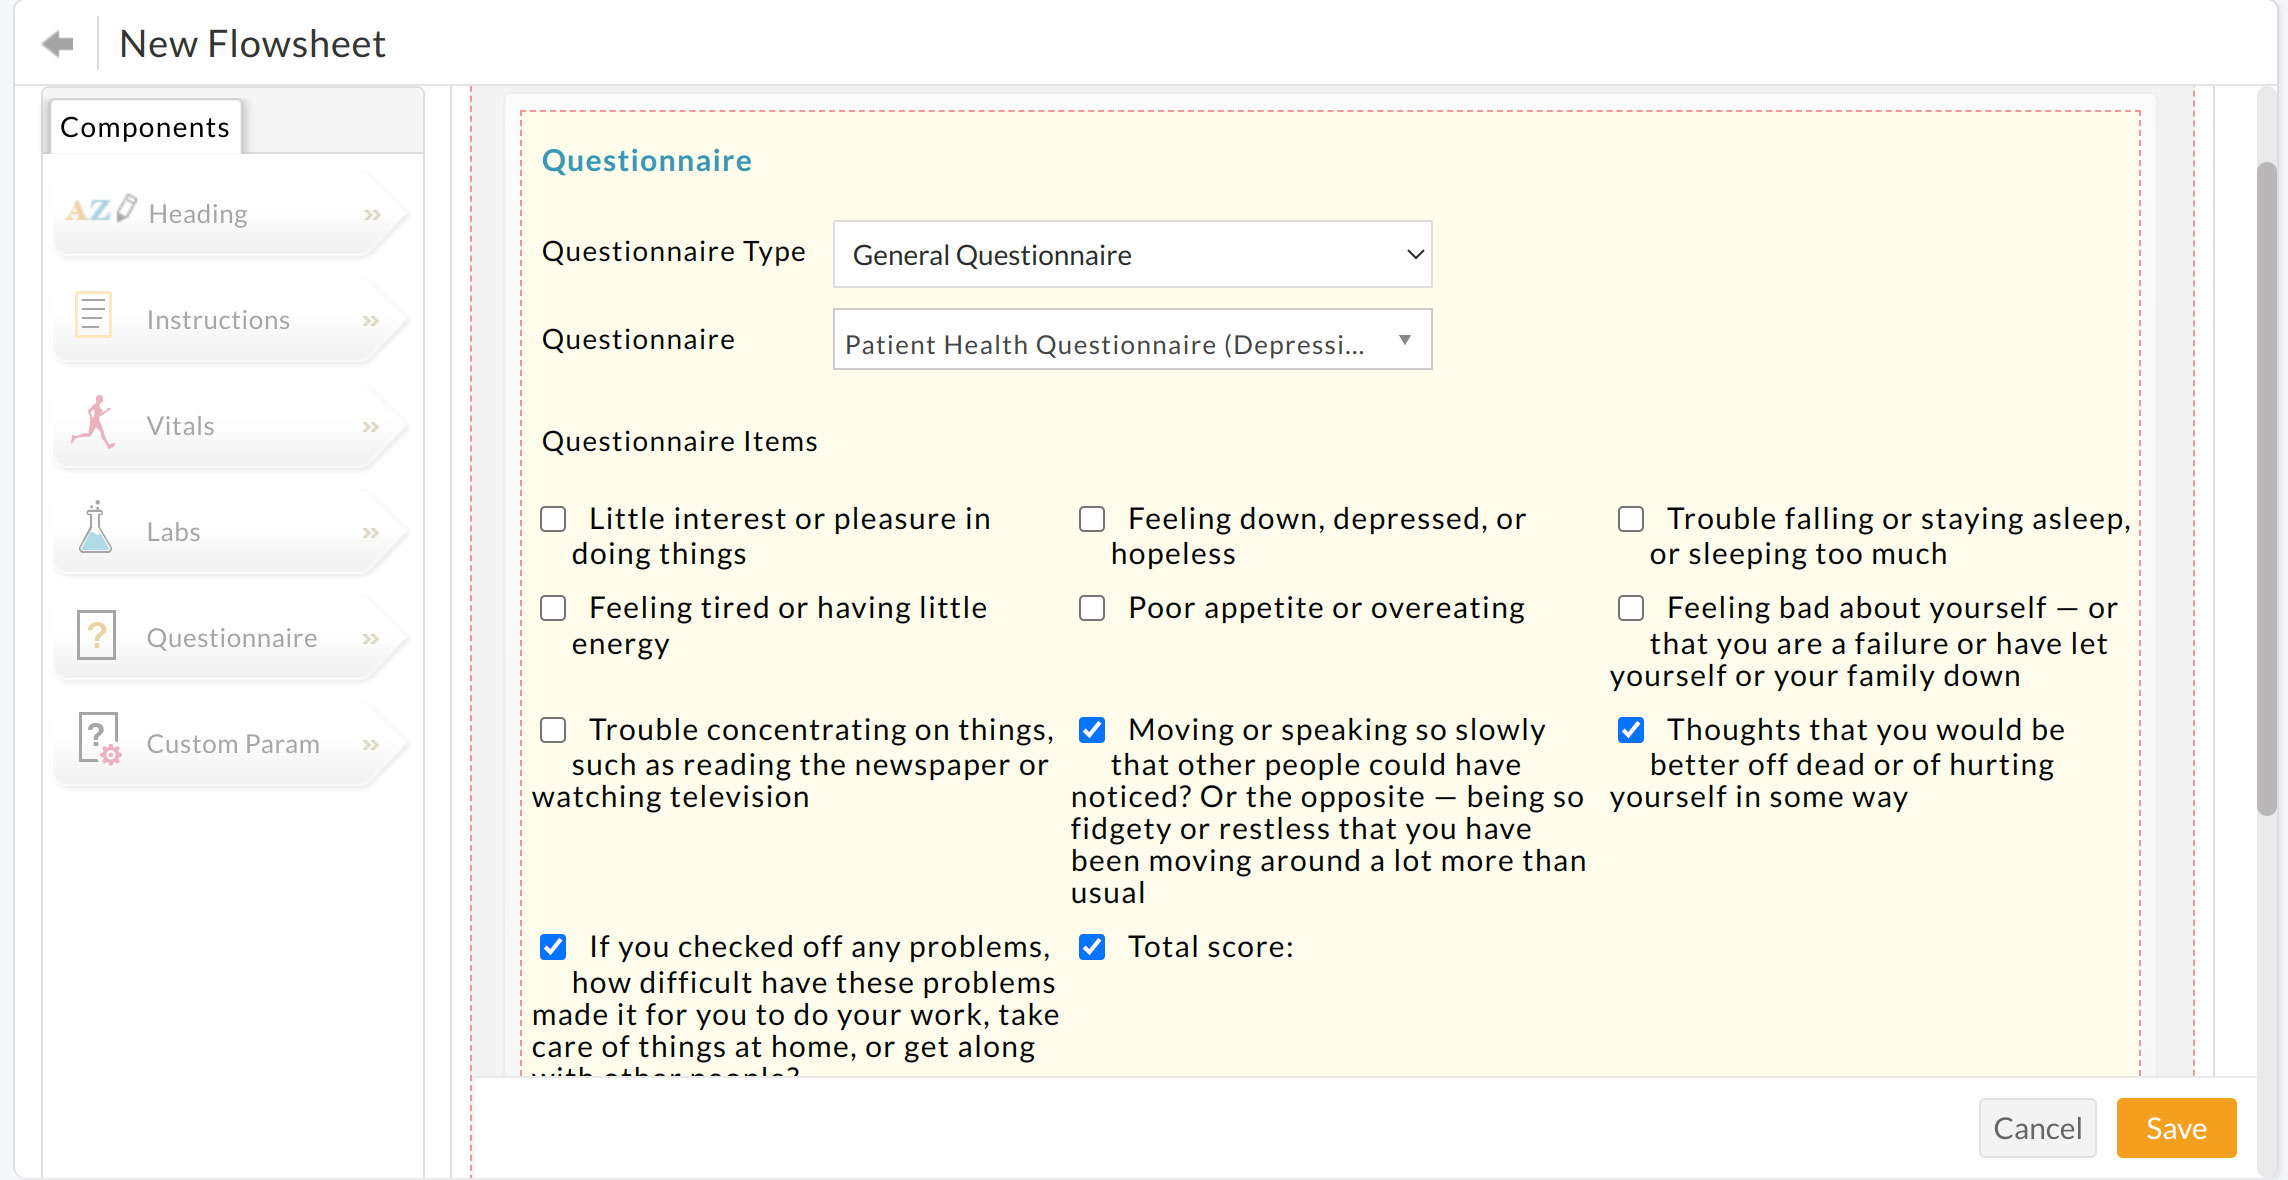
- Click on the 'Save' button.
- Dropping the questionnaire component multiple times allows you to include the data from multiple questionnaires into a flowsheet.
Once done, you can share the questionnaires with your Patient and get them filled out.
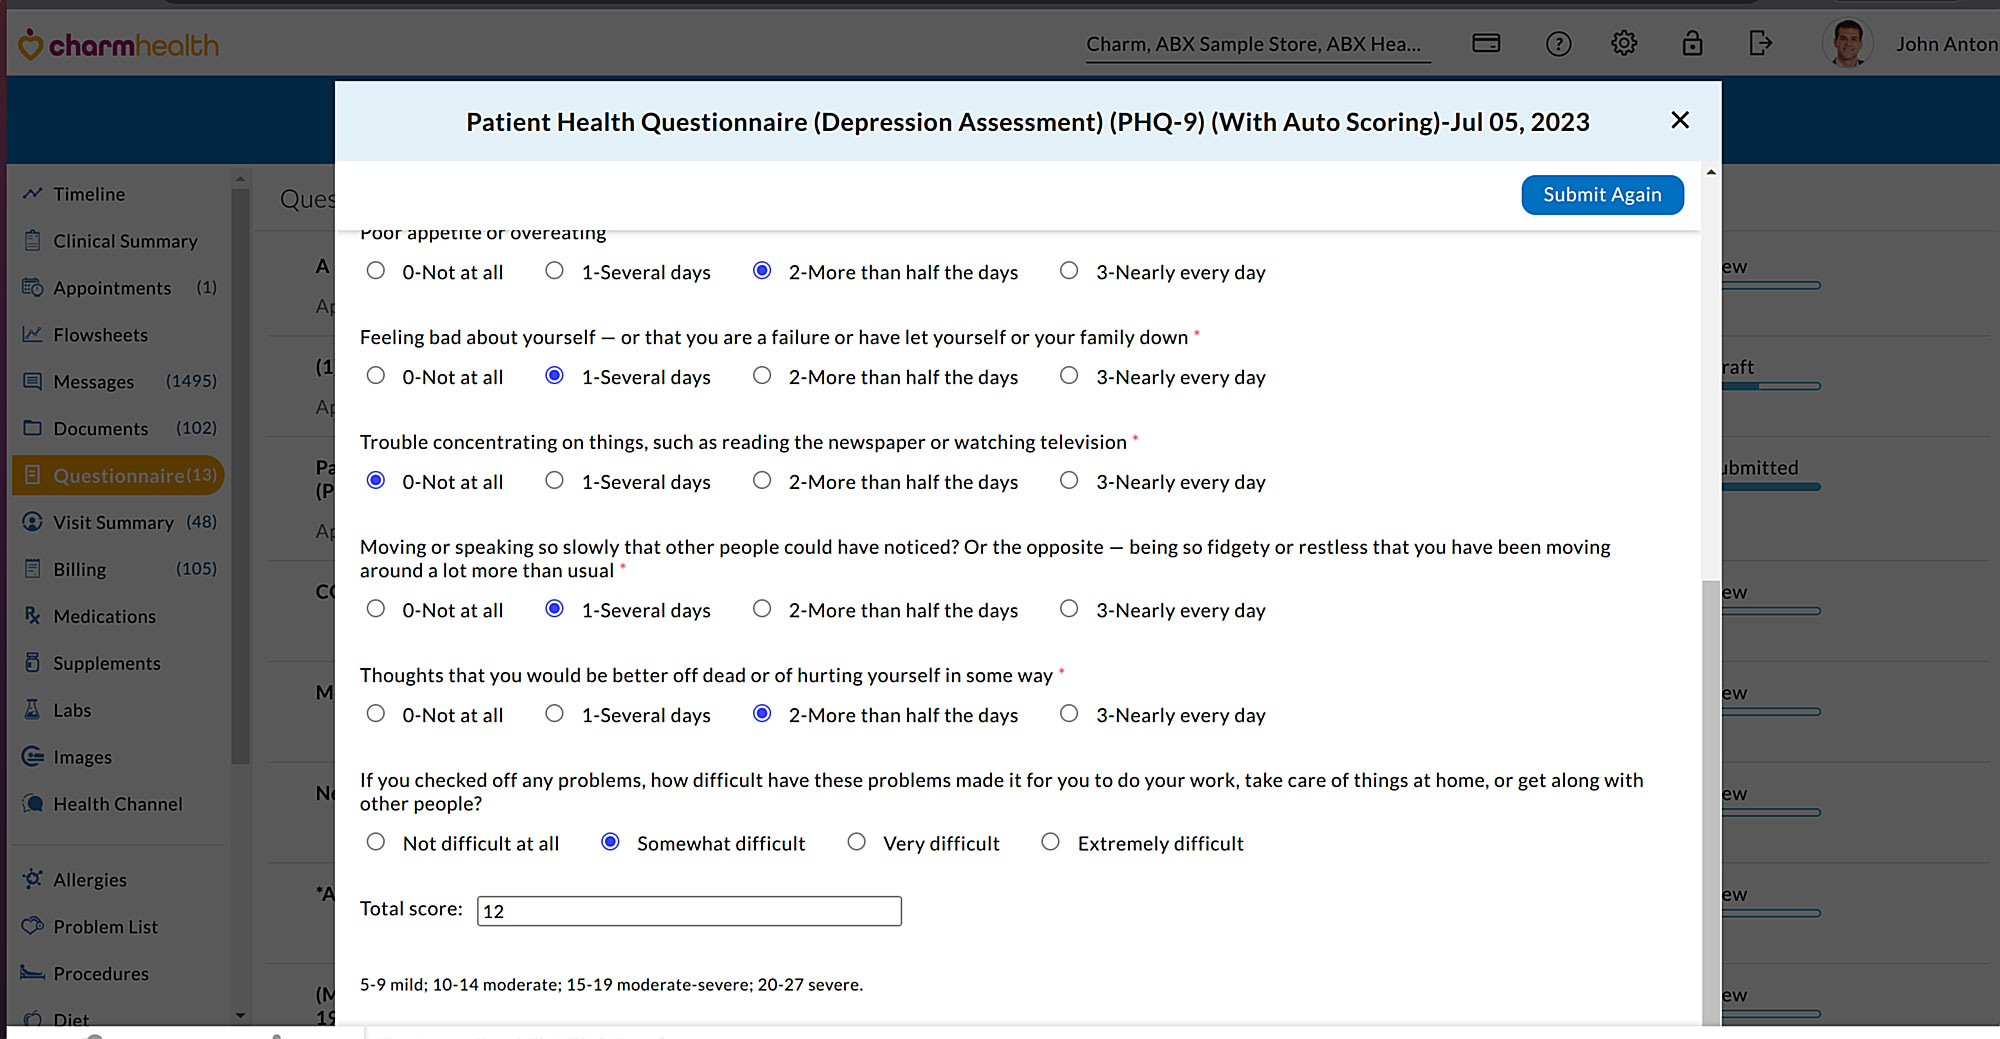
The respective flowsheet sections get auto-updated when Patients submit the filled-in questionnaires. Practice Members can view the data entry date, ensuring the auto-fetched content is relevant and up to date.
View the Filled Data
The data filled by a Patient is accessible from the 'Patient Dashboard > Flowsheet' section. The Flowsheet lists both the data filled by the Patient (from PHR) and the data added by your Practice members (from EHR). The Patient filled data is shown in a different color with a 'Filled by Patient' label to distinguish it from the Practice-filled data.

You have the option to plot data for numerical questions (like scores).
