Patient Registration
Add New Patient
To add a New Patient to the Facility, follow the steps given below.
- You can add Patients from the Home page by clicking on the 'Add Patient' icon next to the search bar. You can also click on the 'Patients' icon and add a Patient by clicking on the '+ Patient' button.

- Enter the First Name, Last Name, Date of Birth, and Gender that are required fields.
- Provide the 'Email' address of the Patient under the 'Contact Details' section if you have chosen the 'Send PHR invitation mail to Patient' option.
- You can also enter the other details of the patient in the given fields.
- Click on 'Add' to add the Patient.

- Click on the 'Add and Open' option to add and view the Patient details.
- Patients can also be added through Calendar while booking an appointment.
Send Patient Portal Invitation
When adding a new Patient, you can choose to send a Patient portal invitation. The email address of the Patient or Patient Representative is required to send the invite.
- While adding the Patient in the 'PHR Registration' section, choose the required option.

Search Patients
You can search for the Patients added to the system from the Home Dashboard or 'Patients' tab.
- Enter the '/' key (shortcut key) to navigate to the search bar. You can choose to search Patients by Name/ Record ID, Date of Birth, Mobile Phone, or Email Address using the search options.

Print Patient Barcode
CharmHealth EHR provides the option to print and affix patient barcodes to physical documents. Scanning these barcodes displays the Patient details on the EHR search bar.
Patient Barcodes can be printed by following the steps below:
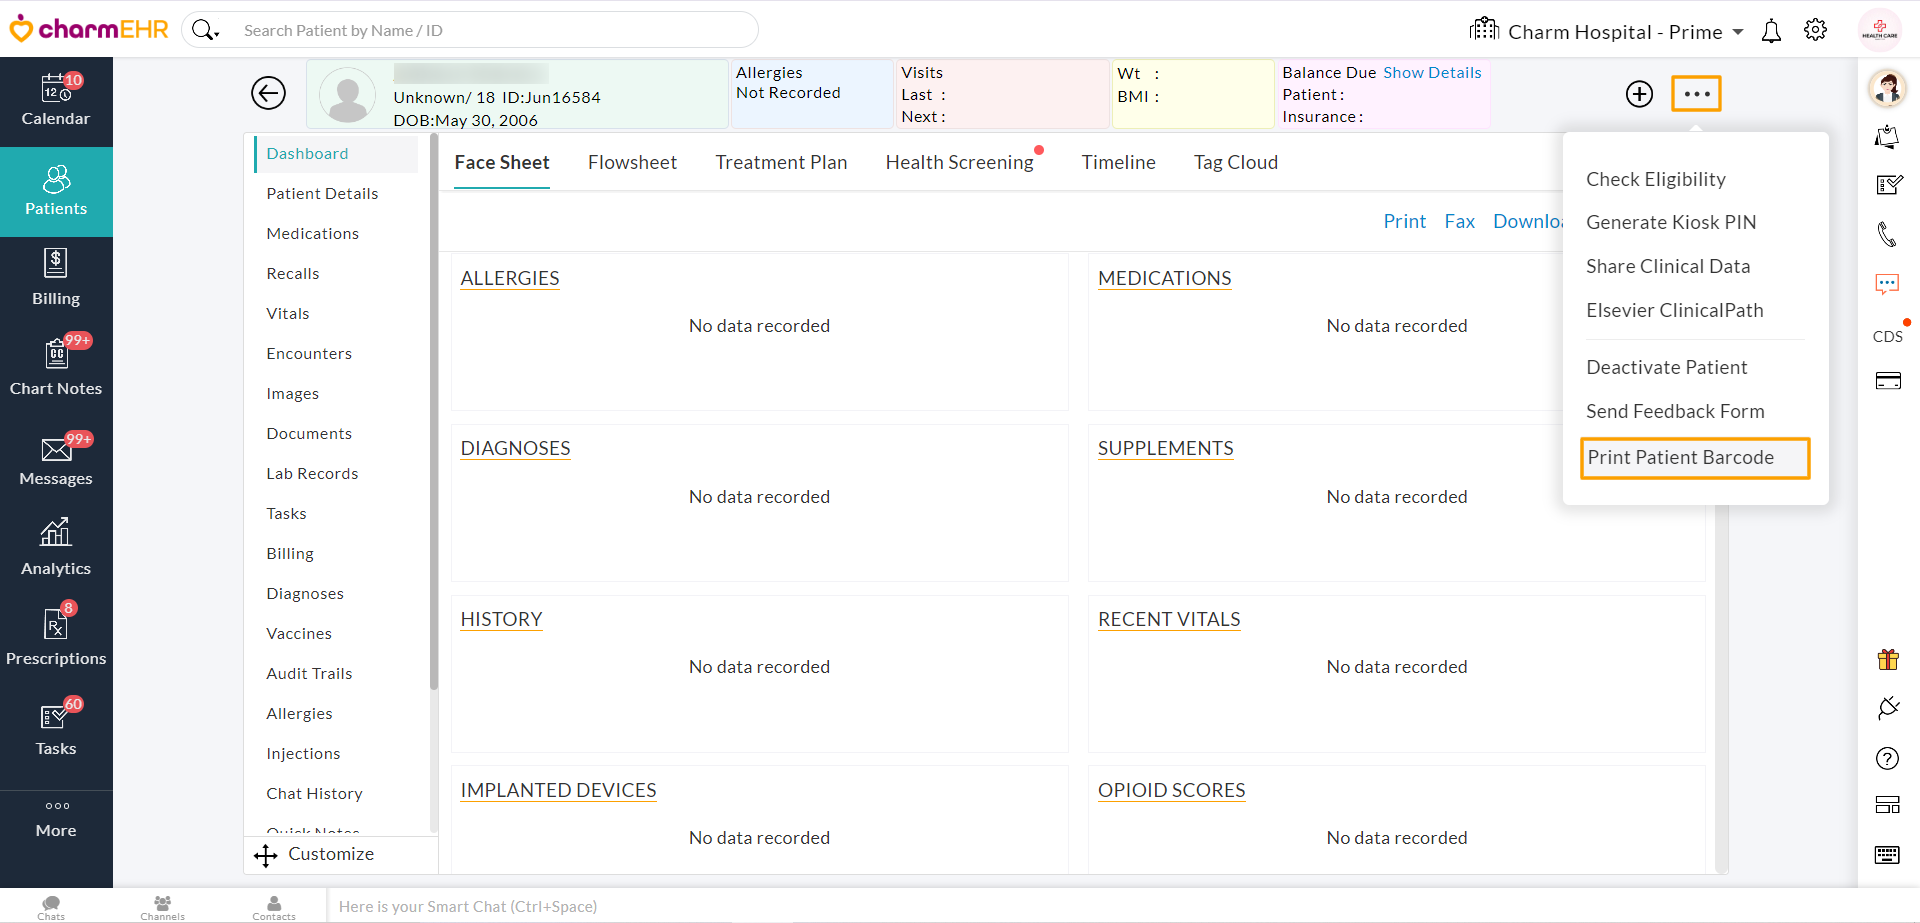
- Go to the 'Patient Dashboard'
- Click on the 'More Options' icon (3 dots) and choose the 'Print Patient Barcode' option.

- The Patient Barcode gets displayed in a new tab as shown in the image below.

- Print the barcode and you can affix it to the Patient's physical file.
Scan Barcode in EHR Search Bar
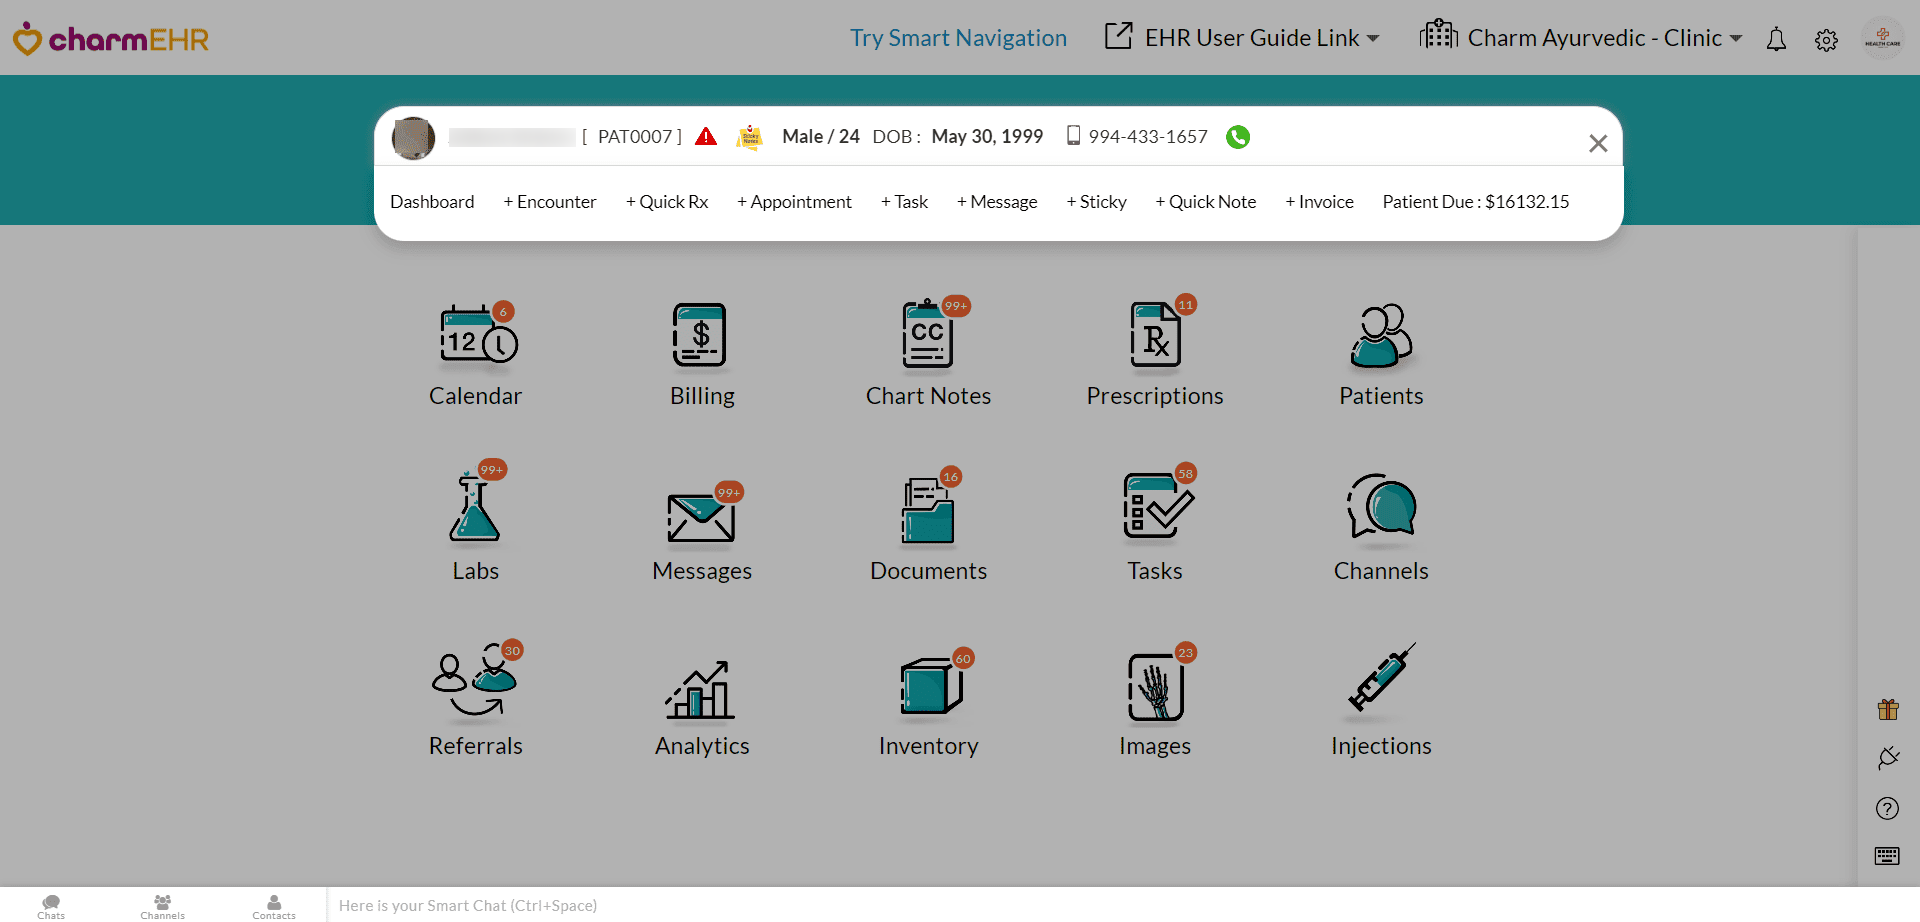
Scanning the barcode displays the patient's basic information and their
account in the CharmHealth search bar as shown in the image below.

Import Patients
- You can bulk import Patients by using the 'Import Patients' option.

- Create an Excel sheet with the columns of Patient Record ID, First Name, Last Name, Gender, Date Of Birth (mm/dd/yyyy), Email, Home Phone, Mobile Phone, Work Phone, AddressLine1, AddressLine2, City, Country, State, Zip Code, Caregiver First Name, and Caregiver Last Name.
- Enter the data of the Patients in the Excel sheet.
- Browse to the above file and click on the 'Import' button. All the Patients in the Excel sheet will get imported into your CharmHealth account.
- You can also Import Patients in the QRDA I Format.
Note: You can import only a maximum of 500 Patients. If you wish to upload more Patients, you can repeat the process with 500 Patients in each batch.

Export Patient List
To export the Patient's list out of CharmHealth, follow the steps given below. Note that only members with the Export privilege option enabled under the 'Settings > Facility > Roles > Patient Records' section can export the Patient list.
- Go to the 'Patients' icon in the Dashboard and click on the 'More Options (...)' icon.

- Select a format from the dropdown menu to download. You can either download either in CSV or HL7 CCDA format.
- Enter the range of encounter dates you wish to export and click on the 'Export' button to download.

Make Patients Inactive/Delete Patient
Patient records, once created, cannot be deleted. Instead, the Practice can deactivate the Patients, so that those Patients will not appear in the search results. You can also re-activate the Patient if needed. To deactivate the Patient account, follow the steps given below.
- Click on the 'Patients' icon.
- Select the Patient you need to deactivate.
- From the Patient Dashboard, click on the 'More Options (...)' icon above and select the 'Deactivate Patient' option.

- Click on the 'OK' button to deactivate the Patient.