Header
The header displays the Practice name, Settings, Lock Screen, Log out, and Patient Profile options.

Practice Details
Clicking on the name of the Practice displays the following:
- Facility details
- Provider details
- Useful information like visit timings and working days, if any.

Card on File
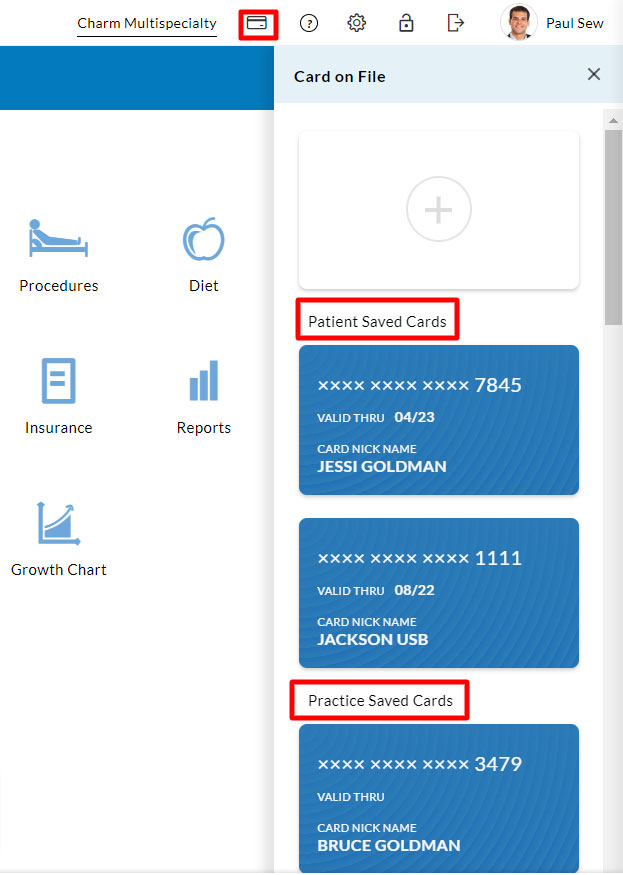
The Card on File feature allows you to make quick and secure payments on the go using your PHR account. Clicking on the 'Card' icon displays the following:

- '+' icon that allows you to add new cards.

- The Patient Saved Cards drop-down lists the cards you add manually.
- The Practice Saved Cards drop-down displays unsaved cards you used while making prepaid appointments and settling pending bills.

Additionally, you can hover over existing cards to exercise the 'Edit' and 'Delete' options wherever applicable.
You can select the 'Charge Card on File' option to view and choose a card from the drop-down list for making a payment.
Note: This feature is available only for Practices integrated with Bluefin - Payment Gateway.
Settings
Users can customize their dashboard by enabling or disabling the main menu sections here. These changes will reflect across all Practice and Member profiles.

Note: The Practice configured sections are un-modifiable to ensure effective communication.
Profile Settings
The 'Profile Settings' allow users to manage their accounts, view their respective data, and switch between Practice or Member profiles without logging out. Click on your profile picture or username to access your profile settings.

Quick Menu
The quick menu allows users to exercise frequent actions irrespective of the current section or tab.

- Online Store
Patients enrolled in Practices with an active e-commerce site can access this feature. Users can shop for medicines or supplements directly from the Practice through their online store. - Send Message
This shortcut option allows users to compose a message and send it directly. Clicking the 'Send Message' option will open a dialogue box similar to the image below.

Choose the recipient; fill in the message subject and content. (Default character limit: 1000, Practices can set a customized limit). Include any attachments, and click the 'Send' button. - Request Appointment
Patients can book appointments through the 'Appointment' tab or directly from here.

Choose the facility and provider name from the said Practice using the drop-down list. Available time slots will be visible if the Practice has enabled online bookings. If not, set a preferable date and time. Choose the visit type and enter the reason. Click on the 'Request' button. - Share Sections
Patients can share information updated in the 'Practice Communications or Personal' sections with this option.
- Select the 'Share Section' option

- Click on the 'Share' button
- Choose the Practice or Facility name from the drop-down list.
- The following dialogue box with the list of shareable sections pops up.

- Enable the fields you want to share.
- Click on the 'Save' button.
- Select the 'Share Section' option
Click on the 'Modify' button under the 'Share Section' option to edit and reshare data.
Main Menu
The main menu has two sections:
- Practice Communications
- Personal Sections
Practice Communications
Sections listed under Practice Communications ensure effective communication.The Patient and the Practice can edit or update their respective data to share information.

Personal Sections
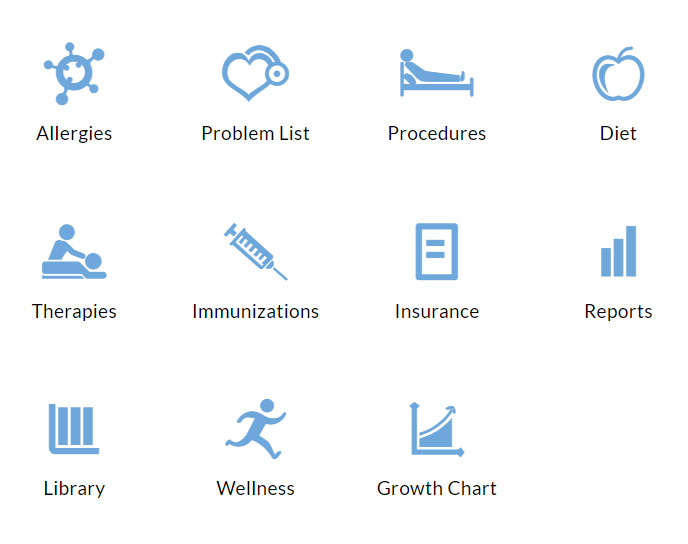
Charm PHR's Personal Sections allow users to store and update routine medical information to track overall health and fitness goals. Users can enable or disable these sections anytime.

Your Practice or Provider cannot view or access the information uploaded here. Patients can use the 'Share Section' quick option to share these sections with them.


