Share Documents
Create Folder
You can create your own folder using the '+' icon present next to 'Folders'. Provide a 'Folder Name' and 'Folder Description' to create the folder.

Upload Documents
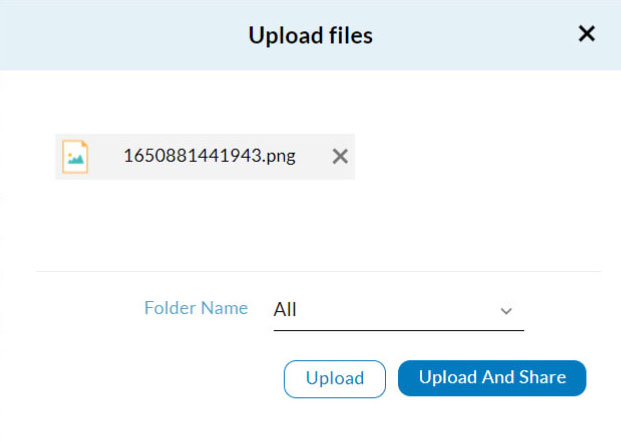
You can upload your documents using Upload button present in the 'Documents' section. While uploading, you can select the folder, to save the document to that folder.

Share Documents
You can share your documents to your practice and to others(non practice members) from the following places
- Using “Share” link in 'Quick Menu' bar
- Using “Share” option in “Documents” section
Quick “Share” menu is already explained. Let us see the share option from “Documents” section.
Share option in Documents
You can share your documents from either 'Bulk Action' bar or 'Row Action' bar.
Bulk Action Bar - Contains links to perform group actions like share,delete,move, etc. This can be view by selecting the check box present against each of the row.
Row actions - Contains links for actions that can be performed on that row.

Sharing Document To Practice
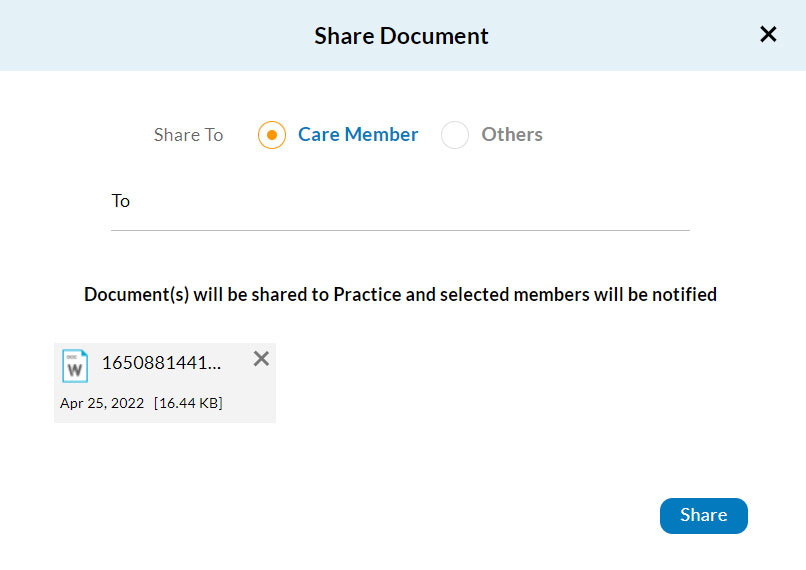
When you select “Single” or “Bulk” share option as shown above, the following dialog will be shown

Steps:
- Select the “Care Member” option
- Select or enter the name of the provider in the 'To' field
- Click the 'Share' button
Sharing Documents to Others
Steps:
- Select the “Others” options to share the selected documents to Others
- Select or enter the Email address in 'To' field
- Select the expiry period for the document. This will enable the others to view the document withing this time period. Beyond this time, the document URL will get expired, and they will not be able to view the document.
- Click the 'Share' button. This will send a notification email to the email address entered, along with the access link for the shared document.


